Happy Spring, everybody!
I’m finally trying out one of my many accessory commercial patterns and it couldn’t have come at a better time.
Supermarkets everywhere are steadily phasing out their plastic bags, meaning the Universe is telling me to put my sewing skills to better use then fashion (HA! Never!)and make some reusable grocery bags instead
At the same time I came into a giant roll of awesome utility-like fabric and spools of webbing thanks to a generous donor, so the Universe was making itself clear to me that grocery bags should be my next project.
Message received!
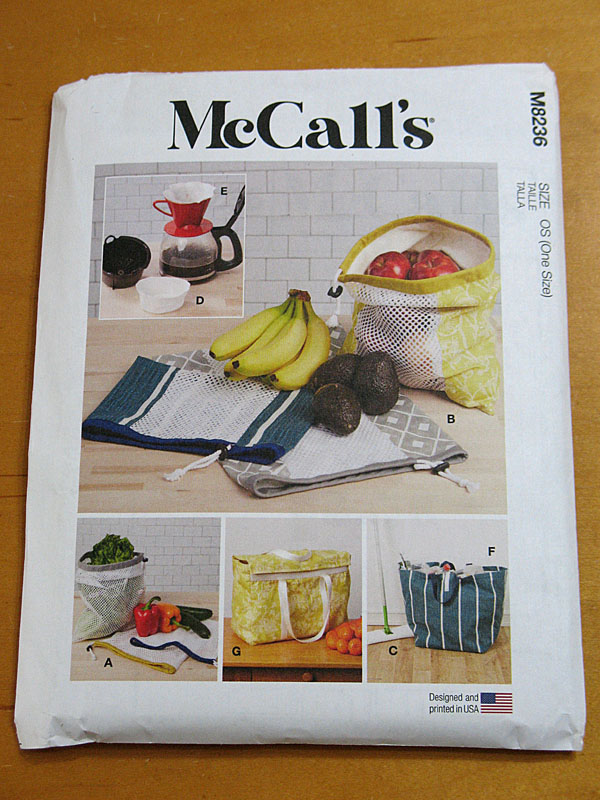
I acquired this fairly recently published McCall’s pattern containing a collection of reusable eco-friendly home products such as net produce sacks, coffee filters, mop pad and even a recycling tote bag. However, the grocery bag is what I was looking for.
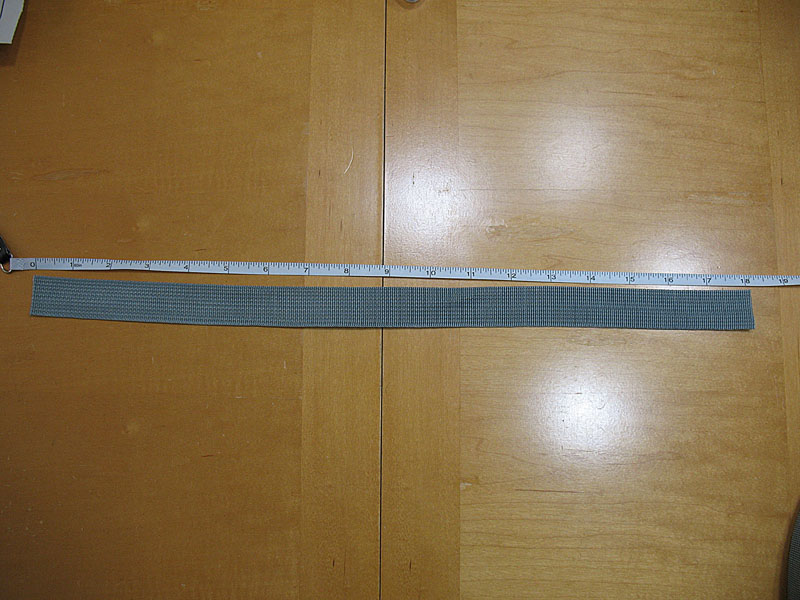
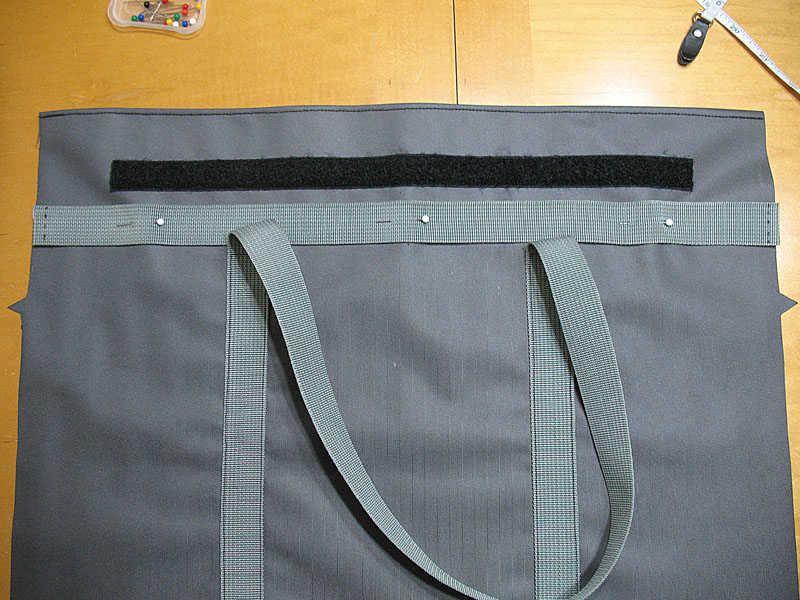
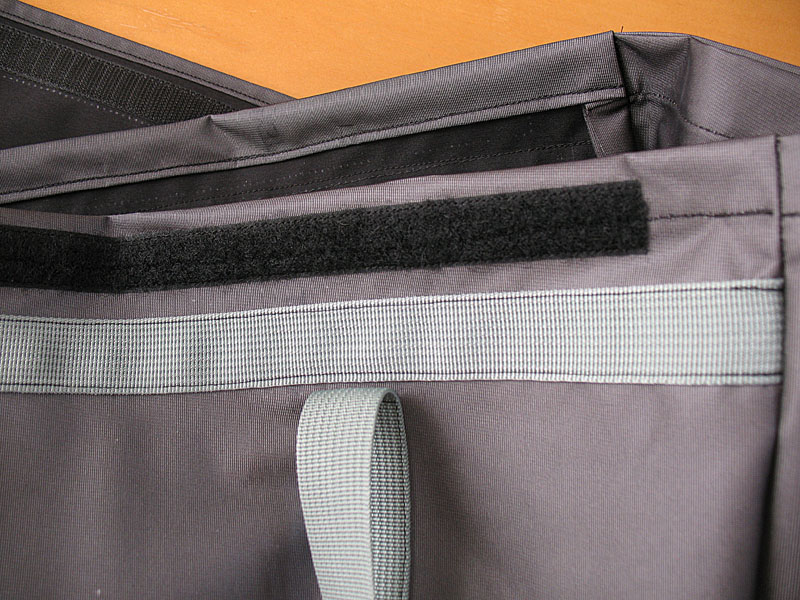
I really like the rectangular shape with the top flap for convenient cover from rain and the side pockets for extra carrying storage. Also the design asks for 1 inch webbing which I already got so one less thing to buy. Always wonderful when plans come together when needed, lol.
So to speak in generals, this pattern was fairly simple to follow with one particular direction exception I will get to in this post. I adopted some other ideas for making multiple grocery bags at once that really helped with the productivity on this project.
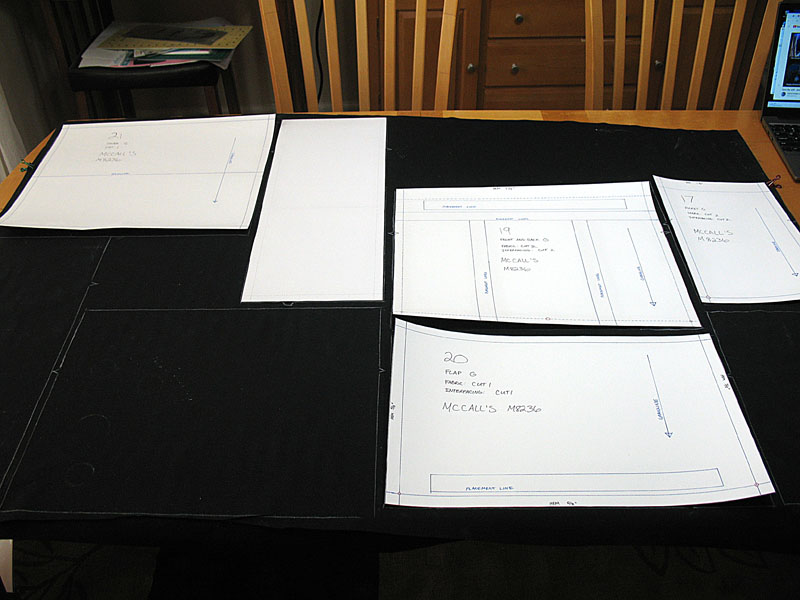


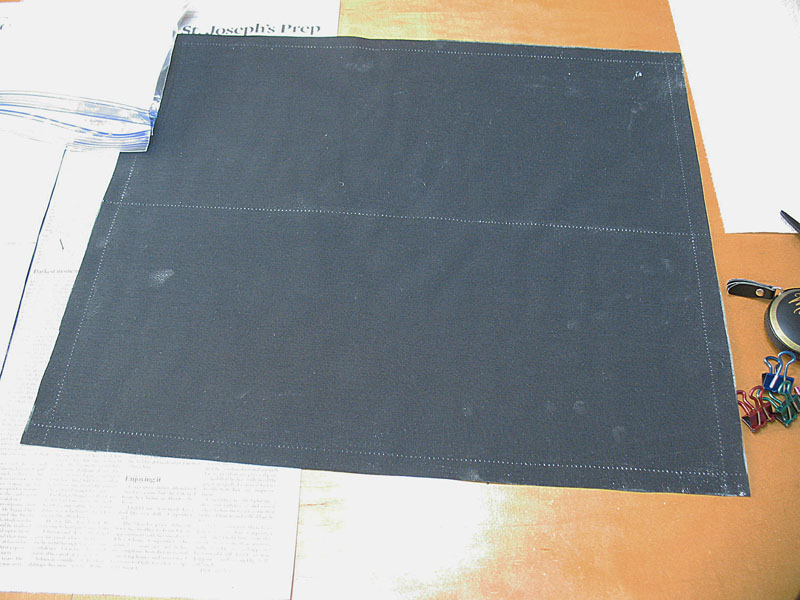
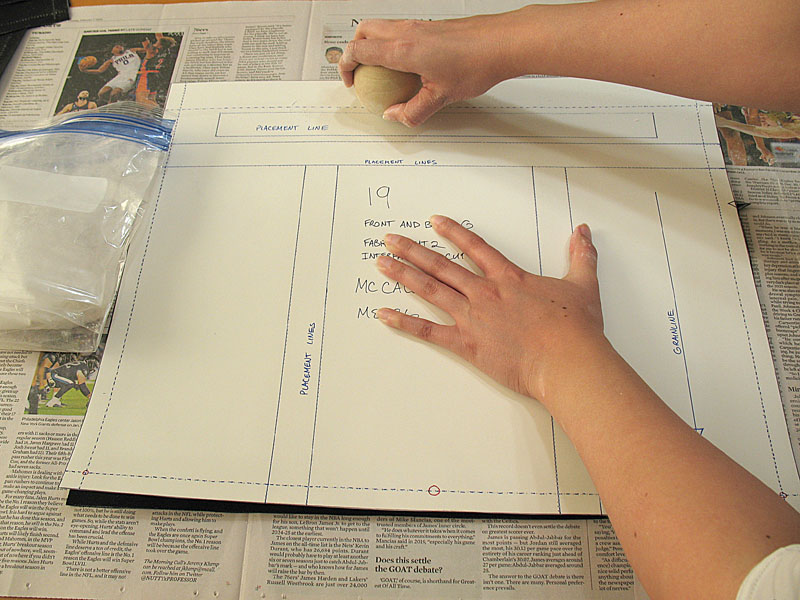

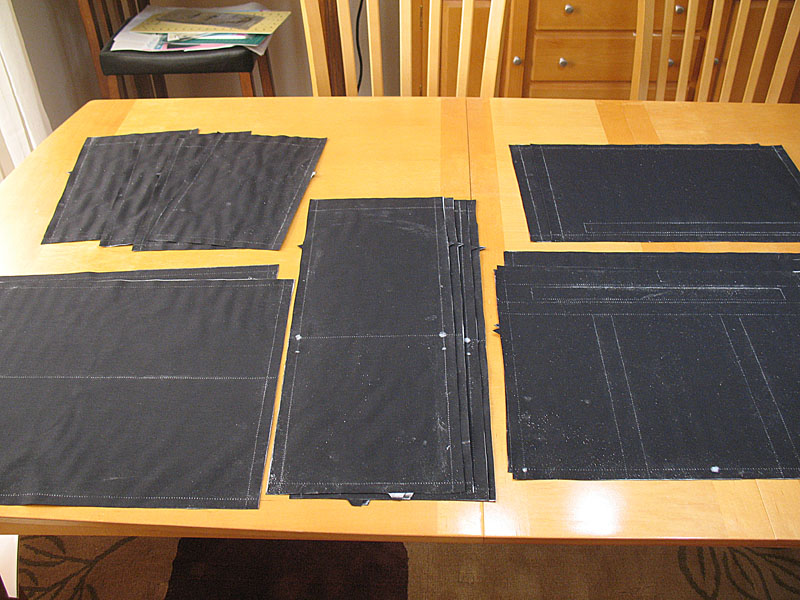
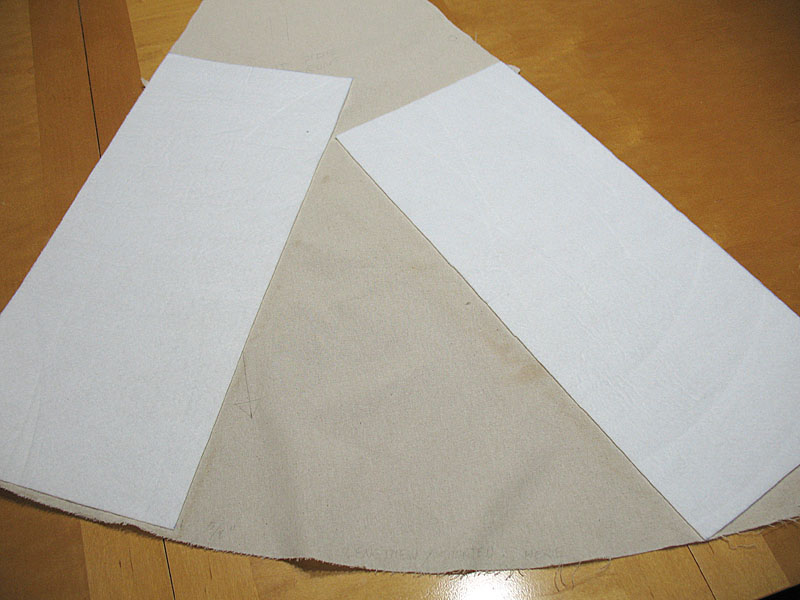
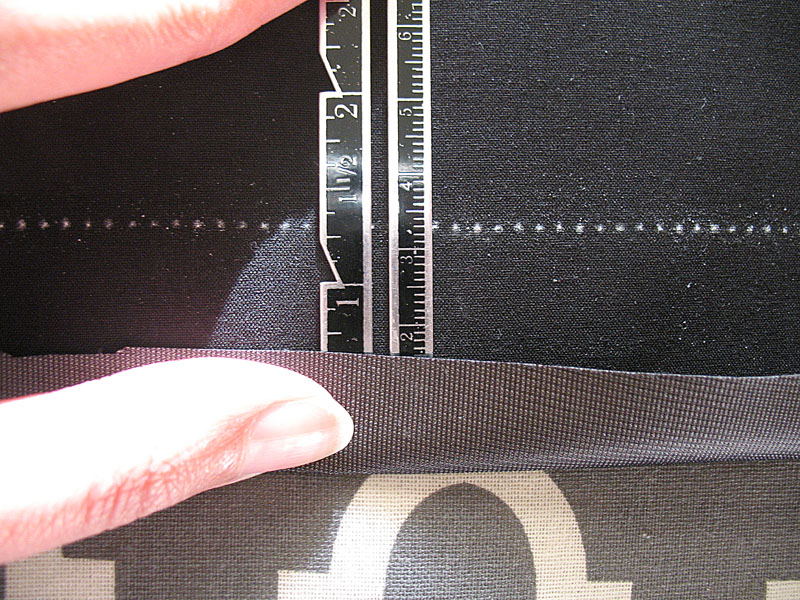
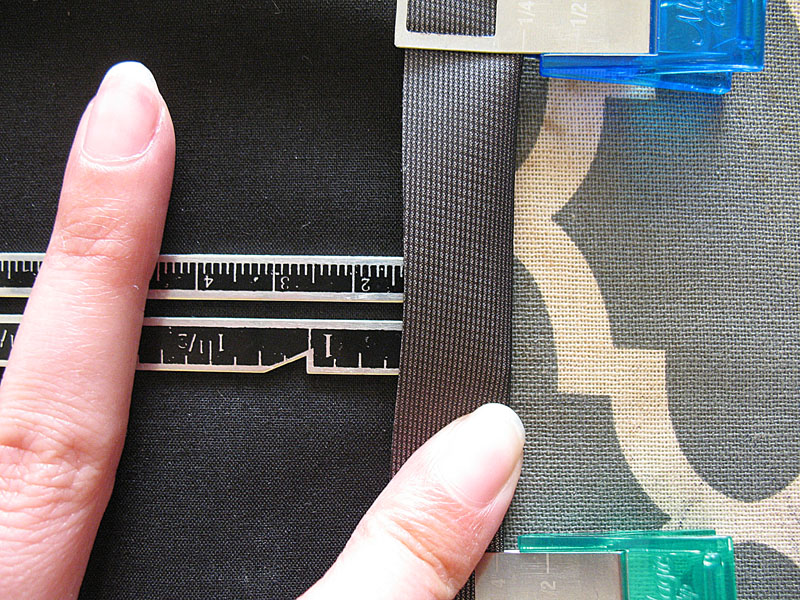
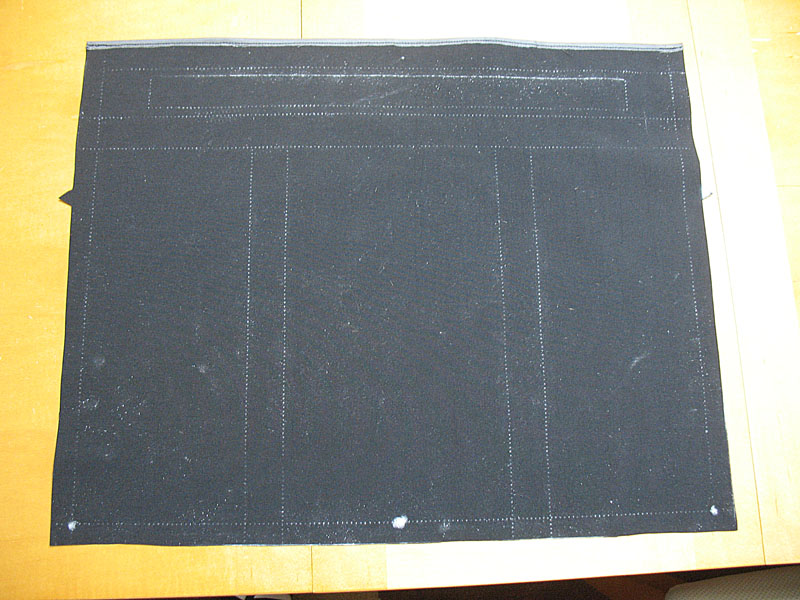
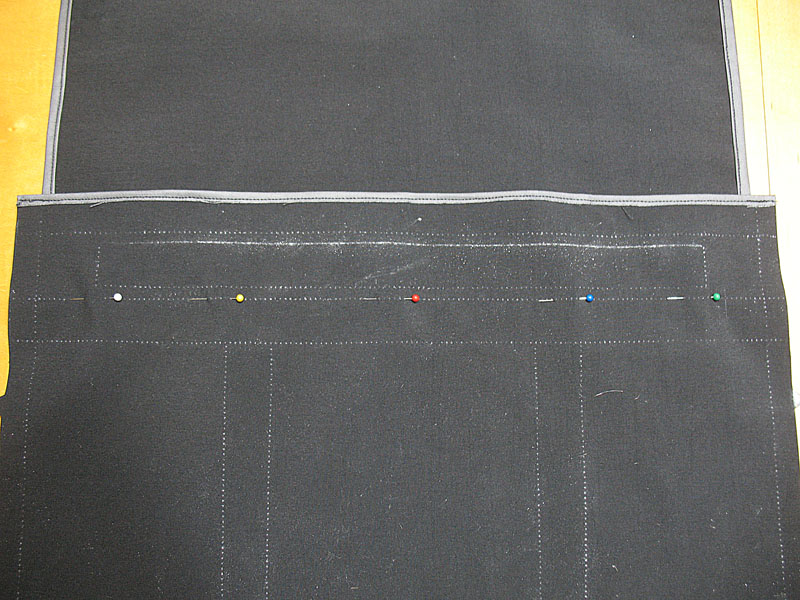
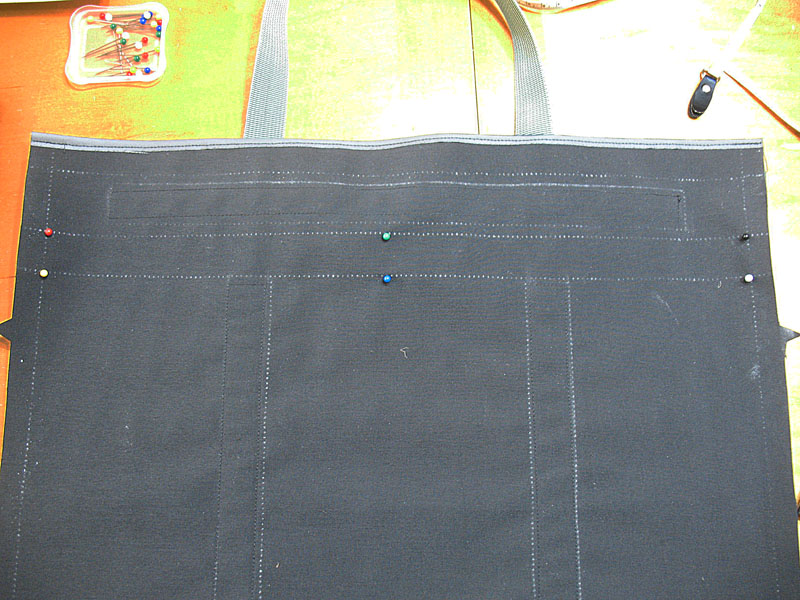
The pattern pieces are for one size and contain several placement lines for seam allowances and webbing. Needless to say, tracing everything on fabric over & over again got really tiresome for the FIRST bag and I’m looking to make at least 5 of them. So I took a page from quilters and adapted the Pouncing technique to make this process more efficient.
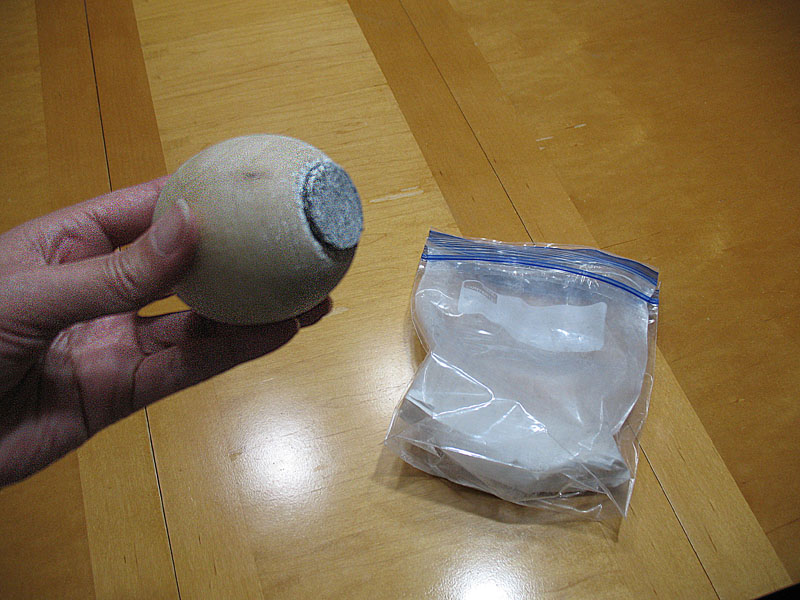
Once I searched for pouncing kits on Amazon and they weren’t cheap for what they actually are (puff pads and powder), so I went looking online for any DIY versions I could make on a budget. Here are links to instructions for making your own pouncing kits I found EXTREMELY useful and worked just as well as the official things:
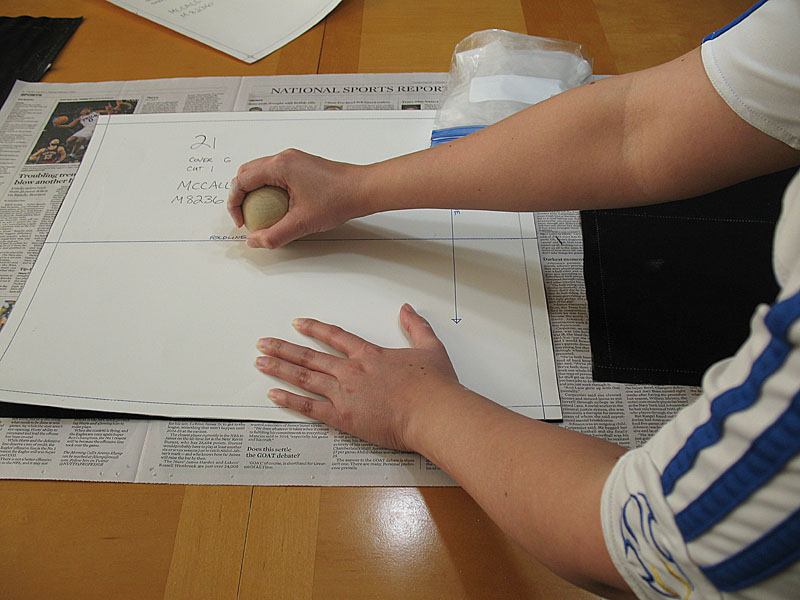
I also purchased a pack of 10 sheets poster board for a sturdy yet pliable medium to cut out the pattern pieces on. Once I finished that, I used my sewing machine to trace the placement lines/seam allowances by making holes for ‘pouncing’ the powdered chalk through to mark the lines on the cut fabric. I was amazed at how well this worked and I was able to cut/mark multiple pattern pieces one after the other with relative ease. I’ll be using this for any one-size accessory pattern projects in the future for sure.
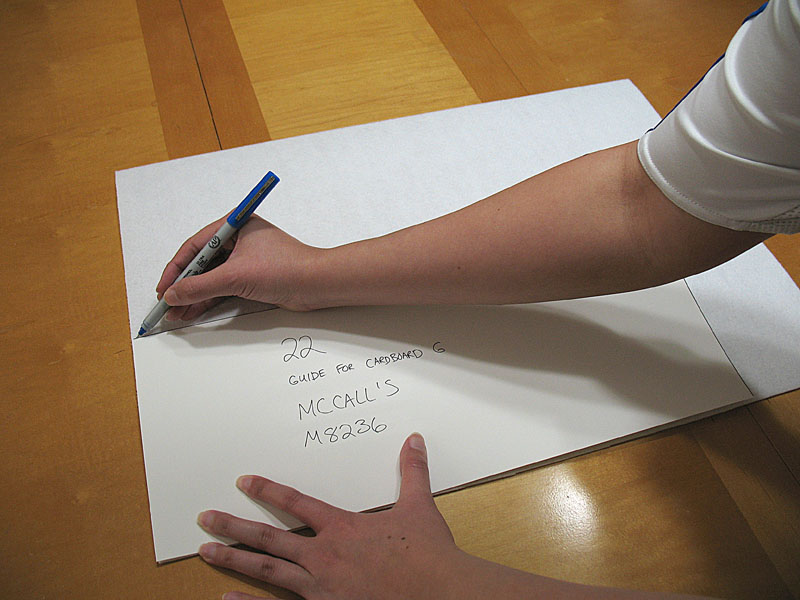
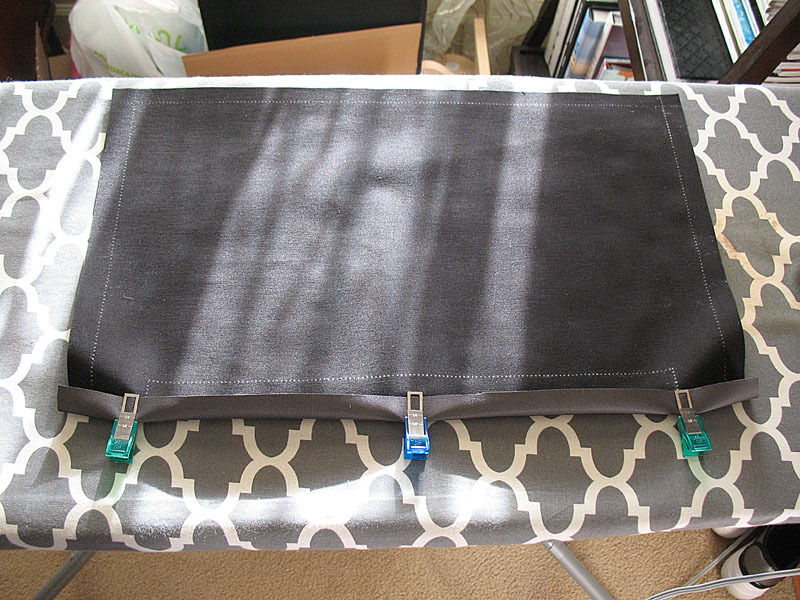
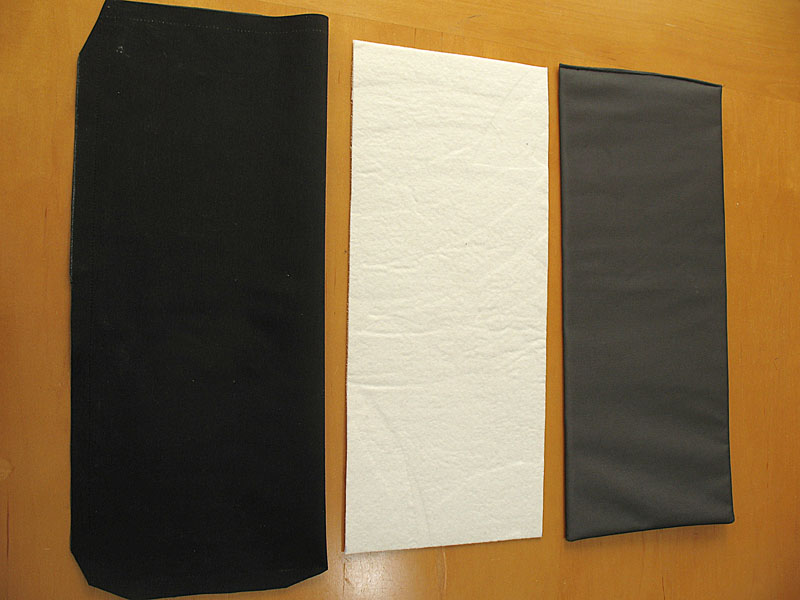
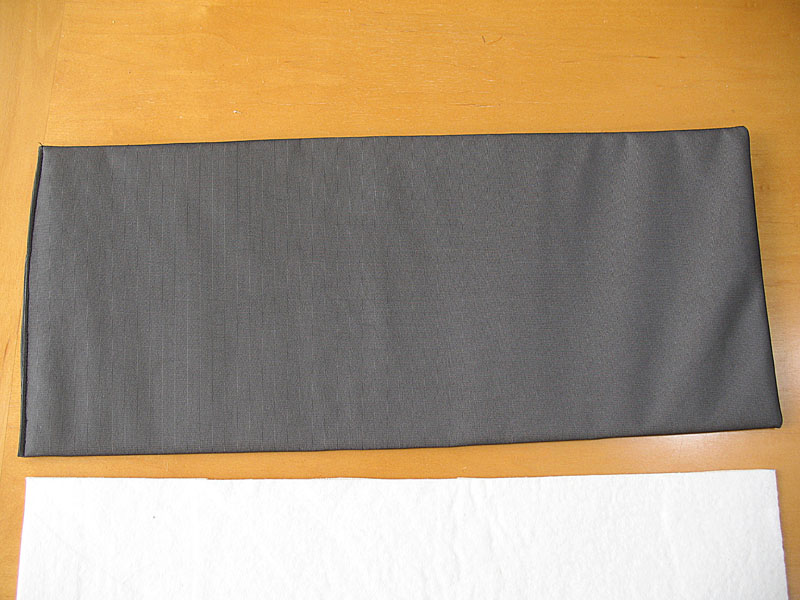
Another swerve I made from the pattern directions is the cardboard request. I instead used Pellon Ultra-Firm One-Sided Fusible Interfacing and fused it to muslin for a more machine-wash durable option. I like the alternative a lot and have used this for all my grocery bag bottom inserts. If I want a stiffer bottom, I’ll probably fuse another piece of interfacing layer by layer.
So as far as directions go, this pattern’s were mostly simple to follow. The pouncing method really came in handy with the specific placement markings and seam allowances as I didn’t have to over-think with measurements and pins during the construction process. However, I did make some method modifications for certain steps just because they were easier for me:
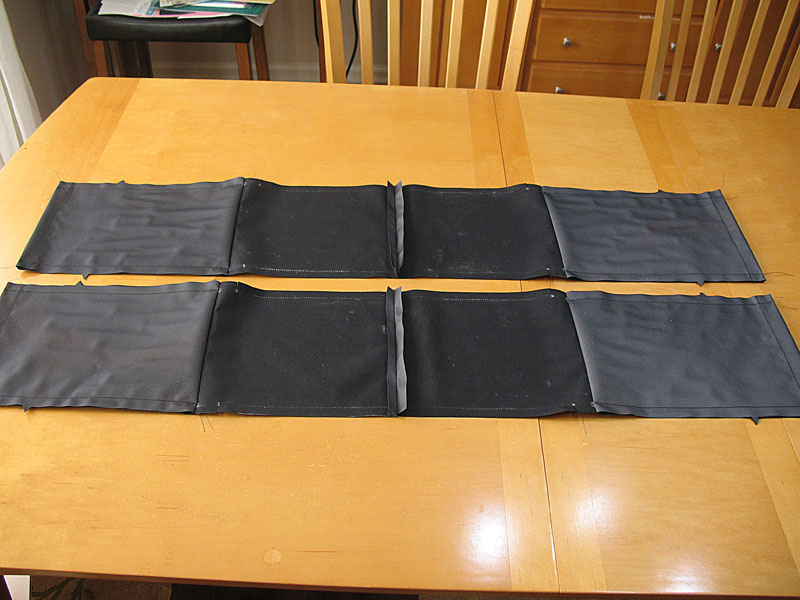

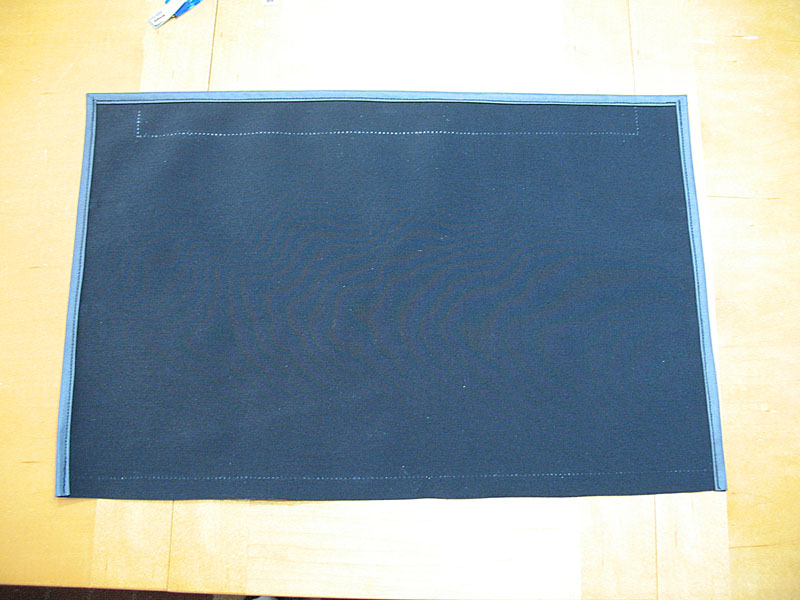
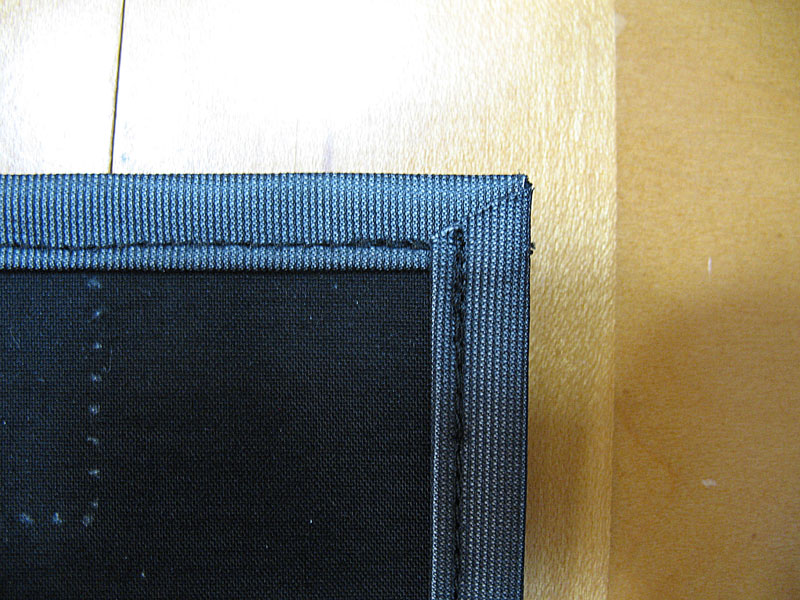


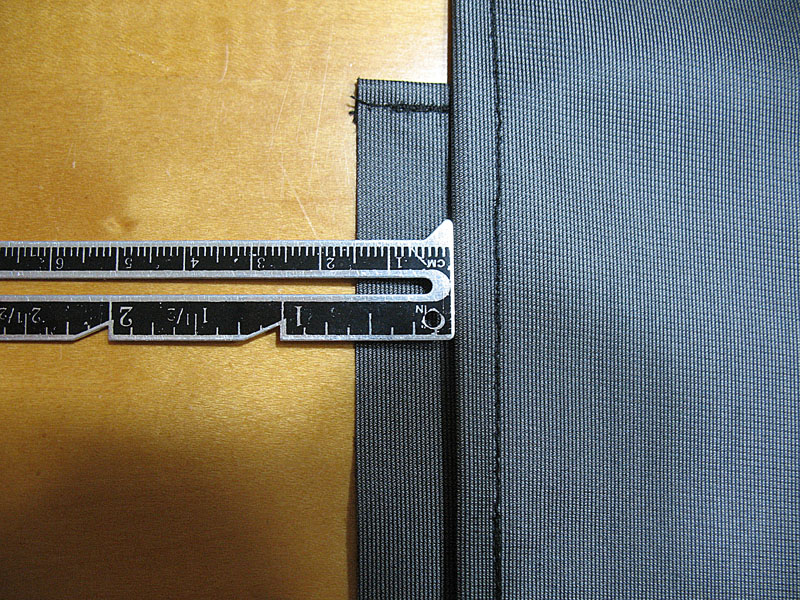
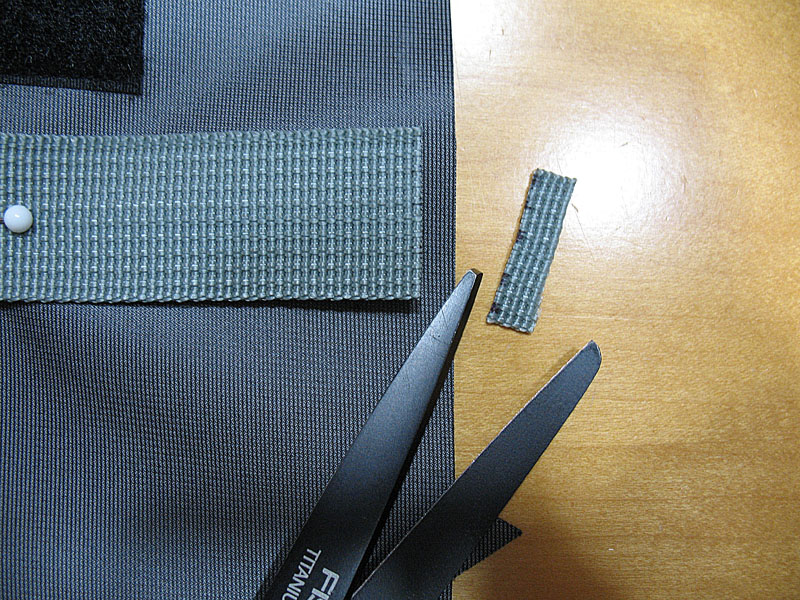
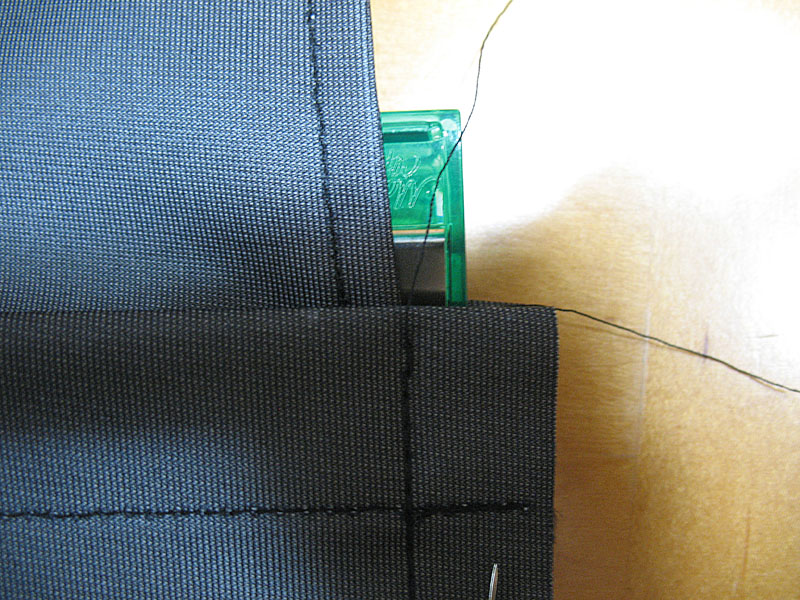
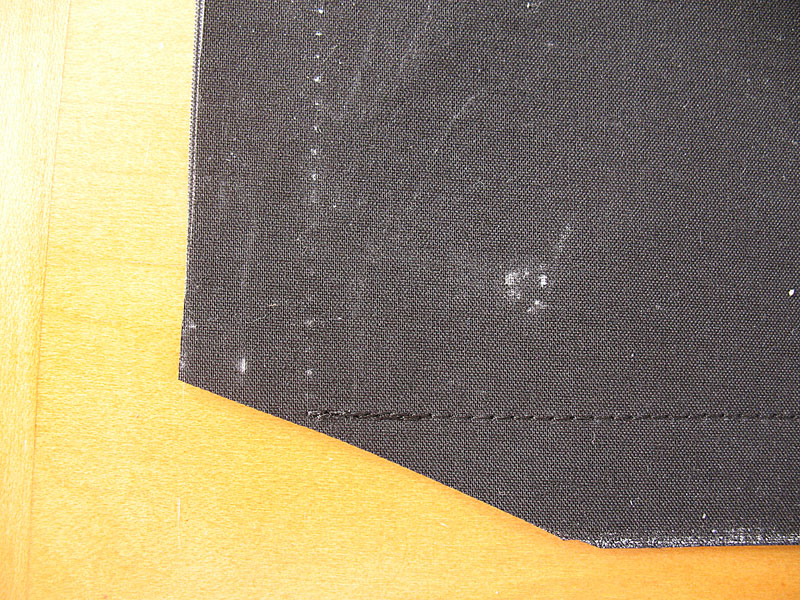
- Because the fabric doesn’t hold a sharp crease/fold, I went ahead and stitched all the 1/4″ hems necessary rather than pressed the edges. I also forgo-ed baste-stitching anything unnecessary so there wouldn’t be any visible holes too.
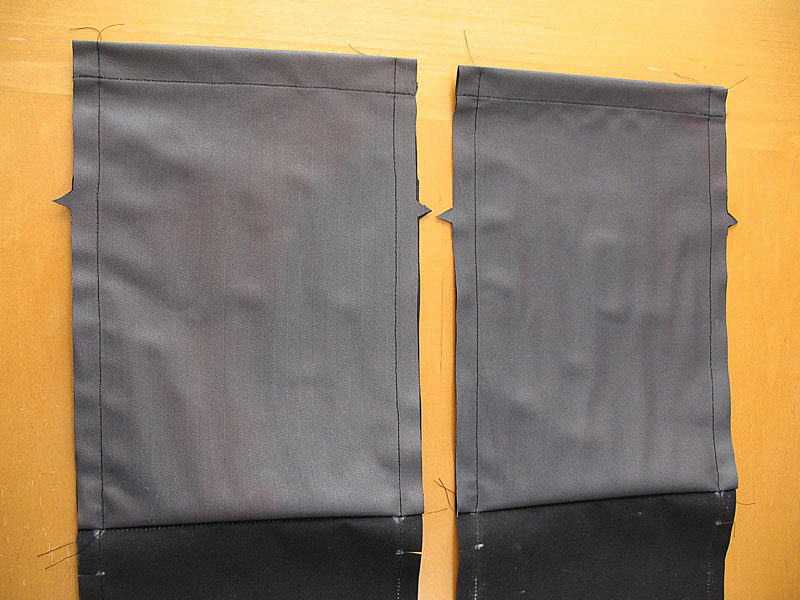
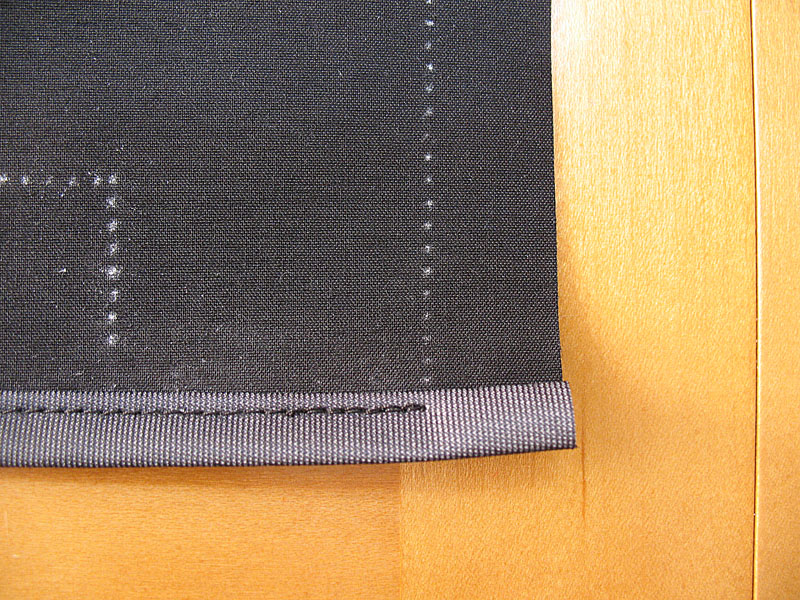
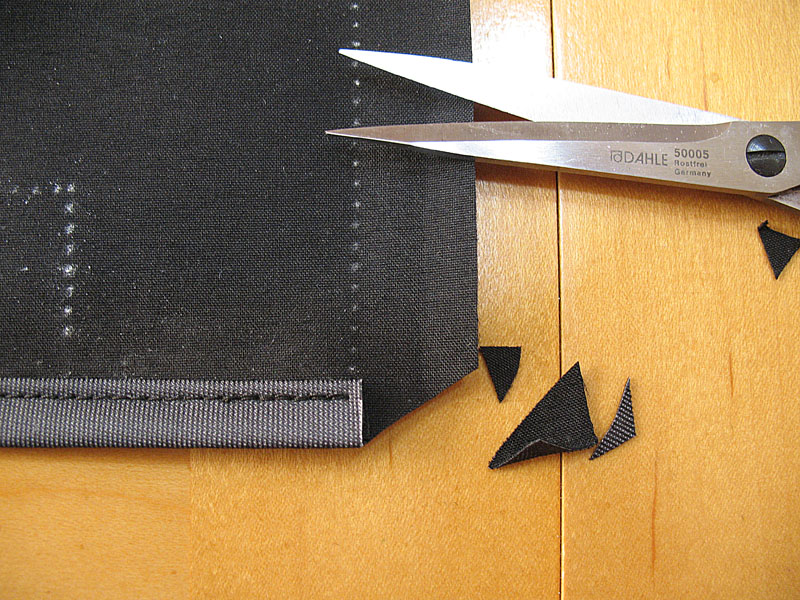
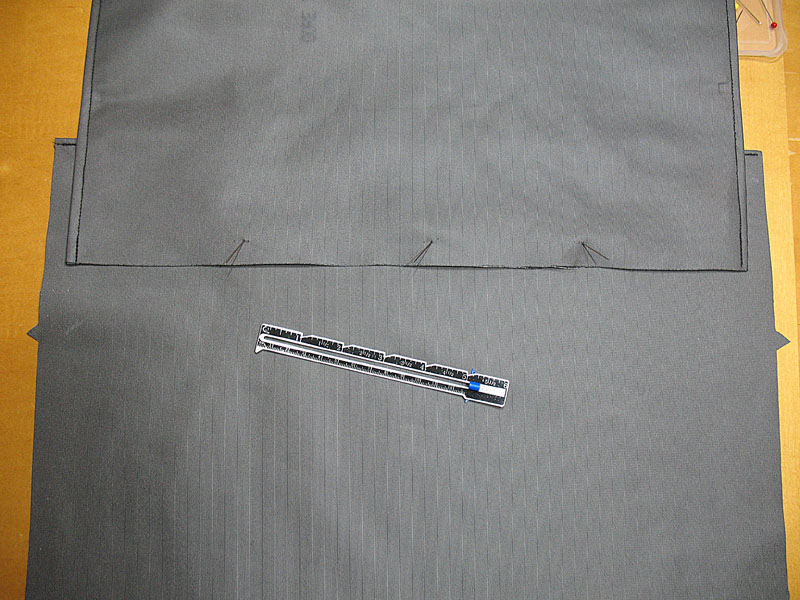
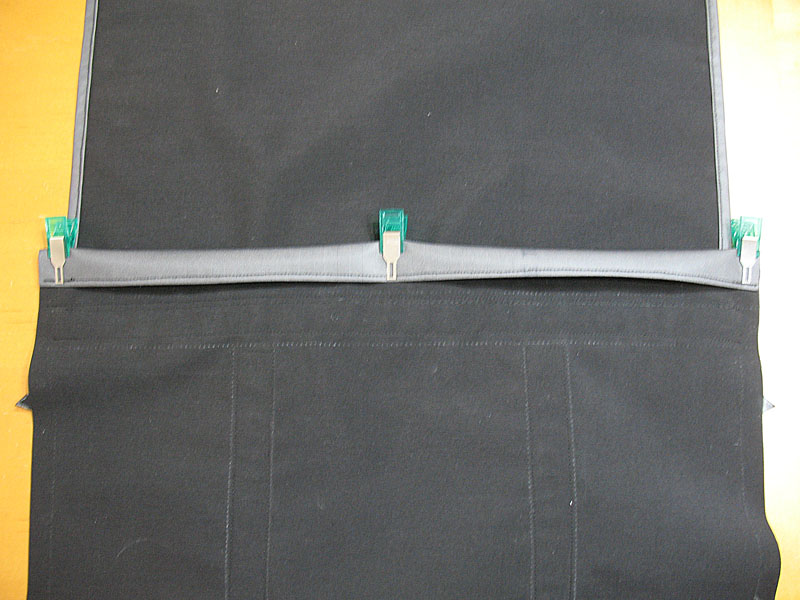
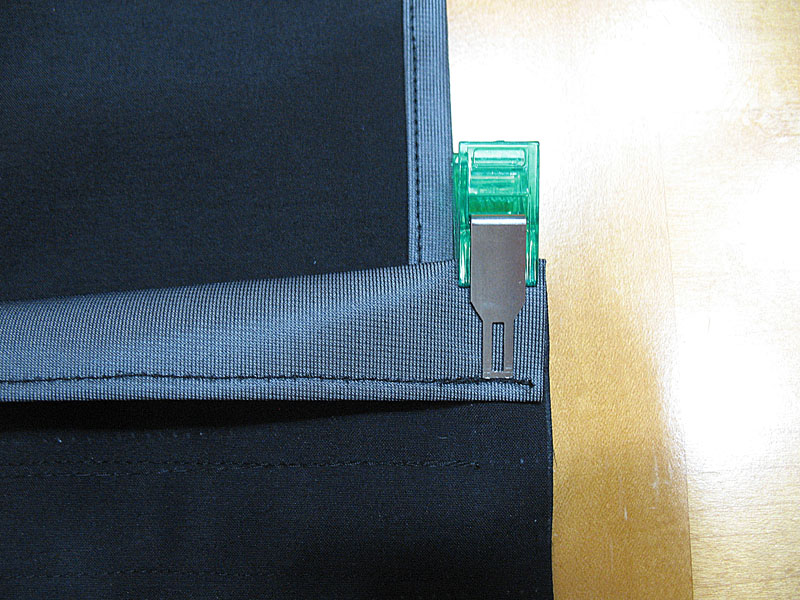
- With the bag flap I hemmed the edges one at a time. The illustration for this step wasn’t clear enough for me so I traditionally hemmed the top edge first starting & ending 5/8″ from the sides. This way I could clip the corners and reduce bulk when hemming the sides.
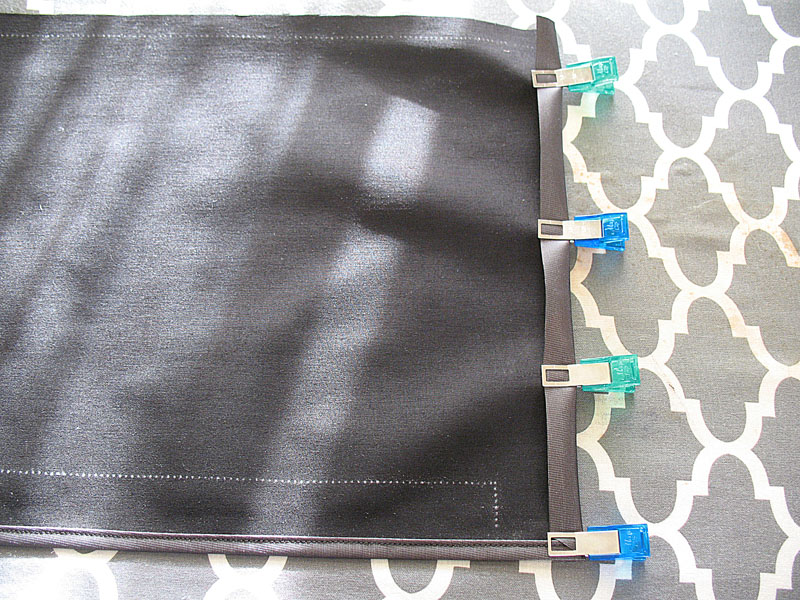
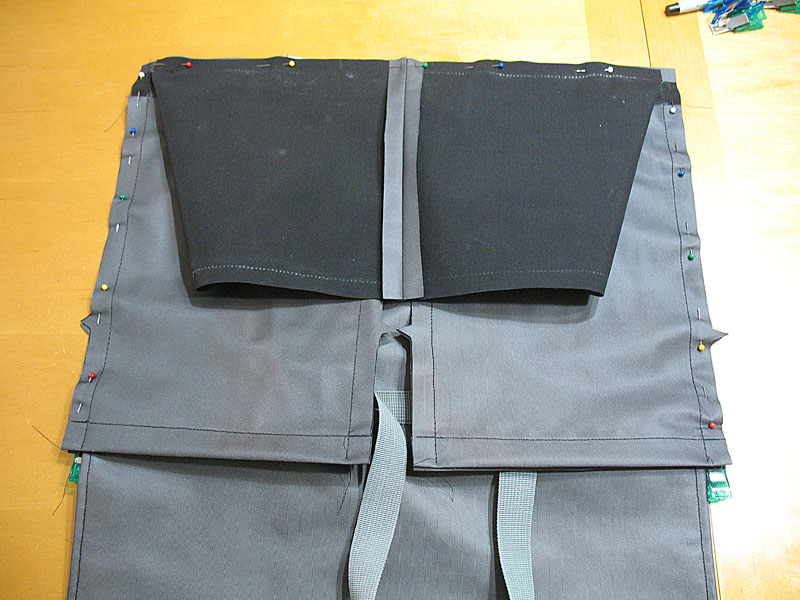
- Before attaching the gusset to the front/back pieces, I first folded & clipped the front/back top edges so that I’ll know where to pin the gusset. Once that’s figured out I unfolded the edges for hemming later after I stitched the gusset in place.


The changes were small but they helped me out when constructing the bag. If anyone is considering making their own grocery bags, you can’t go wrong with this McCall’s pattern to do it and maybe my little changes can help with that too.
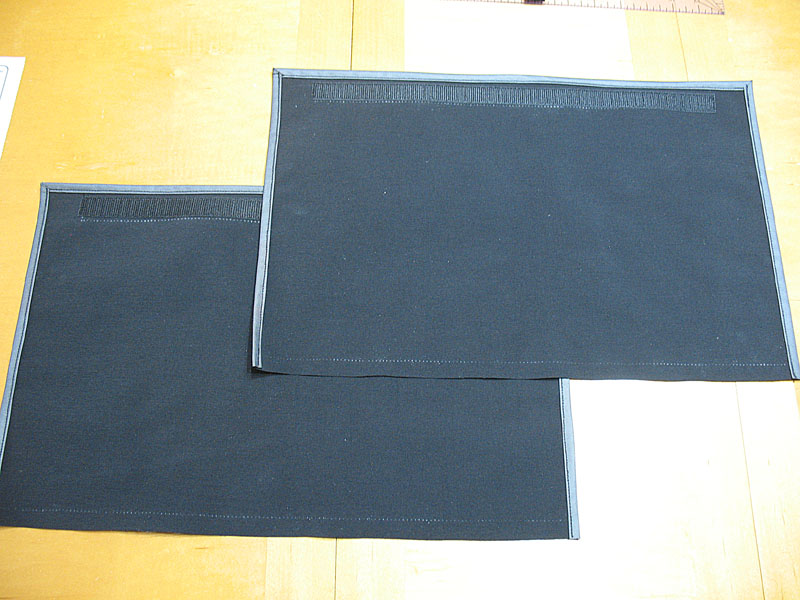
Here is the photoshoot showing off my new ‘chic’ grocery bags:
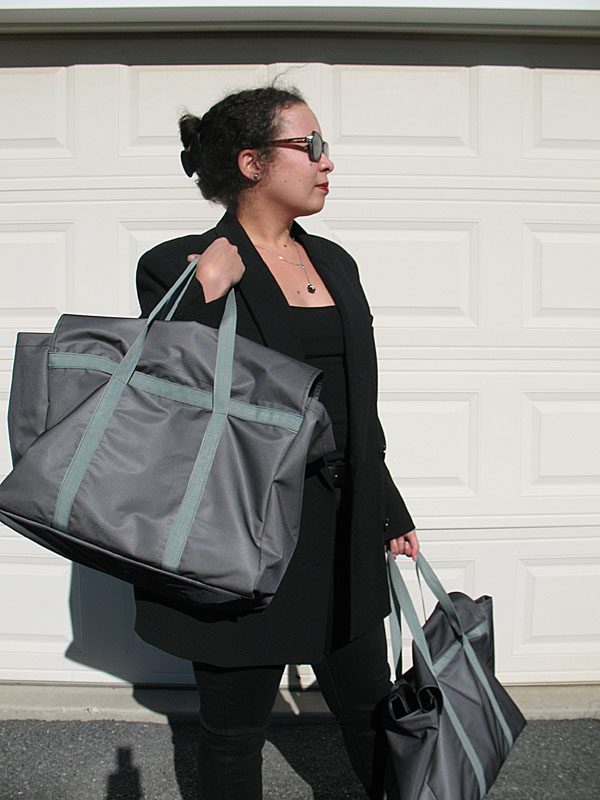


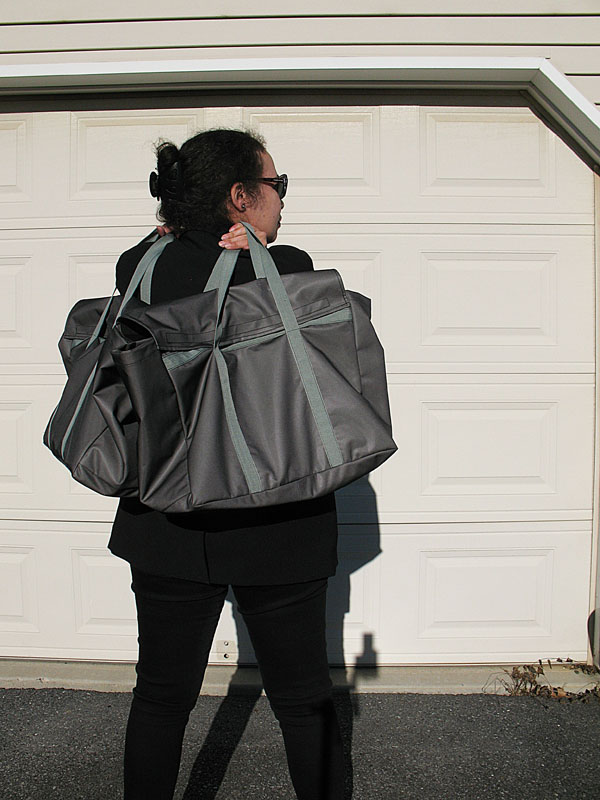
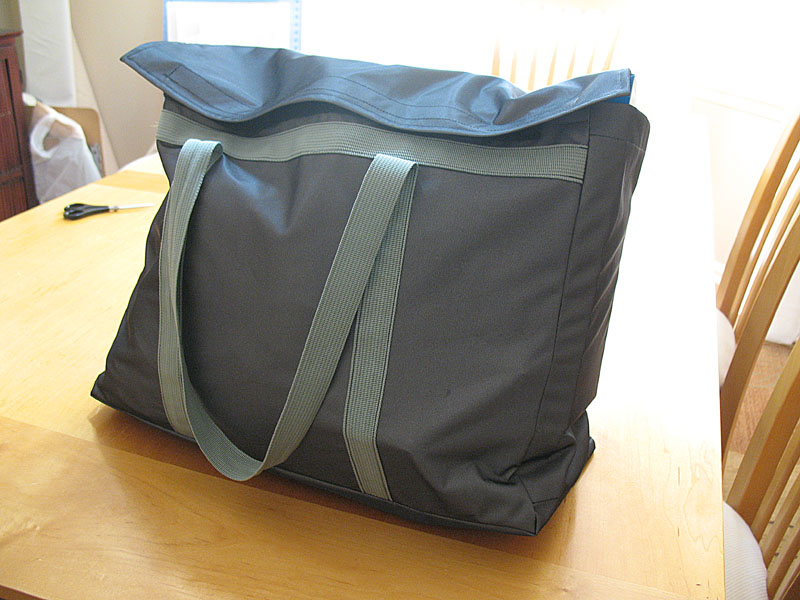
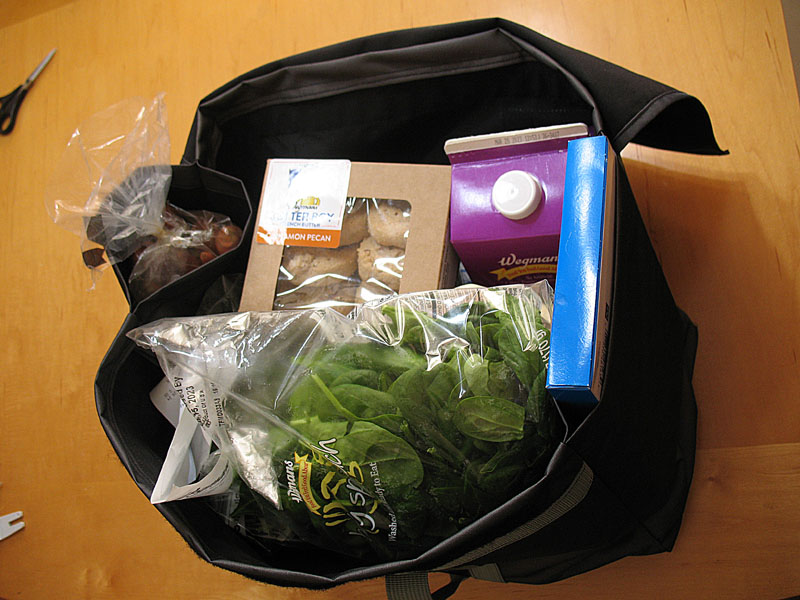
I am super happy with how they turned out! The fabric feels durable enough to handle a lot of groceries and I like the color’s neutrality. I even use these grocery bags for storing ongoing sewing projects so everything will be in one place for easier toting around.
They looks so good maybe I can pass these off as ‘luxury grocery bags’ if I slap a logo pattern on them, what do you think?
Until next time! 🙂