I’M BACK, was the wait too long, lol?
Well, I just happened to have 2 sewing projects going on at once. The curtains I mentioned in my last post was a detour from a new Copycat Fashion I was in the middle of doing and now I’m free to share with everyone.
This Copycat Fashion project is different from what I’m used to doing. Instead of using one of my tried & true commercial patterns to make something I’ve seen, I decided to copy a pattern from an existing garment and try to recreate it for myself. With fast fashion getting cheaper and smaller in size, I’ve been curious to see if I could take a cheaply made & bought piece and extract its pattern pieces while learning how to construct it. This project I didn’t pull apart my original piece because I already like it and it fits, so this was about me learning how to make it for more copies I’ll enjoy later.
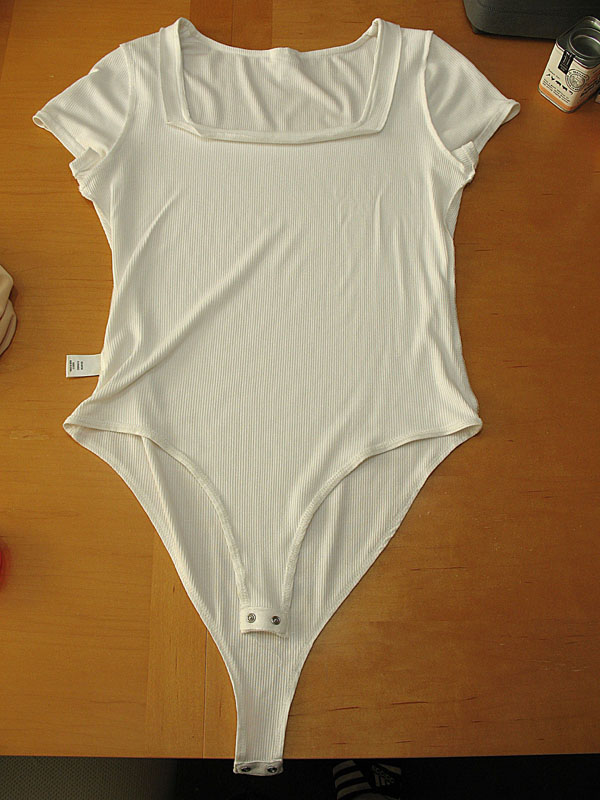
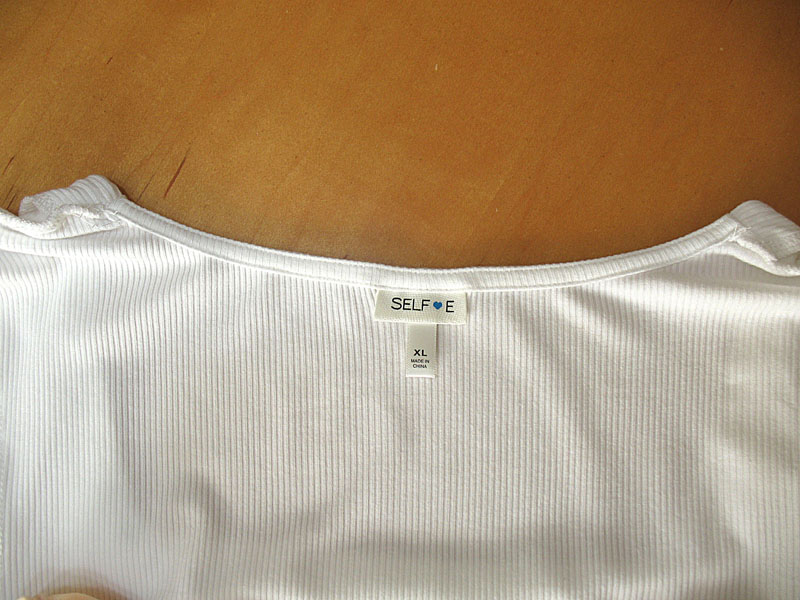
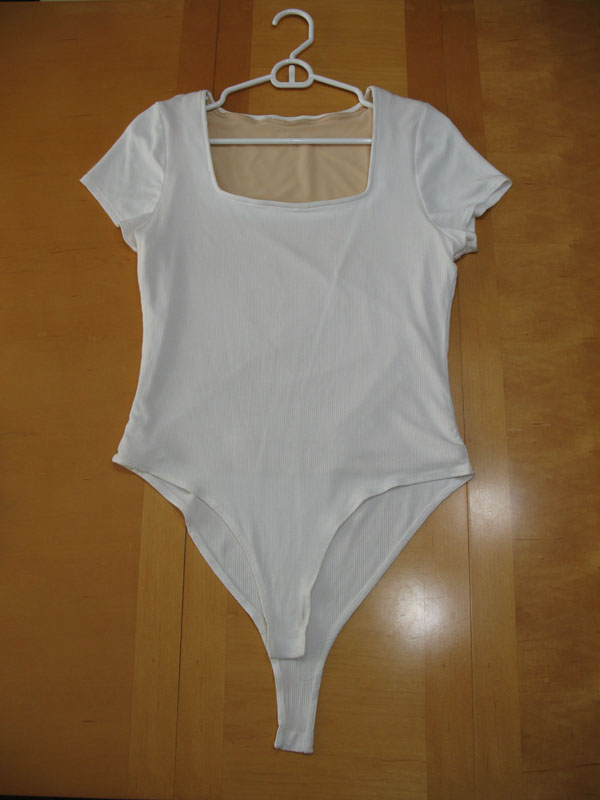
I got this simple short sleeve bodysuit in the Macy’s clearance section for 5 bucks (that spot is a treasure chest of good deals if you have time for the hunt). I love bodysuits in general and the square neckline looked really flattering on me. I’ve struggled lately with necklines so this was a welcome surprise. I like it so much I want to recreate this bodysuit in multiple colors and sleeve lengths. Maybe I’ll even try making a tank top & t-shirt with this neckline, I like how good it looks on me. This is one of the benefits of learning to sew I enjoy.
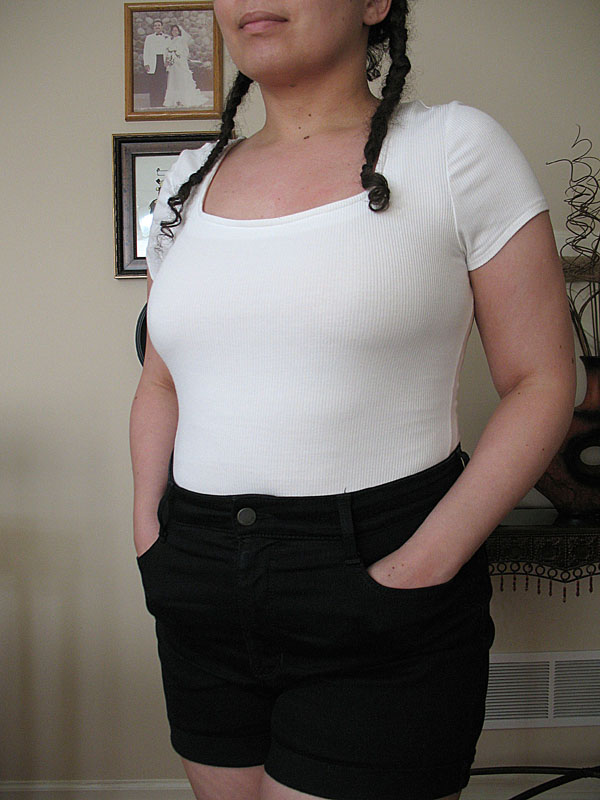
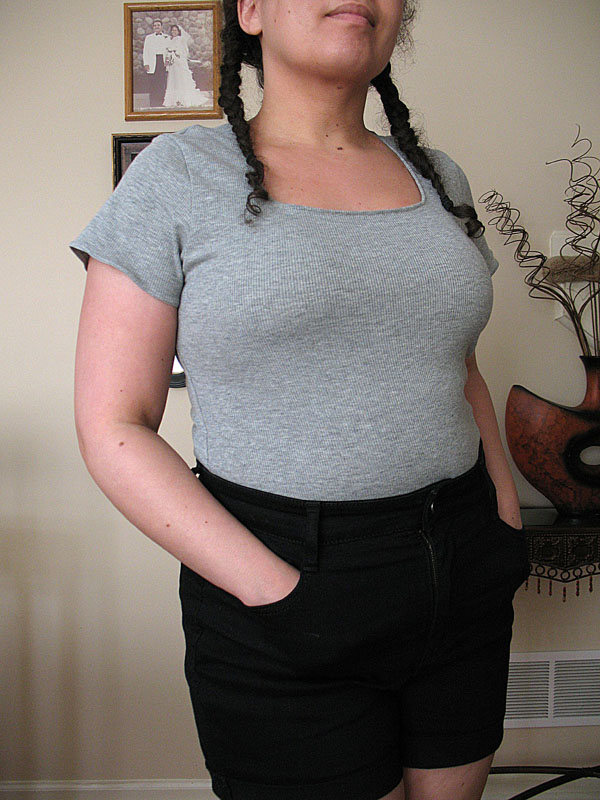
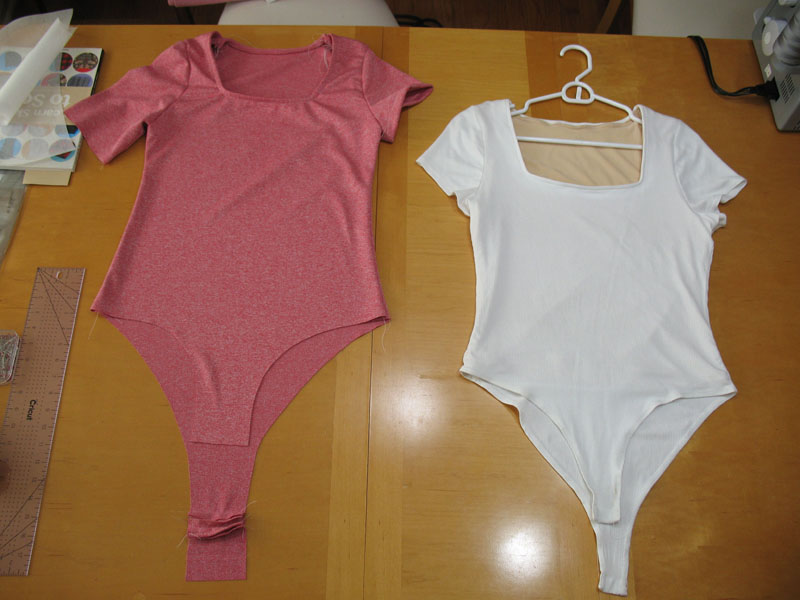
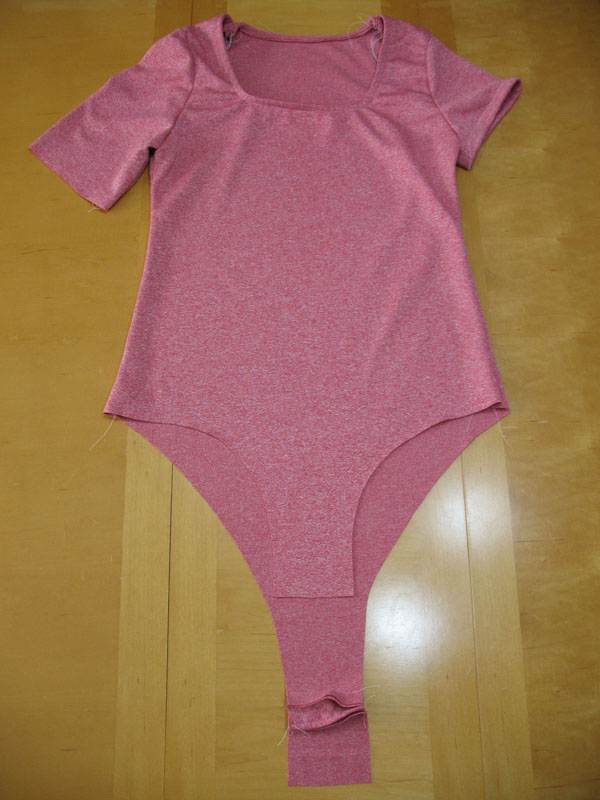
So here comes the fun part; which one of these bodysuits is the original and which one is the copycat?
Take a guess before joining me on the next page, lol.
Alright, has everyone figured it out yet?
DRUMROLL, PLEASE!……….
The white one is the original, everybody, lol!
Yes, I found the white bodysuit at Macy’s and was inspired to recreate it using some grey rib knit fabric in my possession. It had a close fit that needed some coverage underneath due to it being made of white rib knit (my kingdom for white knit fabric that ISN’T translucent, am I right?). Fortunately, I had some nude-colored swimsuit lining I was able to whip up into a stretchy lining for this bodysuit. Not pretty but it works. Now that I fixed it, I became motivated in learning how to make this bodysuit.

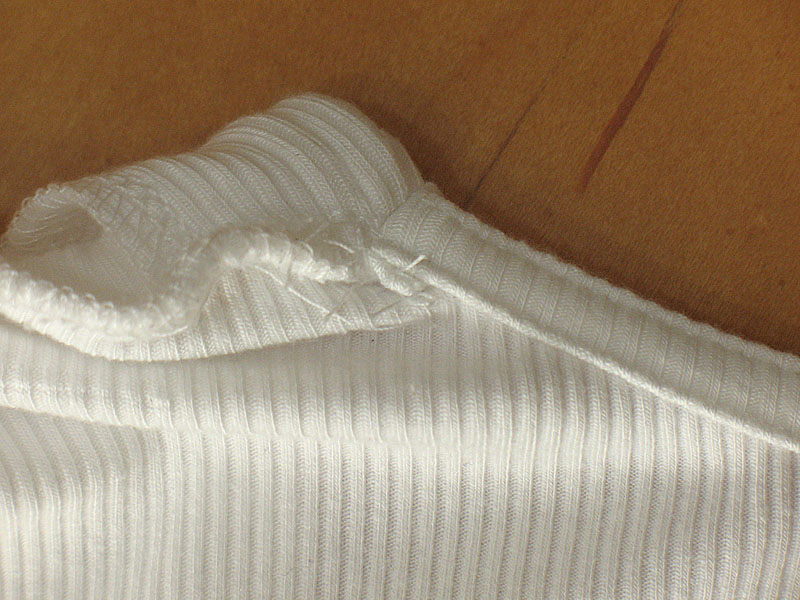
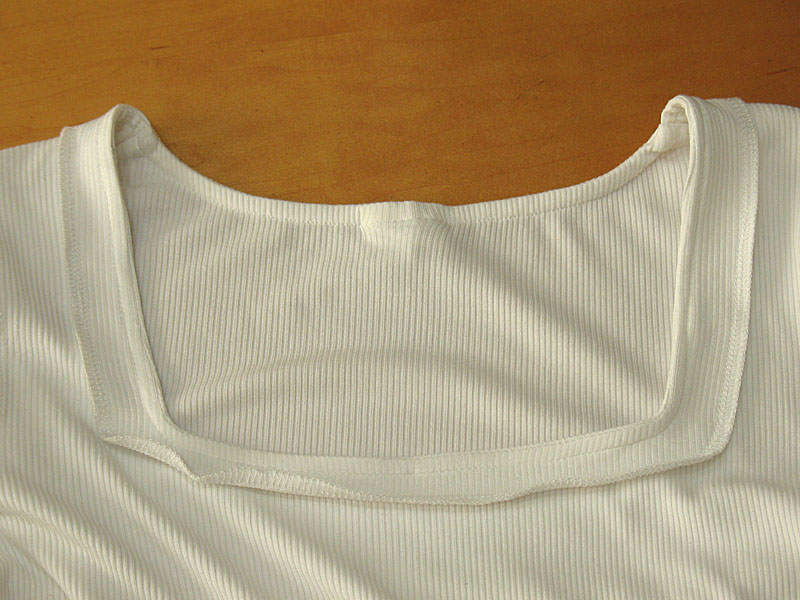

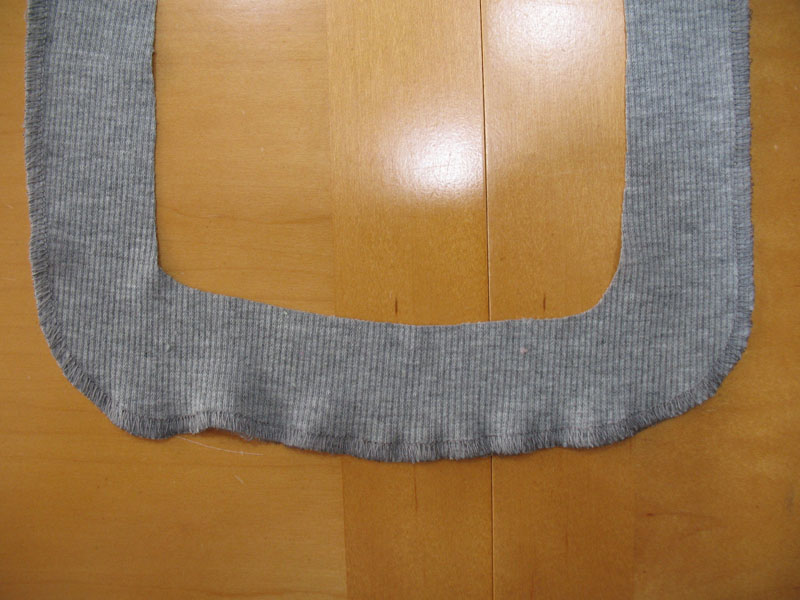
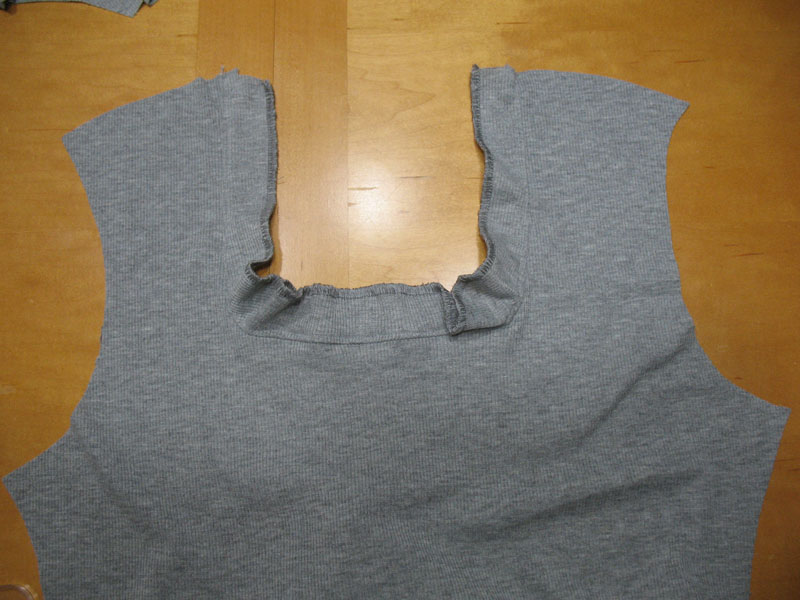
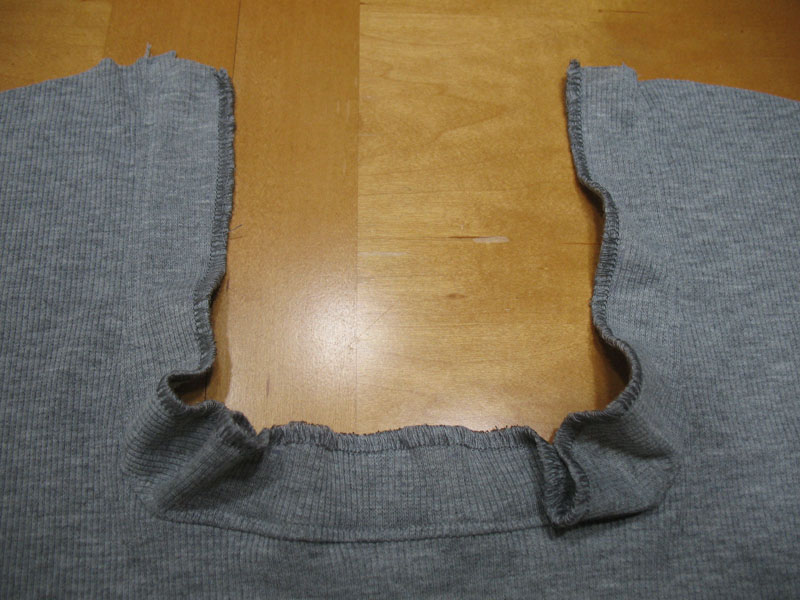
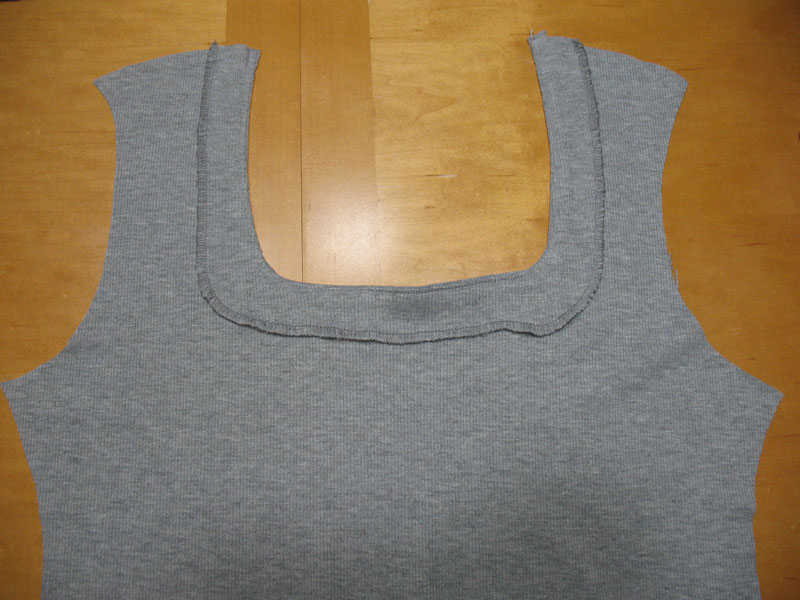
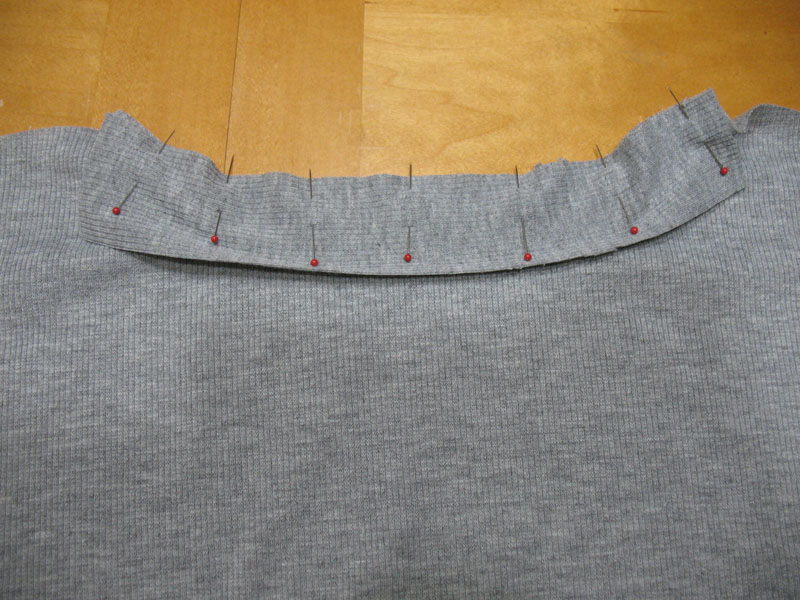
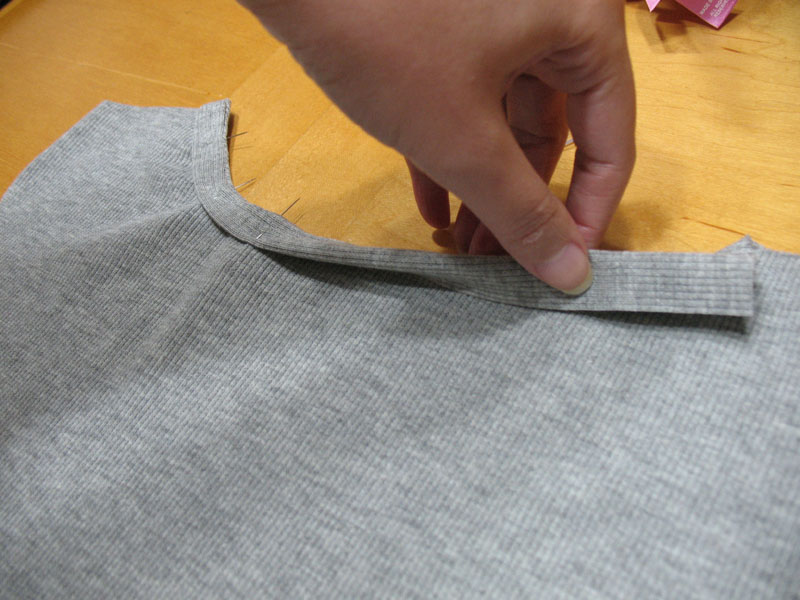
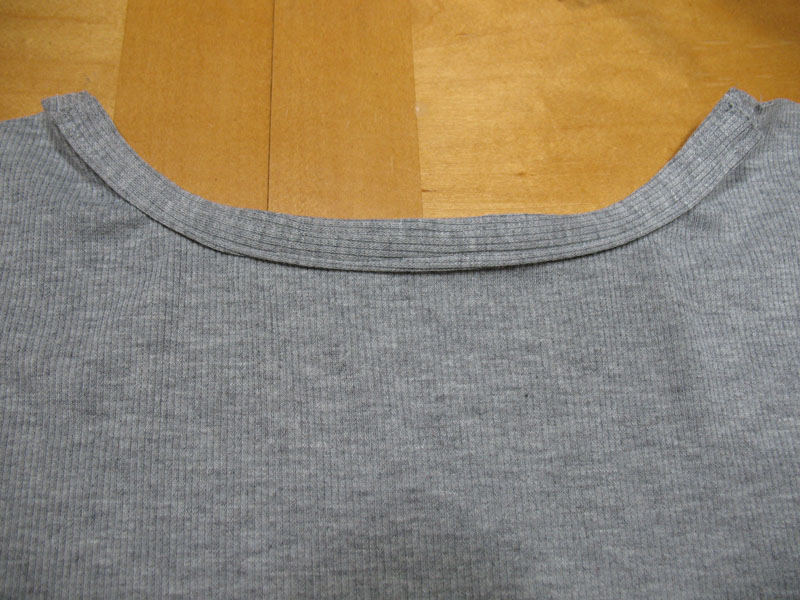
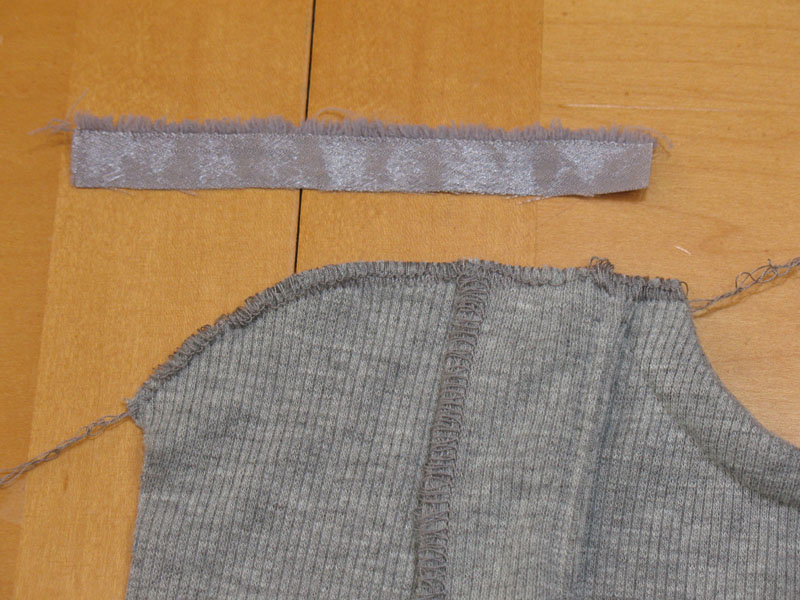
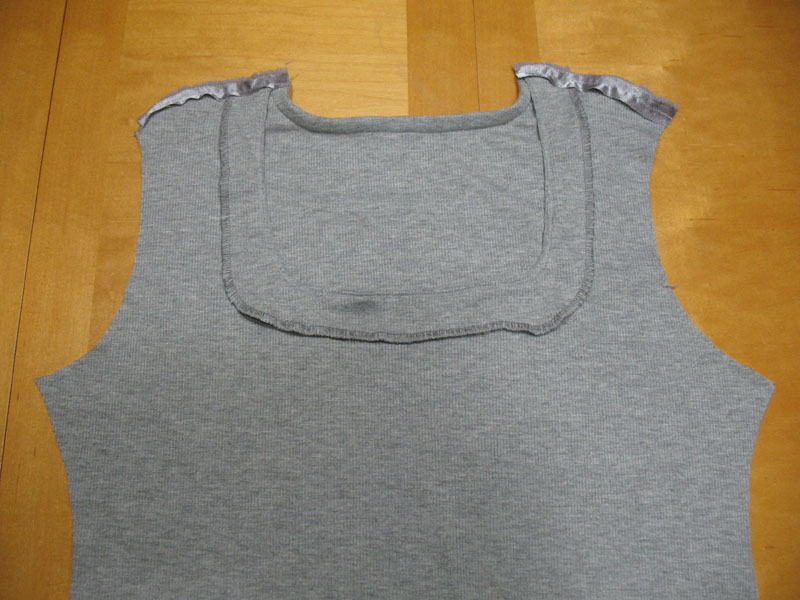
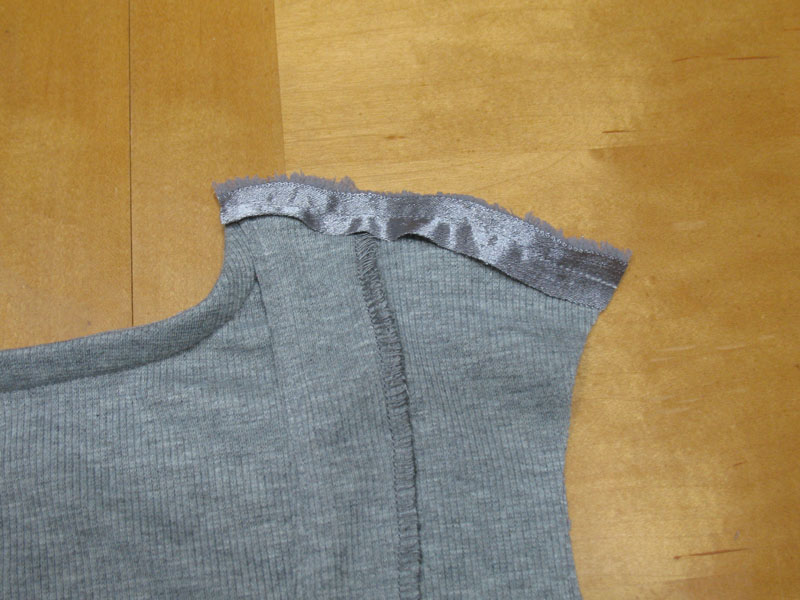
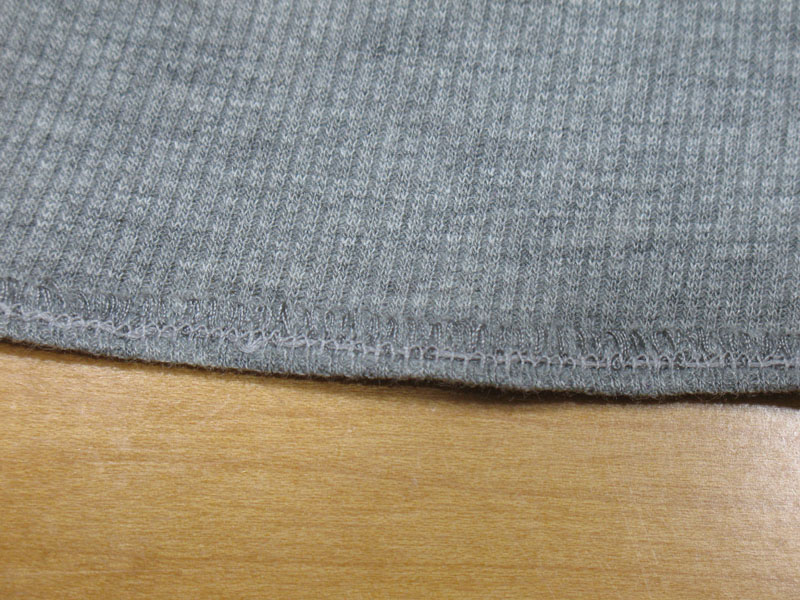
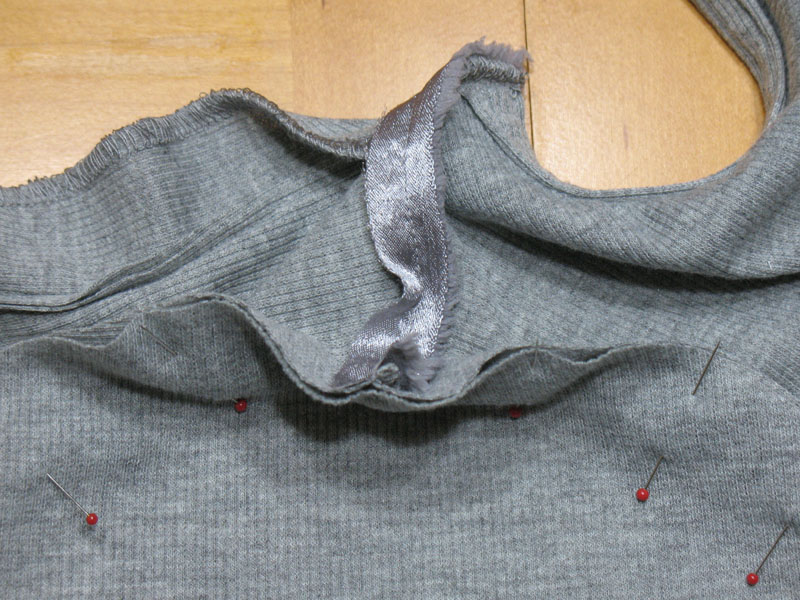
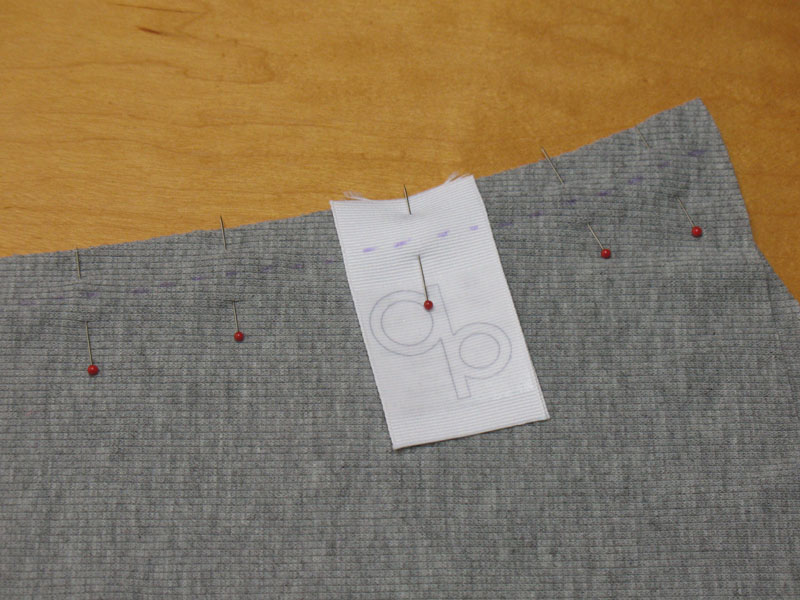
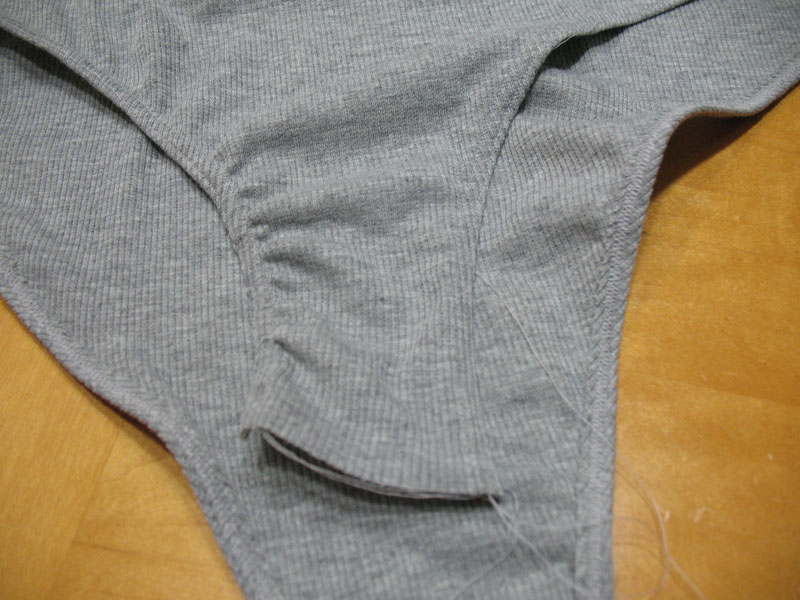
Taking a good look at the garment, I managed to take some notes on what pattern pieces were used, how they were sewn together and what notions to get. Of course, there’s a front & back with short cap sleeves, but the square neckline had front & back facing pieces sewn in a specific manner that was probably done for a cleaner finish. The shoulder seams have clear elastic in the stitches for stability and look like they were stitched after the neckline facings were sewn in. The bottom straps have metal snaps installed in separate twill tape and then sewn to the garment. I particularly like this element since I’ve made bodysuits before and haven’t had much luck sewing snaps onto the straps. When I researched snap tape options, they were all too far apart for what I want to do, so I figured why not make my own snap tape with snap fasteners and twill tape instead. As for construction, it was obviously put together mostly by a serger machine with the exception of the neckline facings and snap tape. So, with all these notes, I began my assignment.
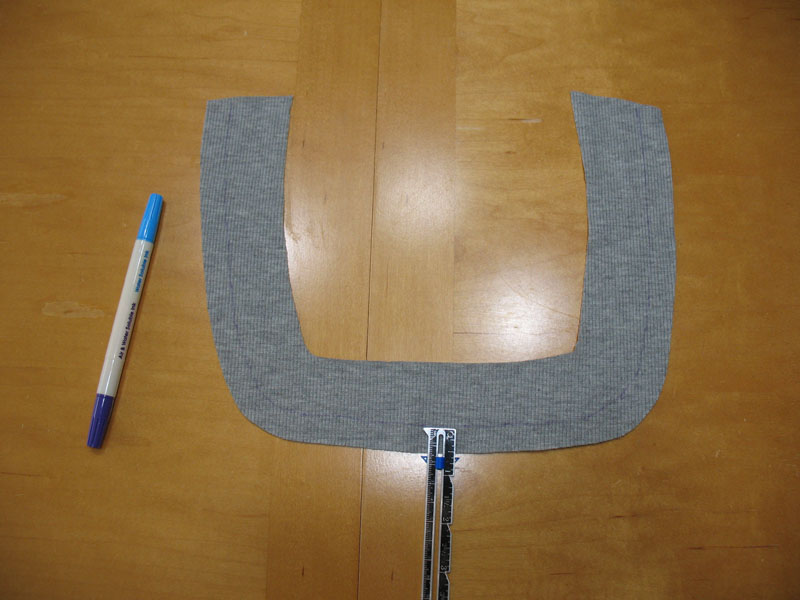
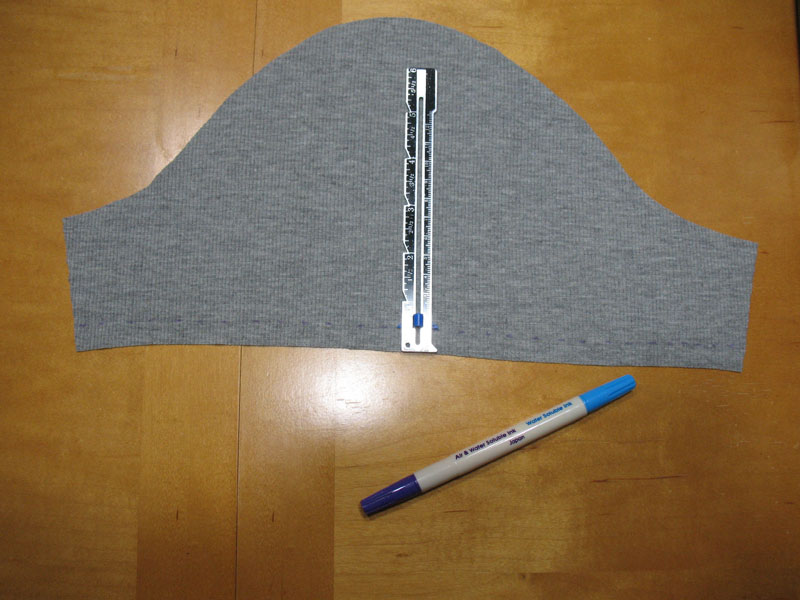
I turned the bodysuit inside out and used tracing paper to get a rough sketch of each pattern piece. Then I got to cleaning up and straighten the pattern outlines, adding seam allowances in various spots (5/8” with 3/8” for the neckline and elasticized leg openings are the standard with commercial patterns) so it’ll be easier to cut out. I did run into difficulties with the sleeves though and resorted to borrowing a sleeve pattern from another commercial bodysuit paper pattern to help draw the sleeve cap in particular. Once I finished drawing & cutting out the pattern pieces, I went ahead with some practice fabric to test out my findings.
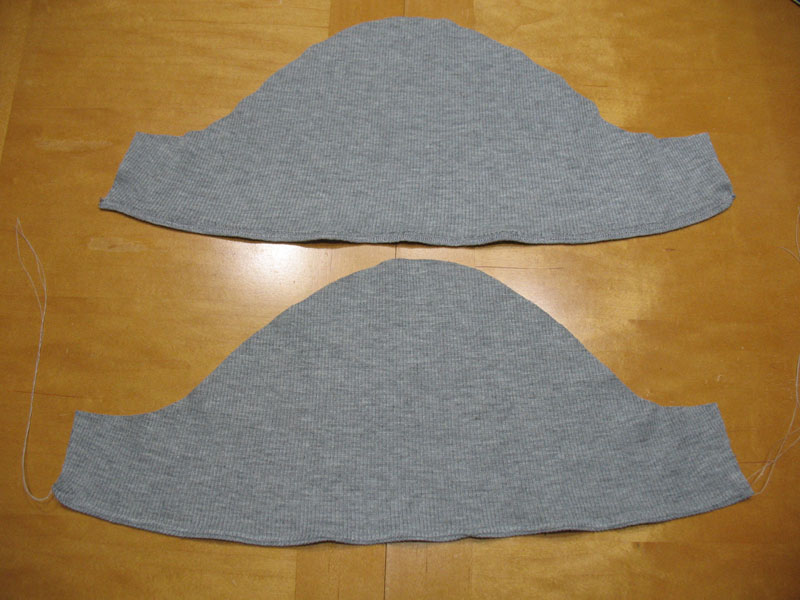
This part required some adjustments to the pattern pieces I traced, which is why having fabric strictly to practice with is important. Don’t use fabric you love for this part unless you buy plenty of it. First the width, then the length and everything in between needed retooling before I got the fit right. At this stage I decided to not bother testing the leg opening because I didn’t want to waste any elastic and snaps, I was only focused on the fit and I got that right. As for the sleeve, my initial pattern’s sleeve cap was larger than the armscye which normally you add ease stitches to gather the cap for a closer fit. However, I wanted a smoother finish with no gathers so I trimmed the sleeve cap smaller instead. The bottom straps were initially too short so I added little fabric scraps to the ends until the right length was reached.
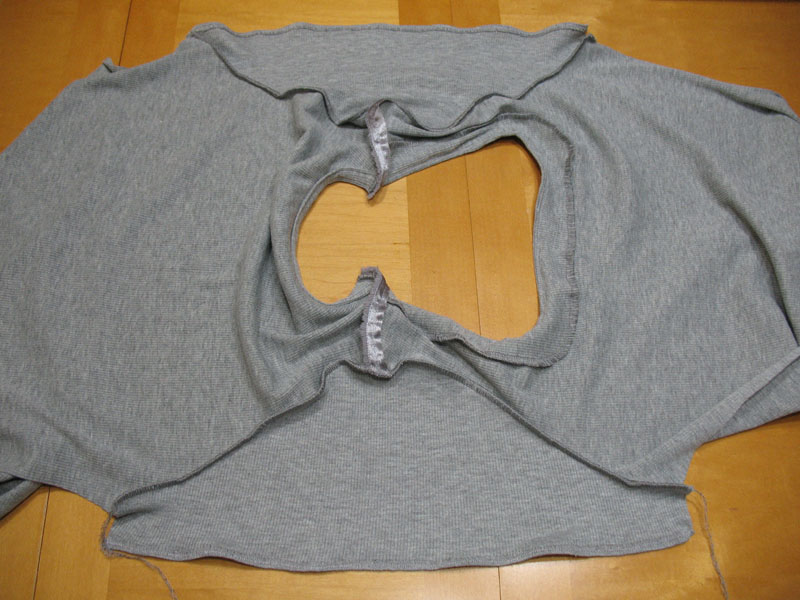
Now that I was satisfied with all the adjustments I made in my practice piece, I took it apart and traced each one on new tracing paper to keep all the new changes. Then I cut them out on my gray rib knit and got to work.
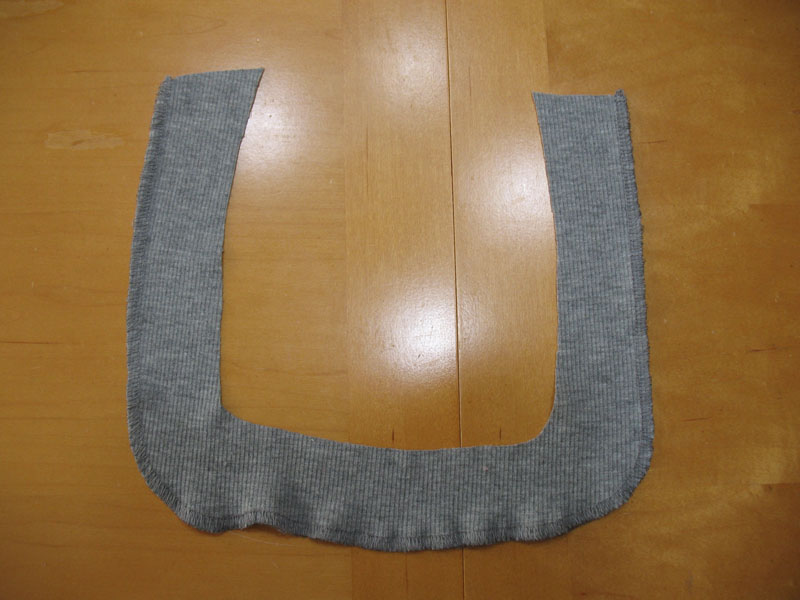
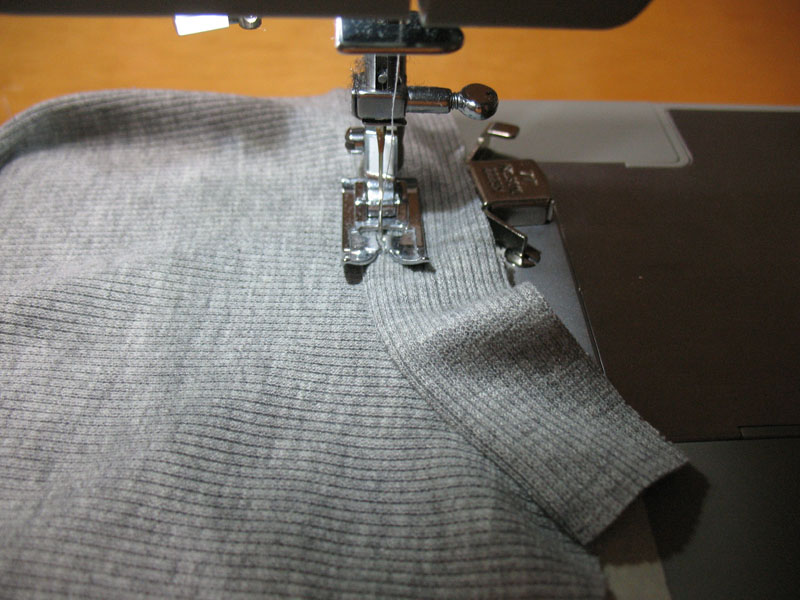
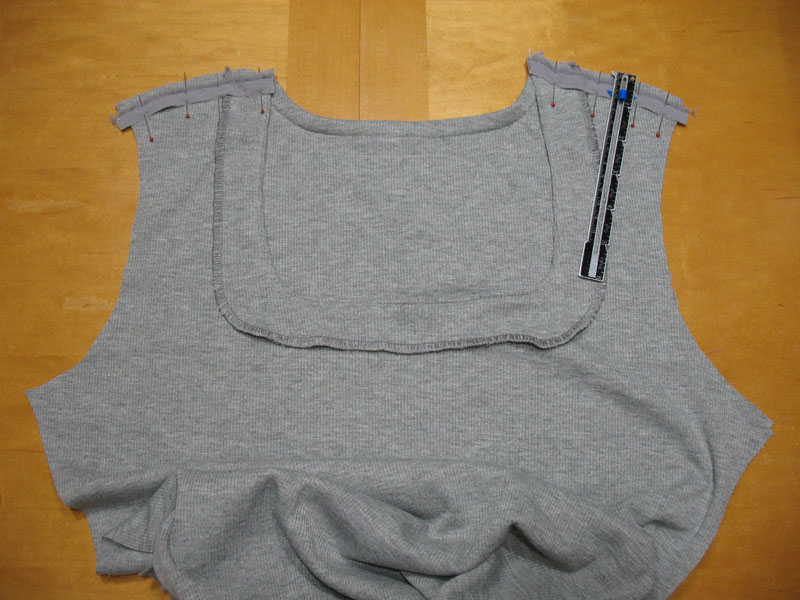
I took my time with constructing the bodysuit. Since I now have my own serger machine, I wanted to use this opportunity to sew the bodysuit together so this is my first serger-based garment from scratch. Overall, I was able to do it with a few tips & tricks I learned along the way:
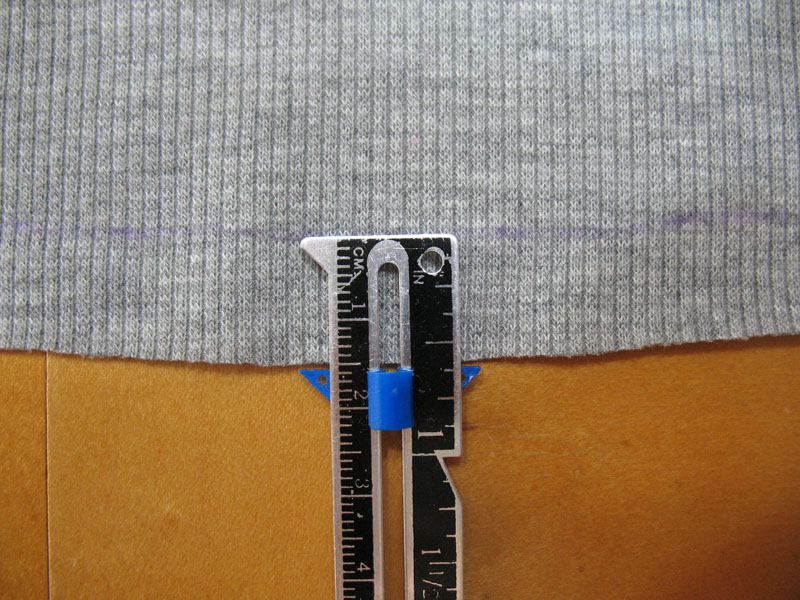
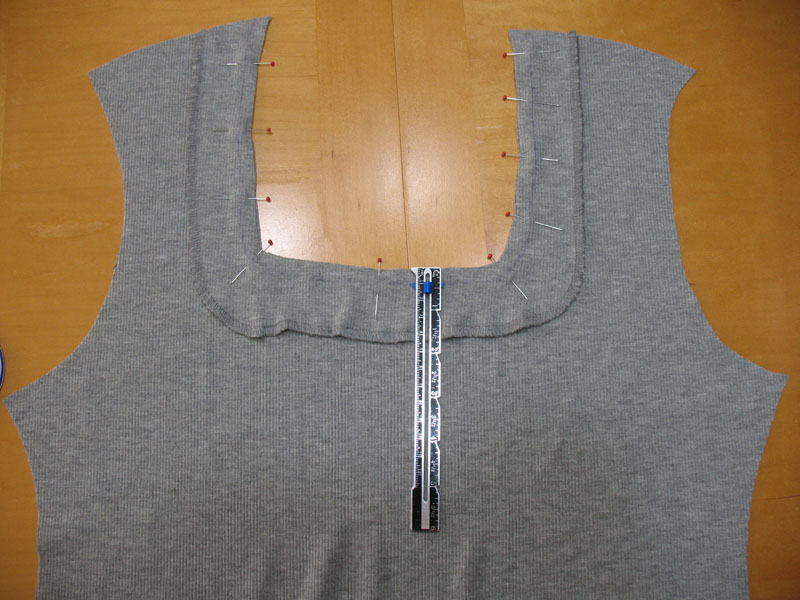
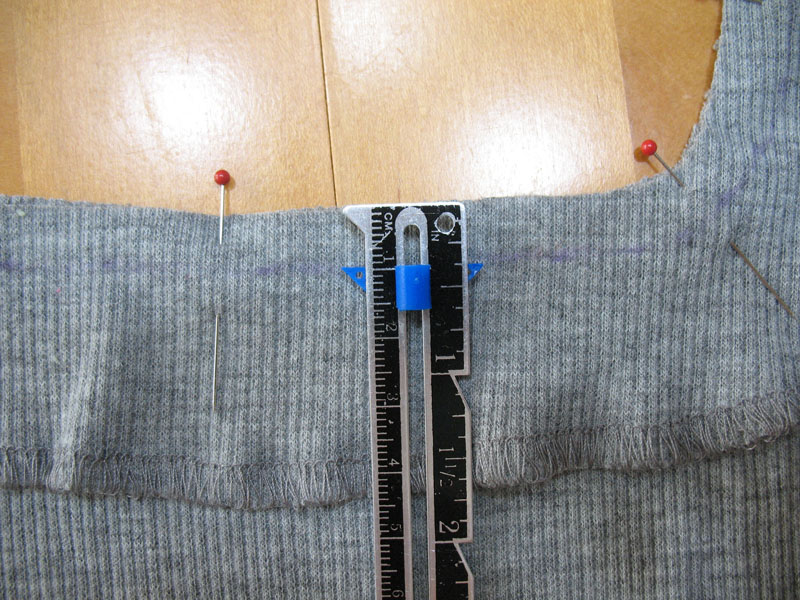
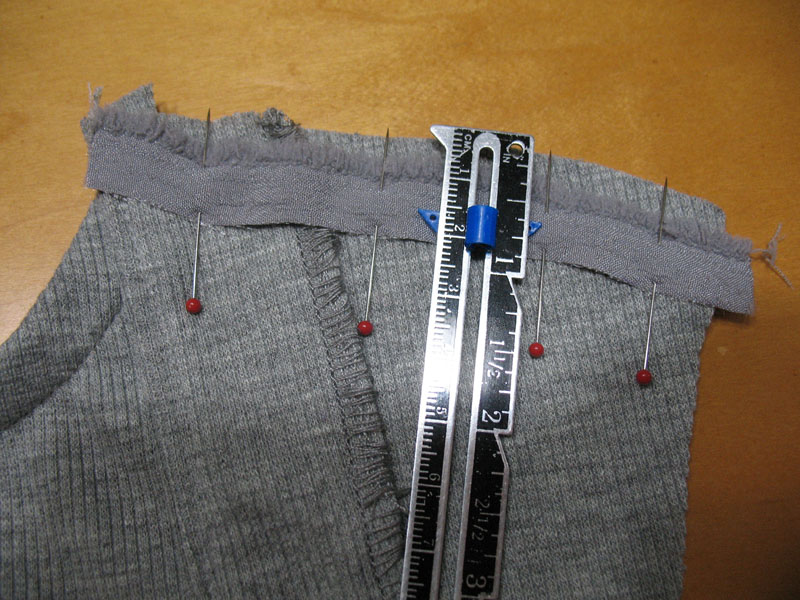
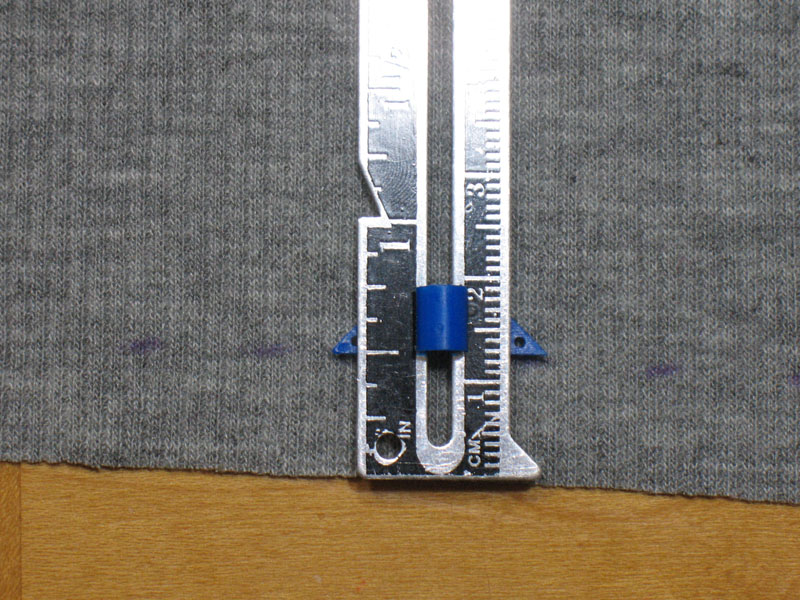
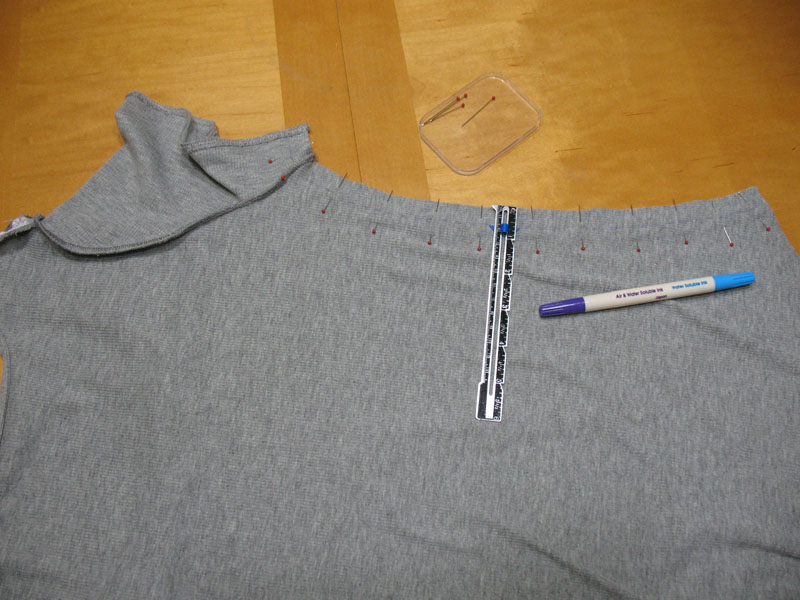
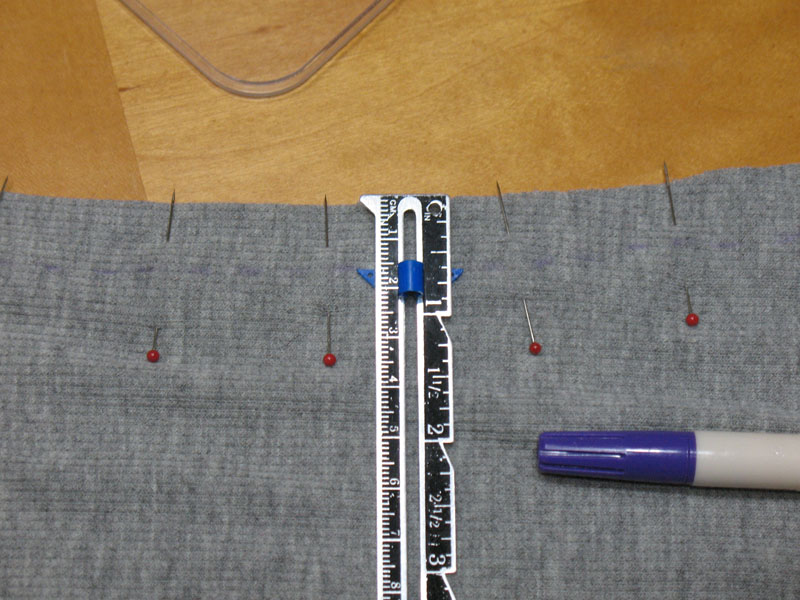
- For all seams, measure & mark the seam allowances to help make a straight and accurate serger stitch.
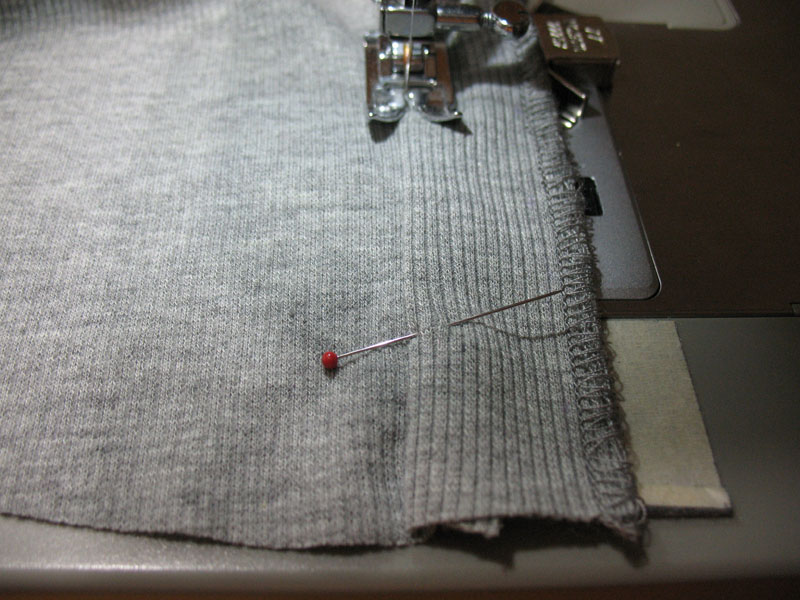
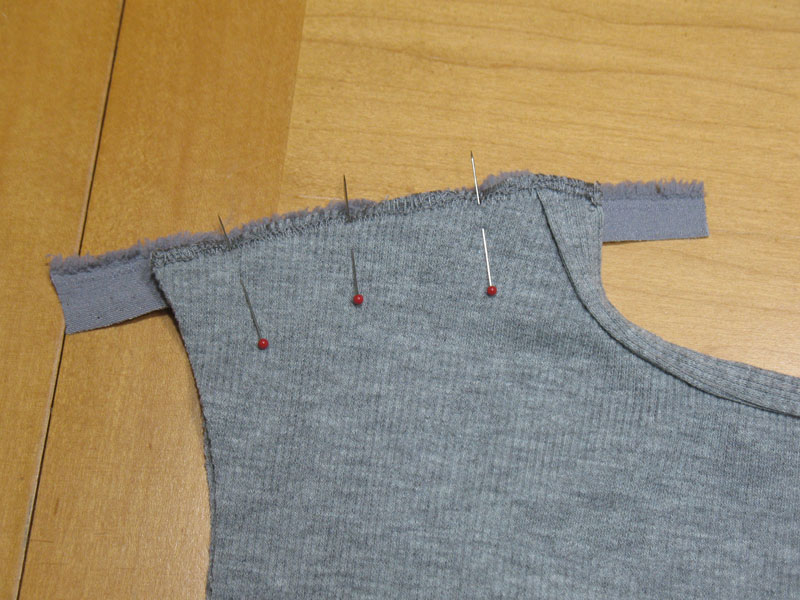
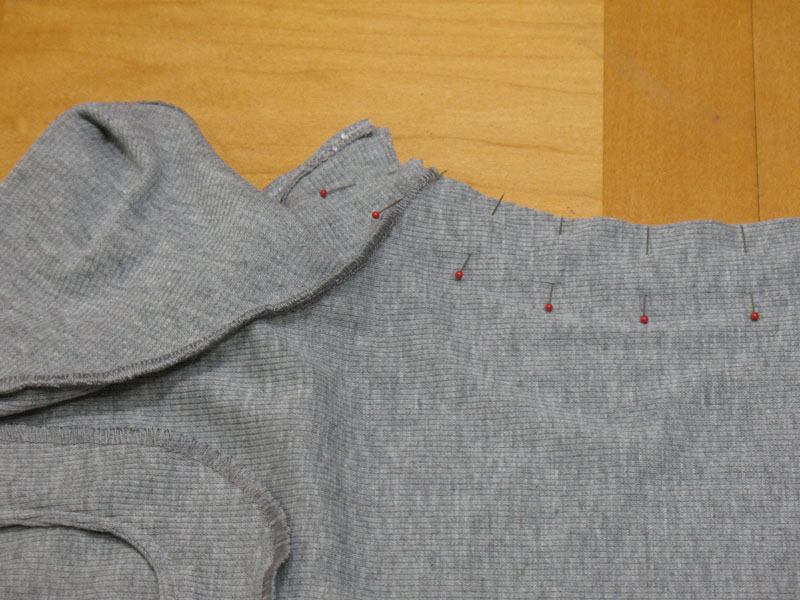
- With bulkier sections, such as the shoulder where the faced necklines meet and the sides where the sleeve is joined, I found it best to stitch downwind so it won’t shift or get obstructed in the machine. If I need to, I’ll also tack down the bulky area and use the thread tail to help it through the machine too.
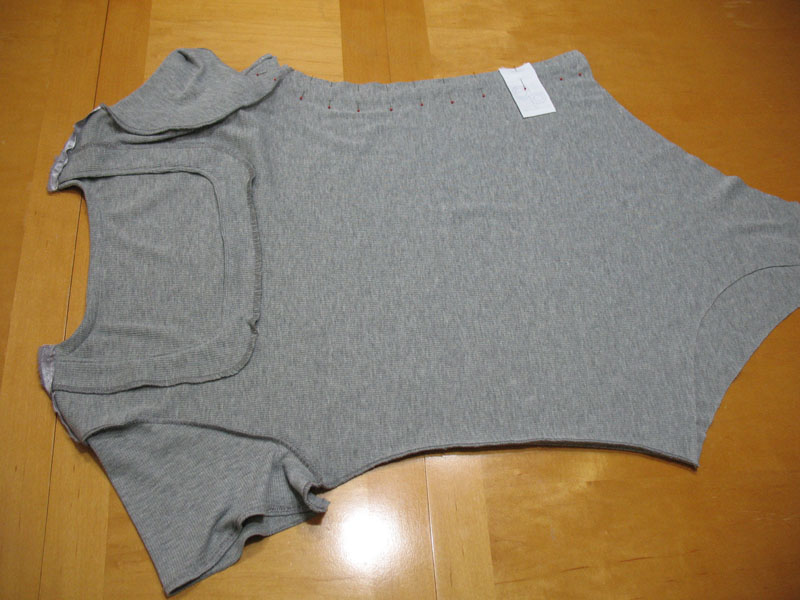
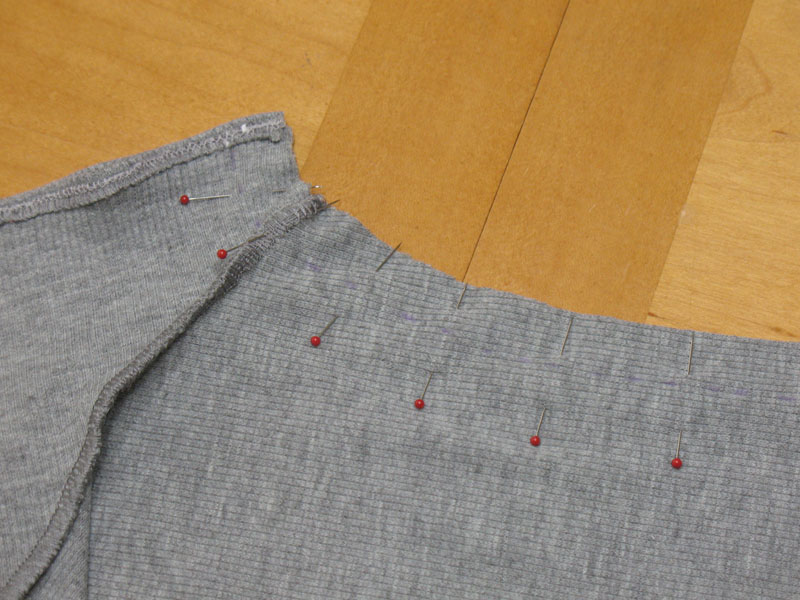
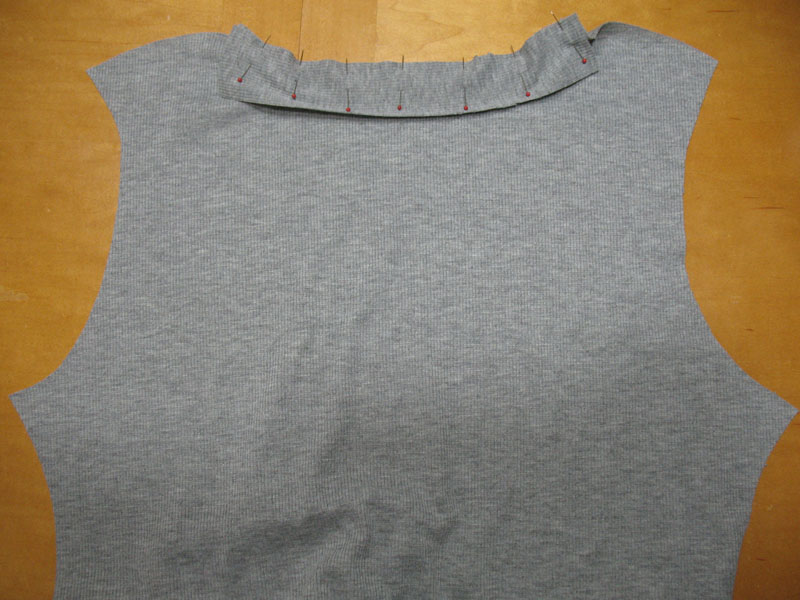
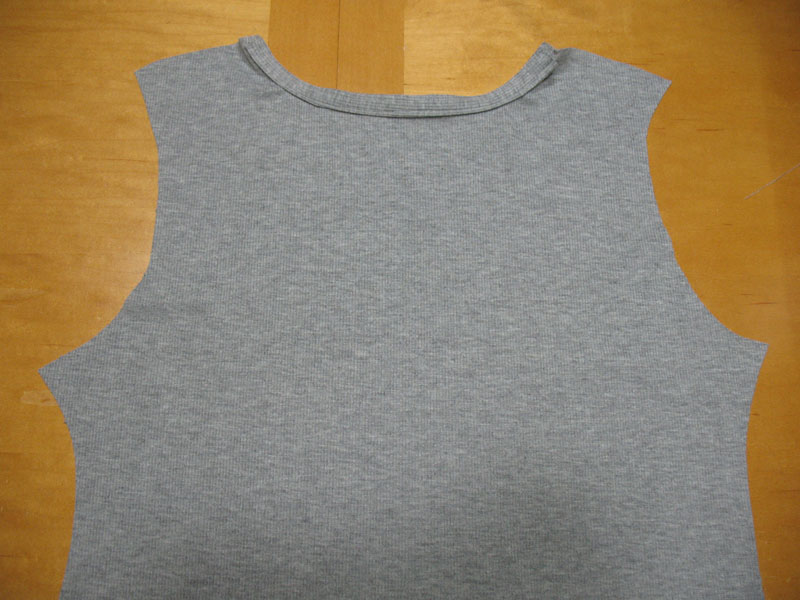
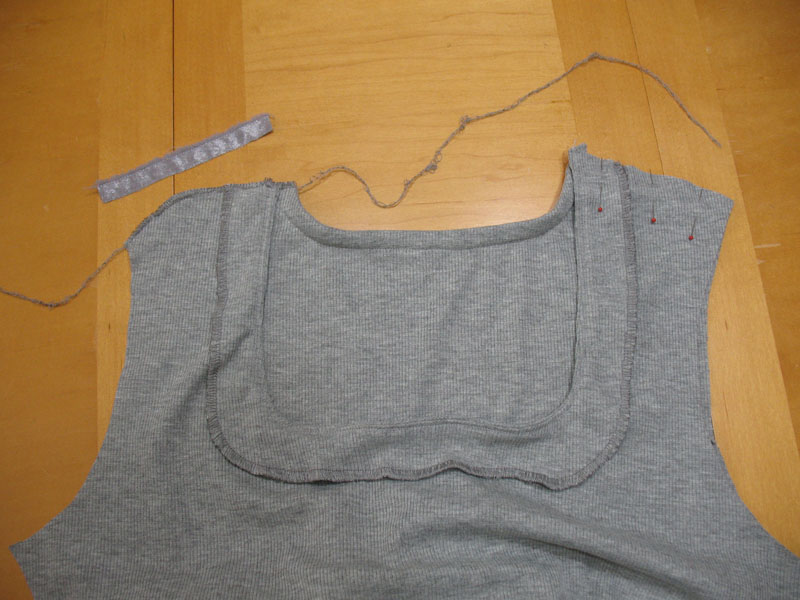
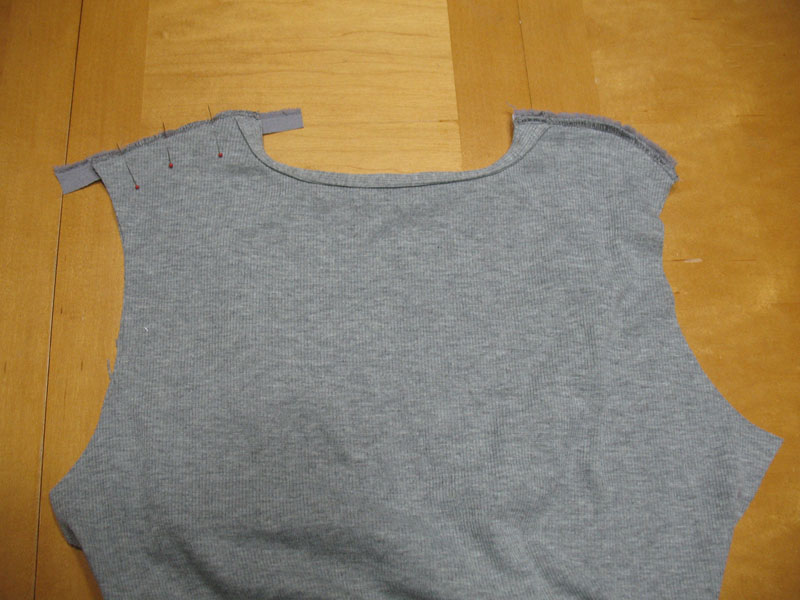
Instead of the usual ‘stitch sides first then add sleeves’ steps when making tops, I first stitched the shoulders and left the sides free, then overlocked the sleeve caps to the bodice armscyes and after that I overlocked the front & back together on the sides, sleeves included. The point of this was to avoid any tubular stitching since it’s tough enough to maneuver on a regular sewing machine much less a serger. I’ve watched a few YouTube videos showing this alternative construction method for making t-shirts and it was much easier to do. I think from now on I’ll make my knit garments this way, and I might even try it on woven fabric-based projects too if I’m up for it.

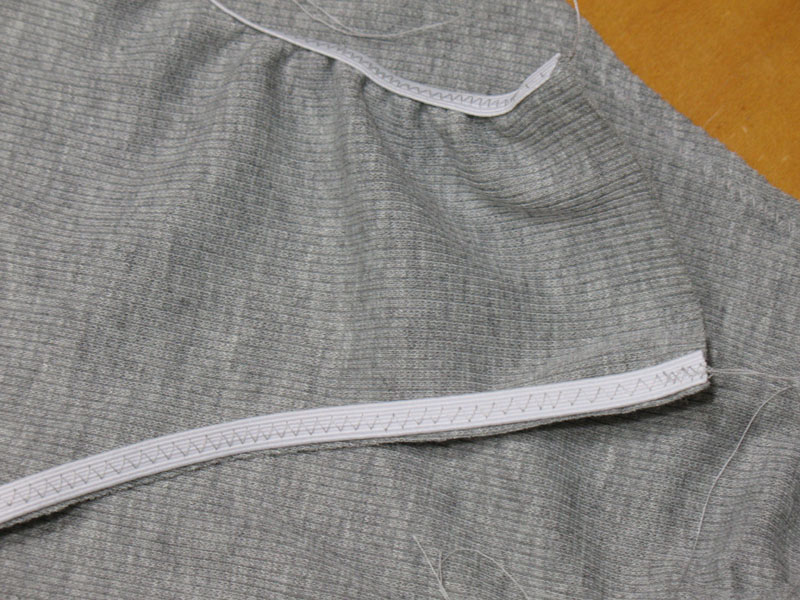
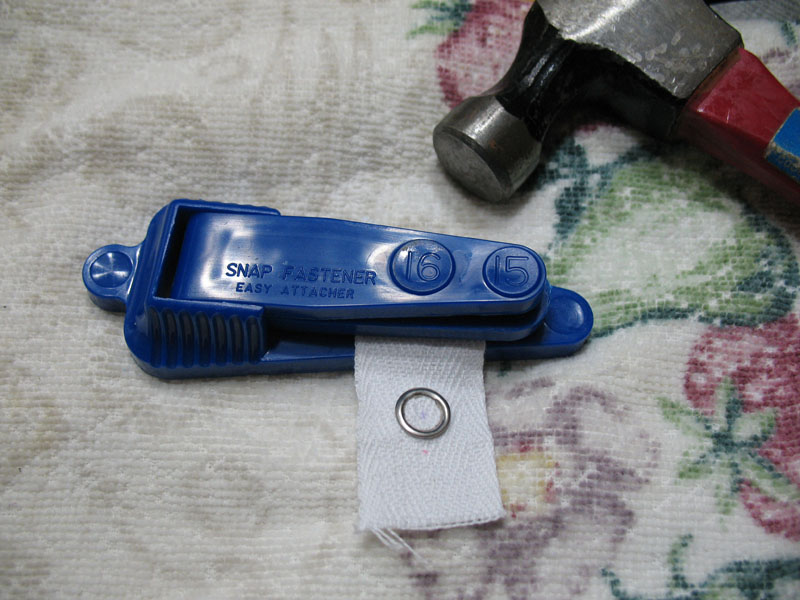
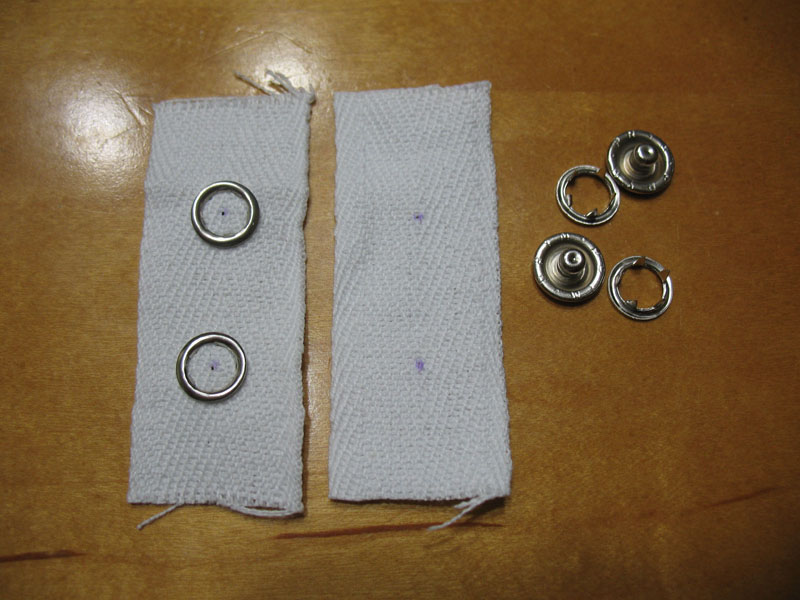
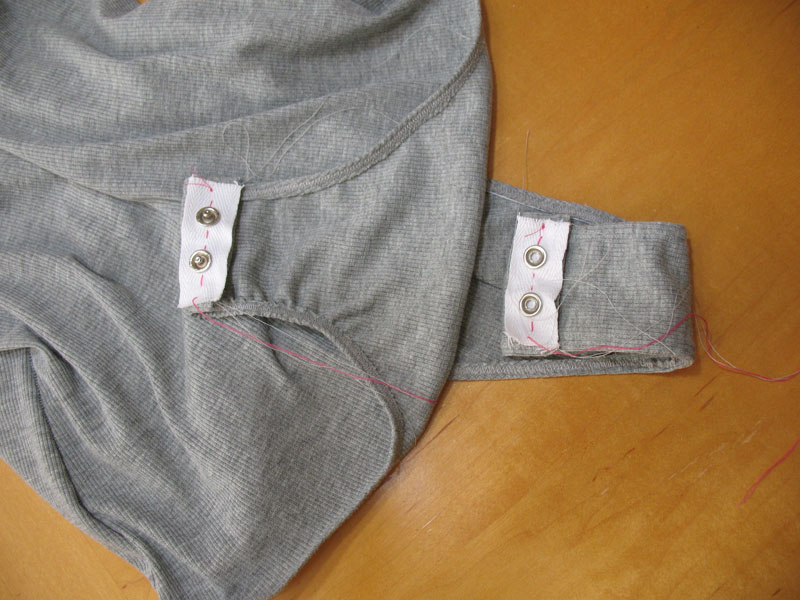
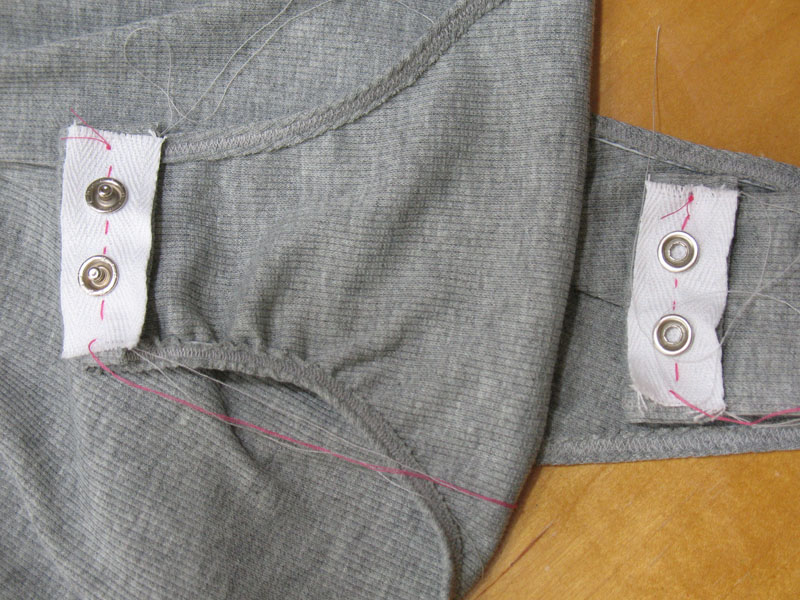
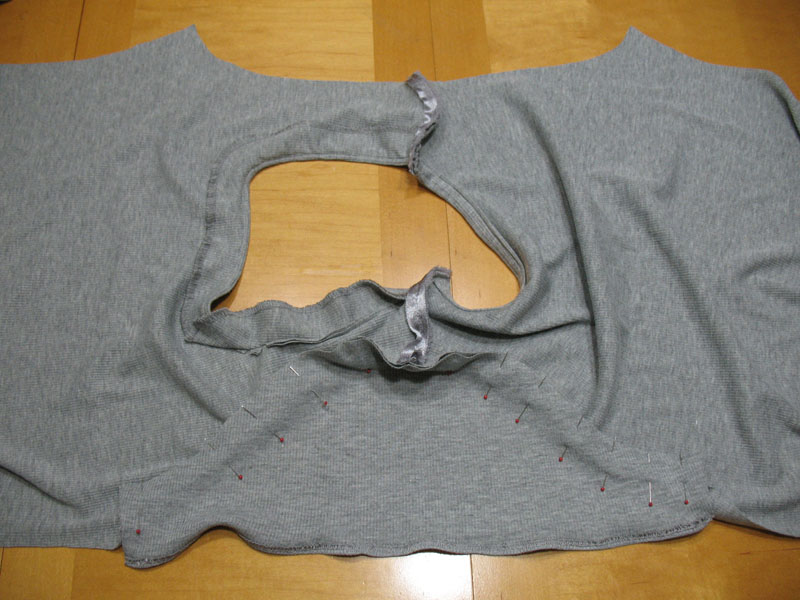
Once I got the bodysuit together, I had the leg opening and straps to finish. This was the most challenging part for me since I left this step out in my practice piece, so I had to improvise with whatever knowledge I possessed up to now. I measured how long each leg opening was then subtracted ¼” for the elastic. I wanted only a little stretch to keep it in place when wearing it. Then I used a zig zag stitch on my regular sewing machine to stretch-sew the elastic in because I just couldn’t get a handle overlocking it on the serger. No problem, it won’t be seen anyway and it was easier to do. According to the original piece, the elastic was sewn in first and then the snap tape was placed on the tip then folded over to stitch in place so I followed suit. Making the snap tape was a snap (pun intended) and all I did was follow the directions on the fastener packaging. Don’t forget to measure & mark the placement of those snaps before installing because it’ll help when positioning the tape in the presser. However, I DID have some trouble sewing the snap tape to the strap ends because the snaps were so big the presser foot couldn’t get by. If I can find snaps smaller than a 15 and a presser device to fit them, I’ll definitely consider it. But if size 15 is the best I can do, then I can make it work for future bodysuits by just stitching the tape in place by hand instead. Nothing like a haute couture finish on a custom piece, I say. 😊
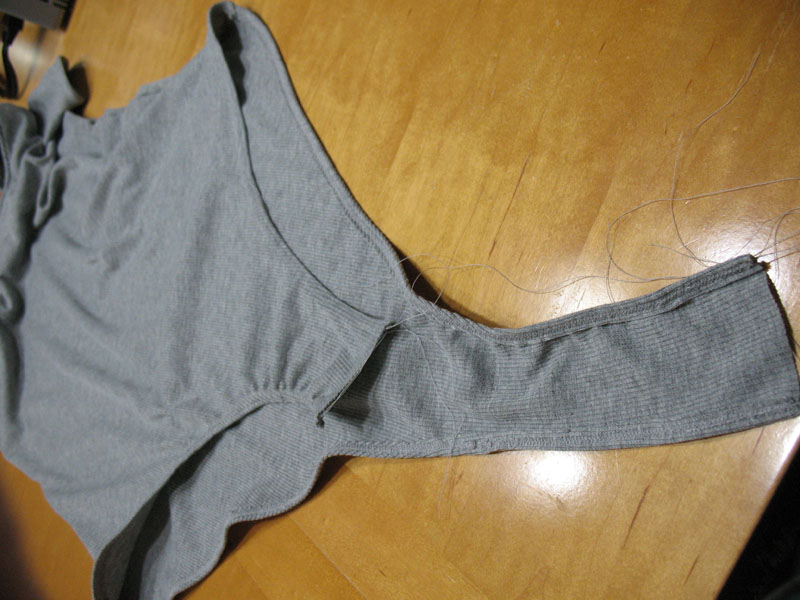
And just like that I’m finished! The bodysuit fits me nicely due to the measurements I got from the moderate stretch knit practice piece but using rib knit for this project, not as snug as the practice piece was. Both fits suit me fine so I’ll keep the sizing as is and use this pattern for both kinds of stretch. Of course, the bodysuit bottom can be improved with some practice for more finesse. However, my copycat pattern is a bit asymmetrical in some parts. Visually it’s not obvious but I didn’t fold my original garment in half when I traced the pattern, I laid it out flat on the table and went from there. Like I said previously the bodysuit still looks good and fits so I’m not in a rush to fix it. Cleaning up this pattern design will be placed on my project bucket list anyway for my own personal growth on making clothes and in the future, I’ll fold my garments in half first to get more symmetrical pattern tracing.
I’m actually really pleased how this whole thing turned out. I want to make more copies of this square-neckline bodysuit in different colors and sleeve lengths and now I can thanks to my copycat efforts. I got more of those waiting for me and I will show them off soon. Until next time!