Happy July, everybody!
The summer season has sparked many warm weather-based clothes ideas to keep my sewing machine busy, but instead I began my latest crafting adventure with a surprise home décor project.
My church was in dire need of some new curtains after theirs gave them 20 years of dependable service and since I’m a well know sewing hobbyist they recruited me to make them. I was eager to take on the challenge since I’ve yet to sew anything for interior decorating, especially from scratch. However, curtains are nothing more than large hemmed rectangles with stitched channels for the bar to slip through so designing & constructing them aren’t complicated.
The only thing for a sewer to worry about when it comes to a simple project is all the measurements needing to be accurate and being able to replicate that 3 more times and THAT can get complicated.
Come join me as I regale my adventure in curtain sewing, lol!
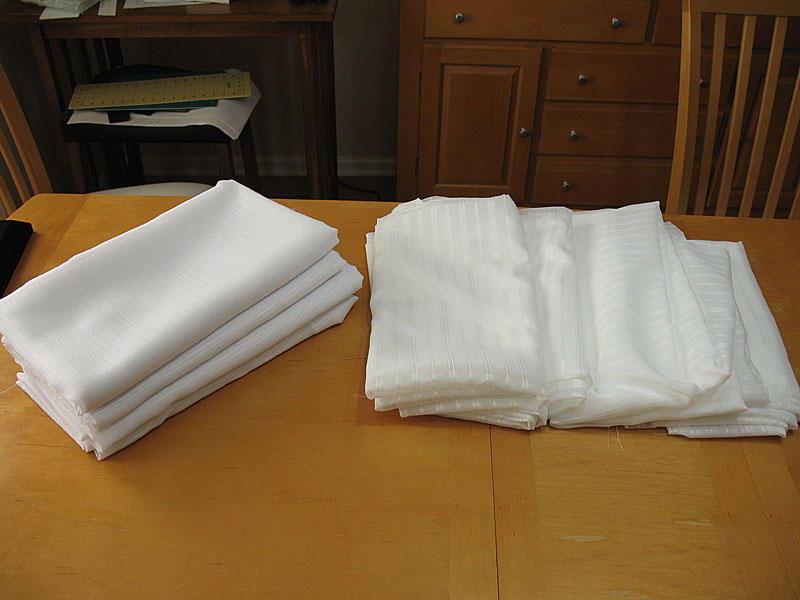
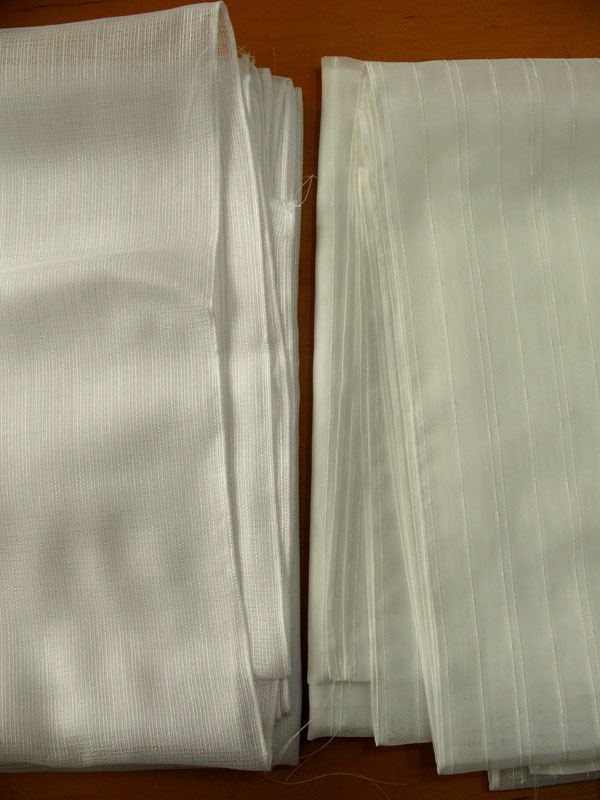
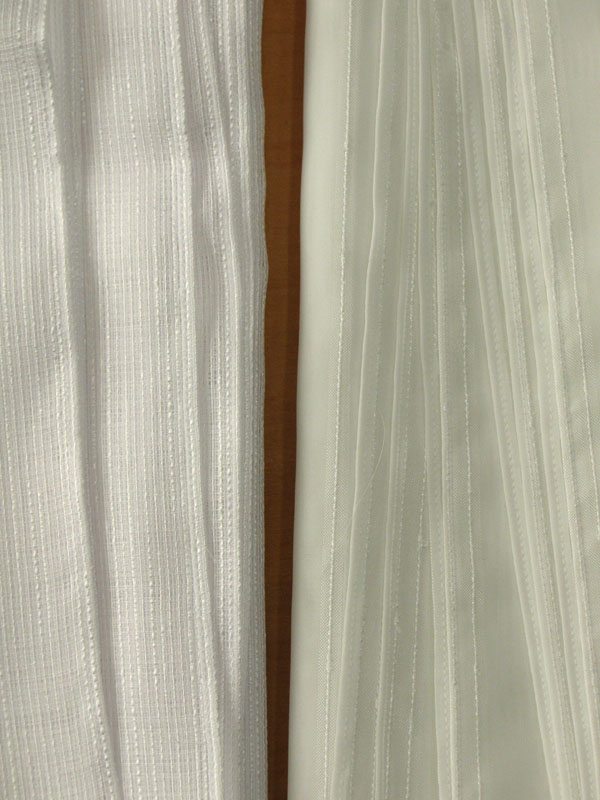
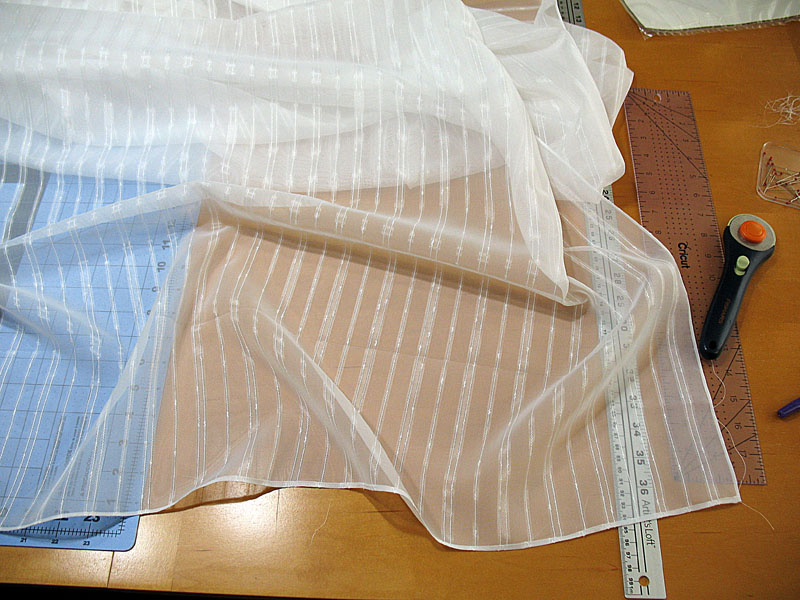
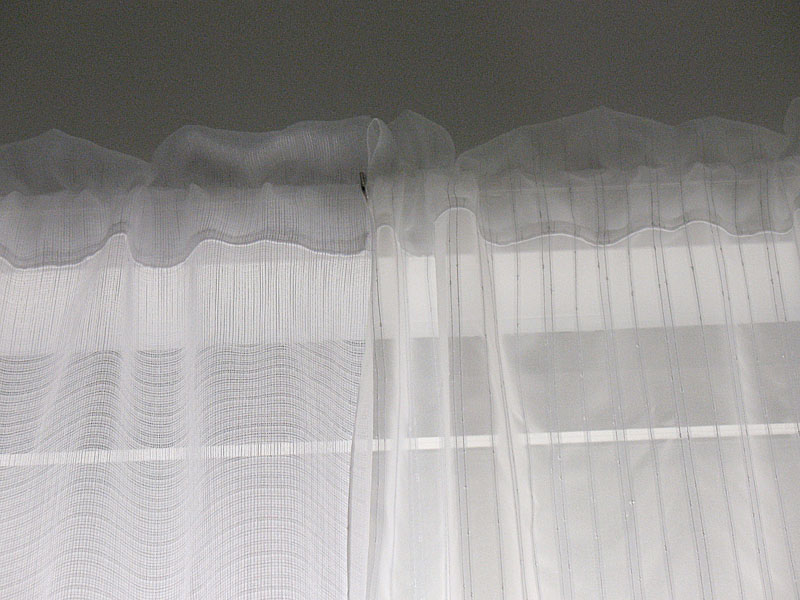
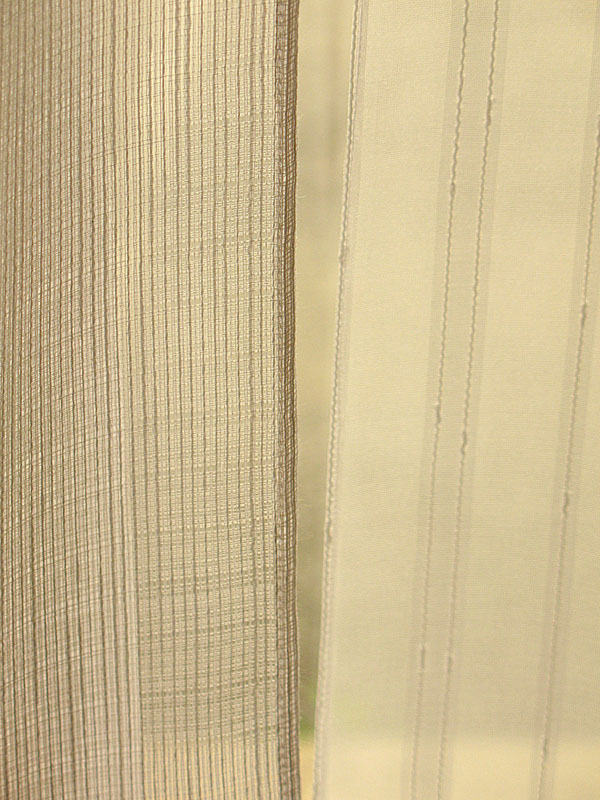
So, as I previously said, I needed to measure the 2 window structures I would be dressing and then figure out what kind of design to do them in. I went with 4 panels for each window, with 2 of them done in a light solid white linen and the other 2 done in a light white sheer embroidered type of fabric that will be arranged in the middle and the solid panels sandwiching them on the side. Simple, classy and beautiful for the venue.
The standard for curtains is 63” wide so calculating the window dimension with the number of panels, I concluded that I’ll need 7 yards of each fabric to fulfill my vision.
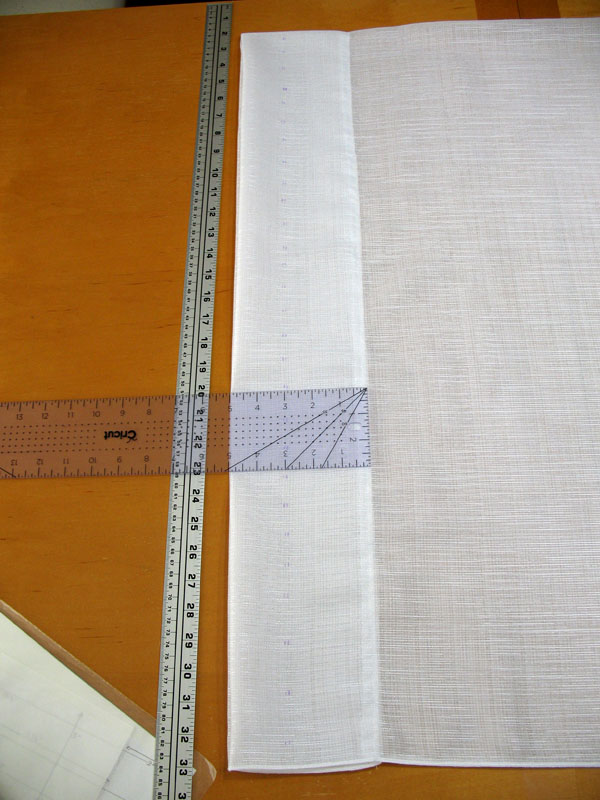
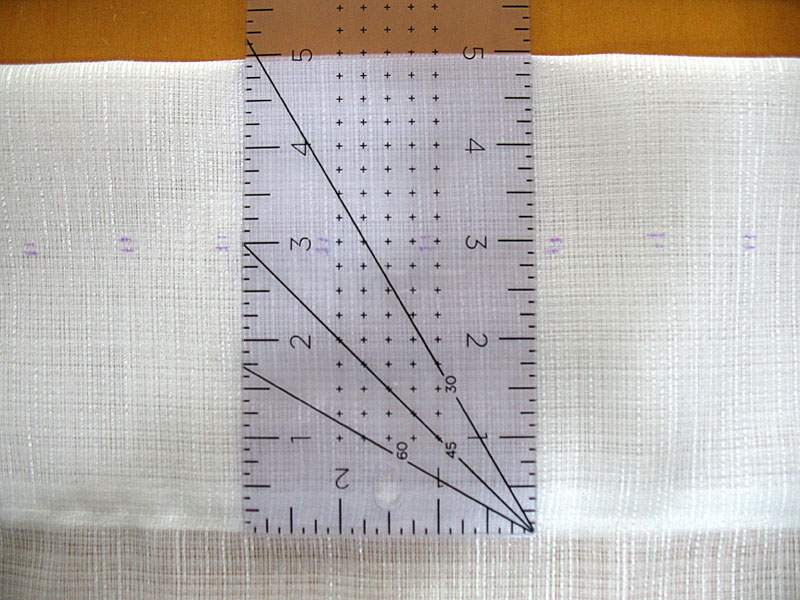
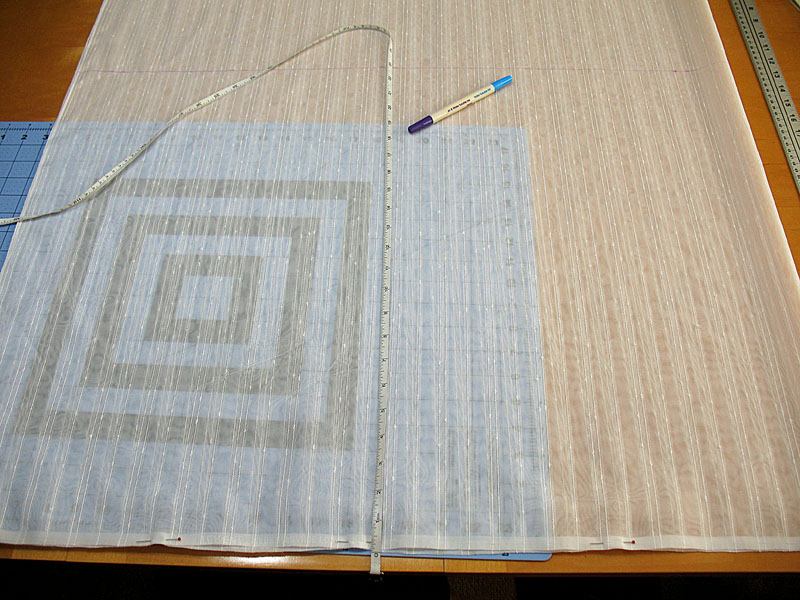
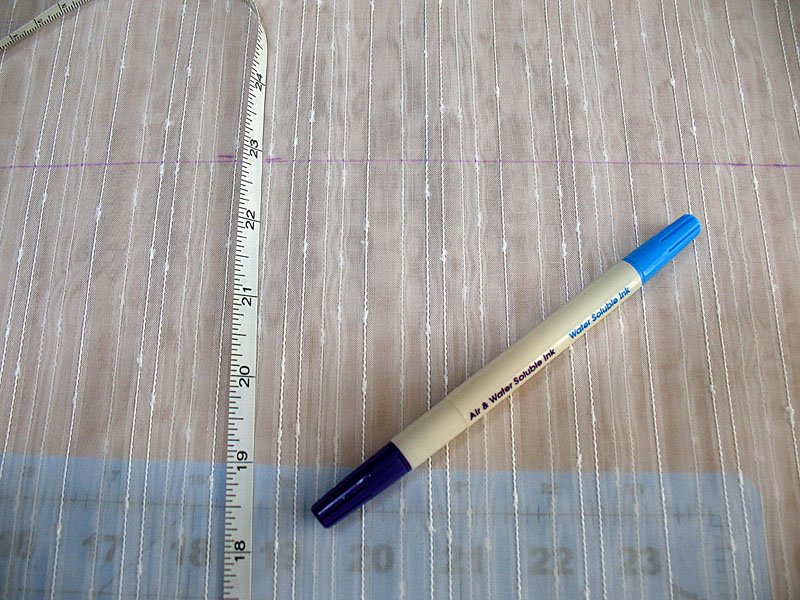
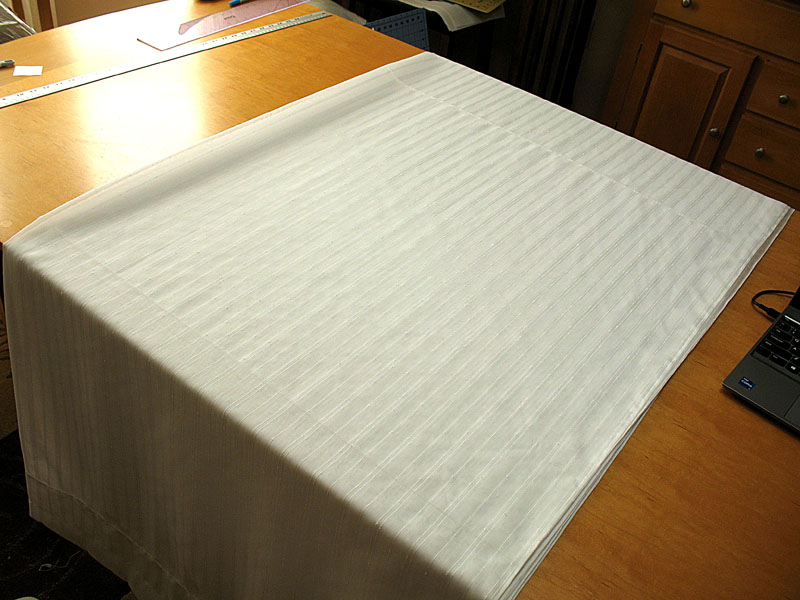
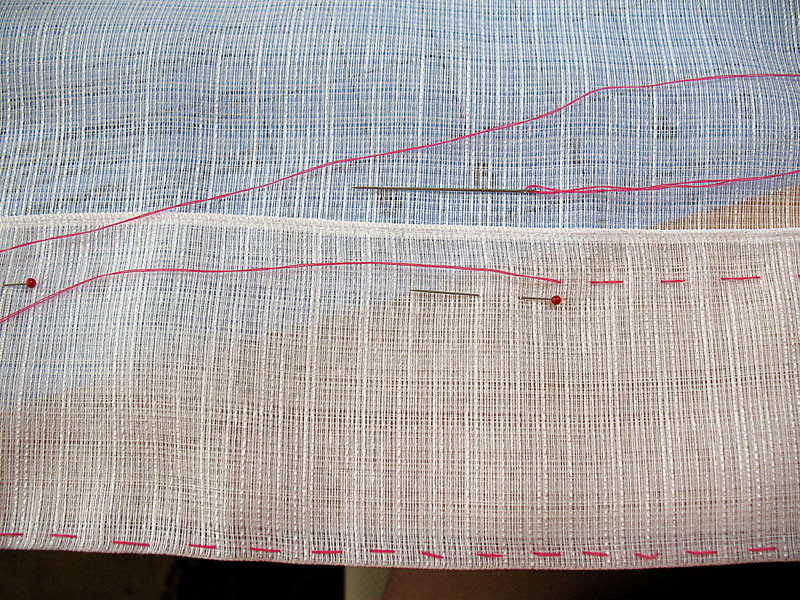
Once I bought my fabrics, I set out splitting them up into 4 equal width panels. Since it was imperative that each panel was cut equally, I tried out a well-known hack I learned but never done. I measured the necessary width on both selvage sides, then I find a warp thread at that spot and pull it out of the fabric. This way, I get a clear and accurate line for me to cut without having to spend time painstakingly marking measurement after measurement to create the line. Boy, was I glad it worked because 14 yards of fabric would’ve taken my forever to measure panels out of. IF ONLY I could use this tip on knits too, lol.
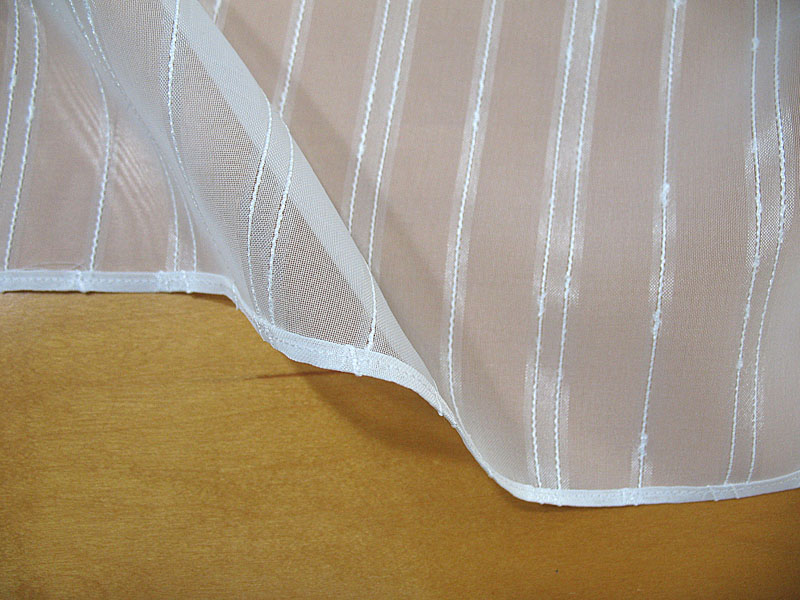
After every panel was cut, I used a narrow-rolled hem presser foot to help me stitch the raw edges closed. This foot can be tricky to use because the fabric needs to be rolled into the metal cone and it can easily slip out during the process, so I made sure to practice on scraps first to figure out a strategy before doing it for real. Just press 1/8” with an iron then fold & press another 1/8” to make a base, then place the whole thing under the presser foot and do 4-5 straight stitches to make an anchor for slipping the hem into the metal cone. Once that’s done it’s a lot easier to sew through the machine, but make sure to watch it in case the hem slips out and you’ll need to stop and fix it. I’ve had it happen to me during this process so it’s not unusual, it’s all about taking your time sewing a neat & even rolled hem to preserve as much of the panel width as possible.
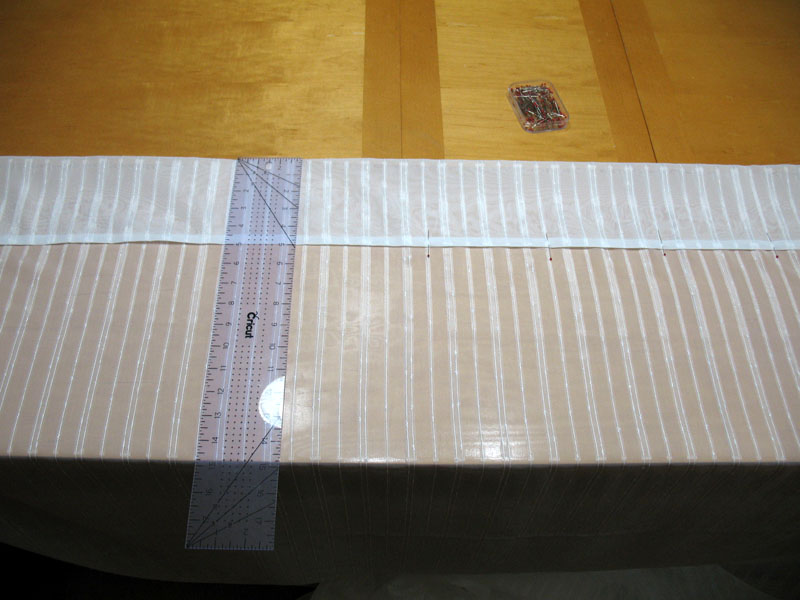
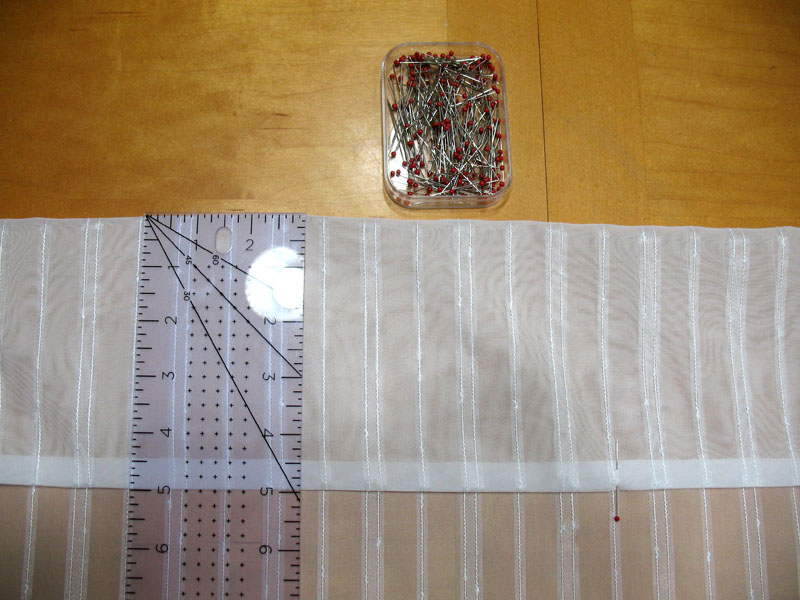
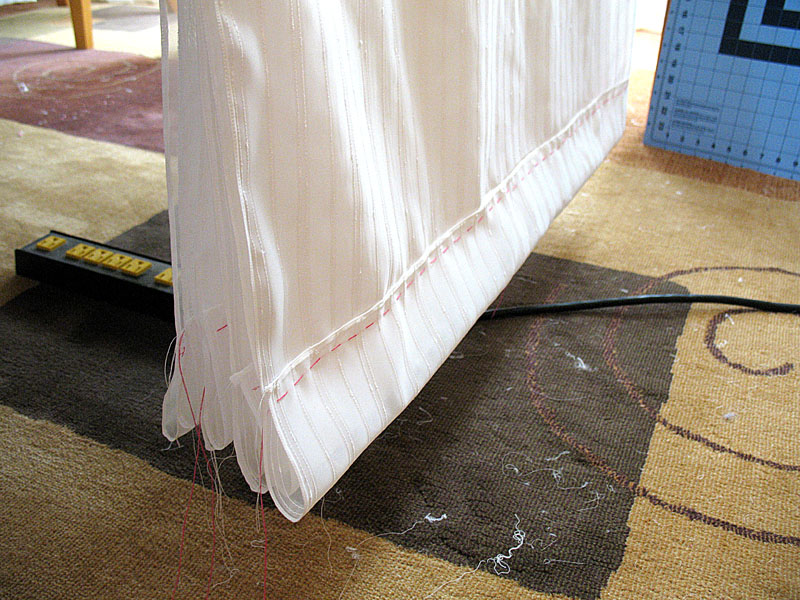
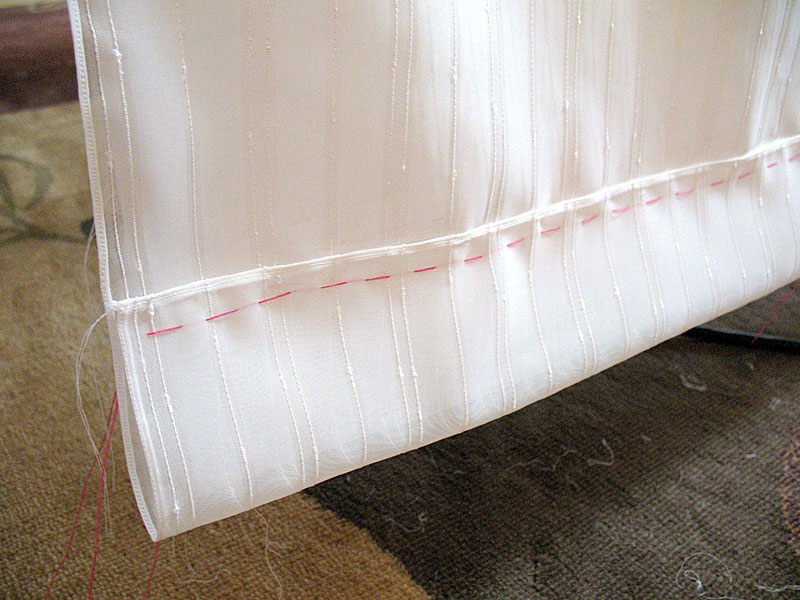
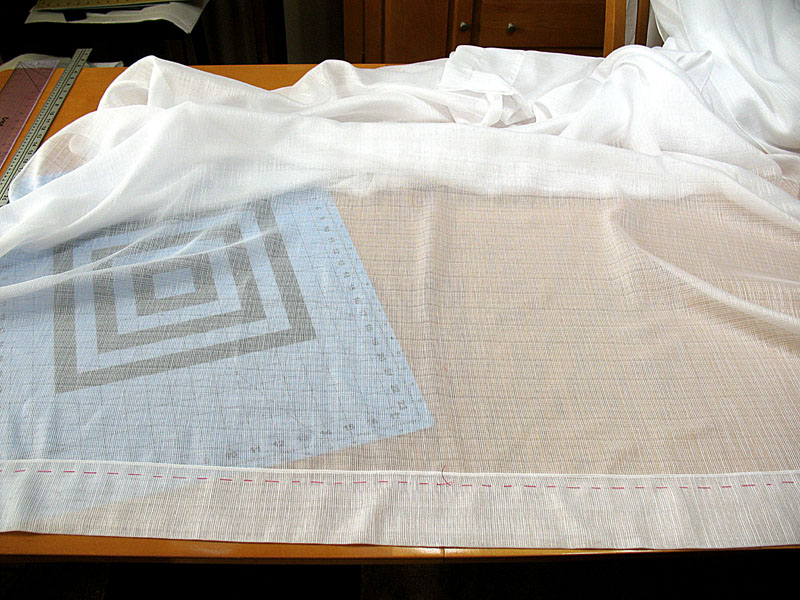
Now that all the panels’ raw edged sides are sealed in, I got to work measuring & marking the tunnel on each panel. I went with 5” total and I split it in 2, with the top tunnel 2” and the bottom one 3”. When the curtain rod is pushed through the larger tunnel it creates a larger ruffle that looks more pleasing at the top. After all the tunnels were measured and stitched, I then measured from the 2nd tunnel bottom edge the proper length I wanted for the windows, plus 3” for the hem, ½” for the seam allowance and another ½” for the rolled hem to seal the raw edge. All throughout this process I QUADRUPLED checked my measurements on every panel to make sure they were all even in length. This is a sewing project where you can’t fudge things, uneven lengths and hems will be noticed so you can never over-check the measurements on this one.
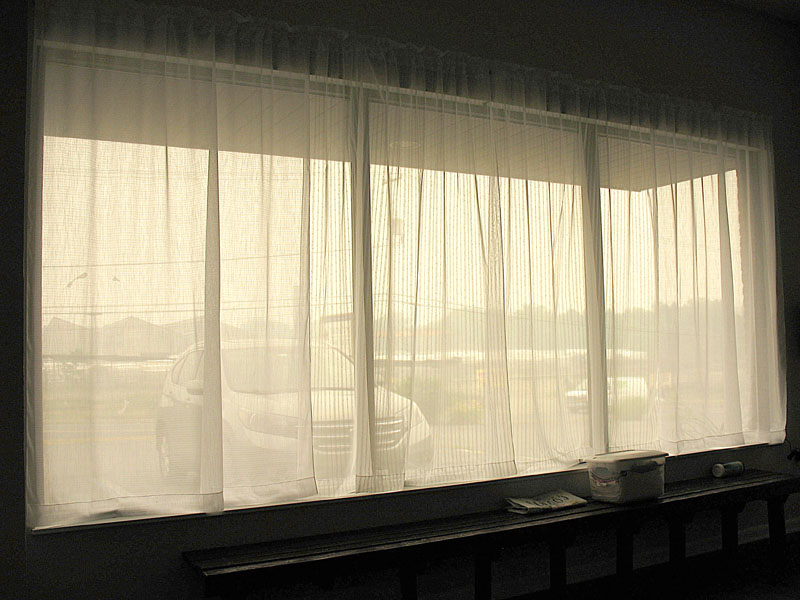
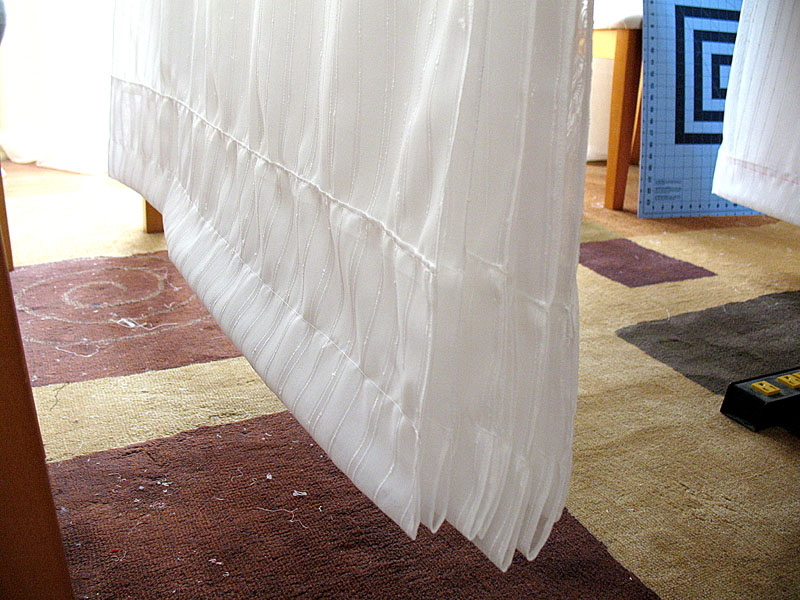
At last, the curtains are made! Never have I been so relieved AND nervous about the outcome of a sewing project. A lot of mental energy went into measuring and CHECKING those numbers repeatedly so it felt good to be done. However, they needed to be hung up to get a final look if all my efforts to make each panel evenly was done in vain.
*SUSPENSEFUL MUSIC CUE! *
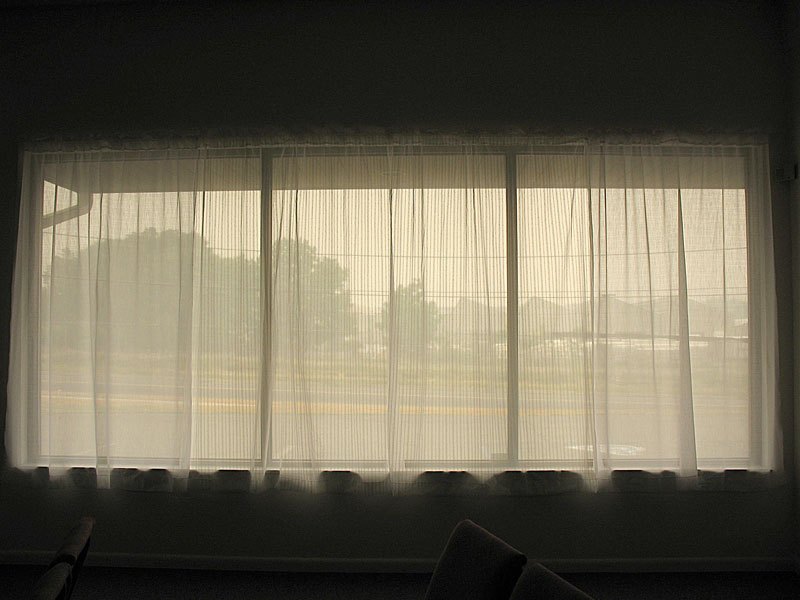
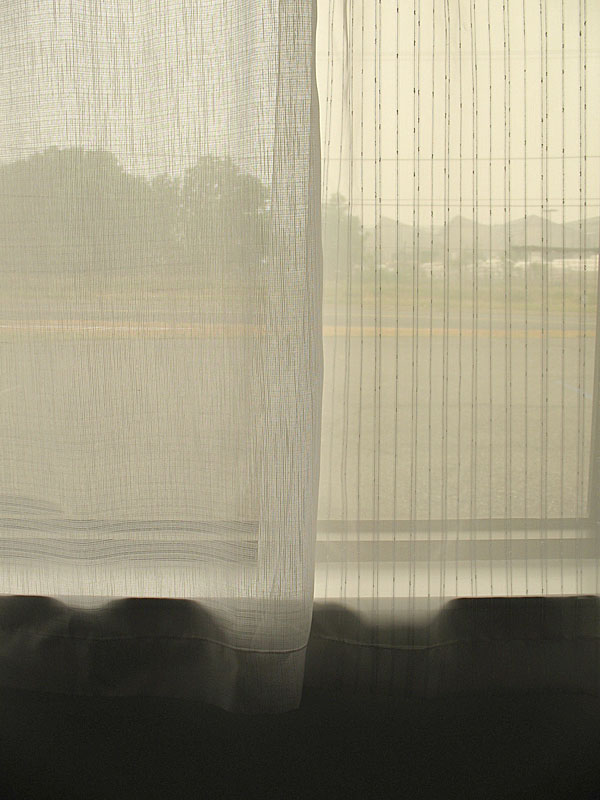
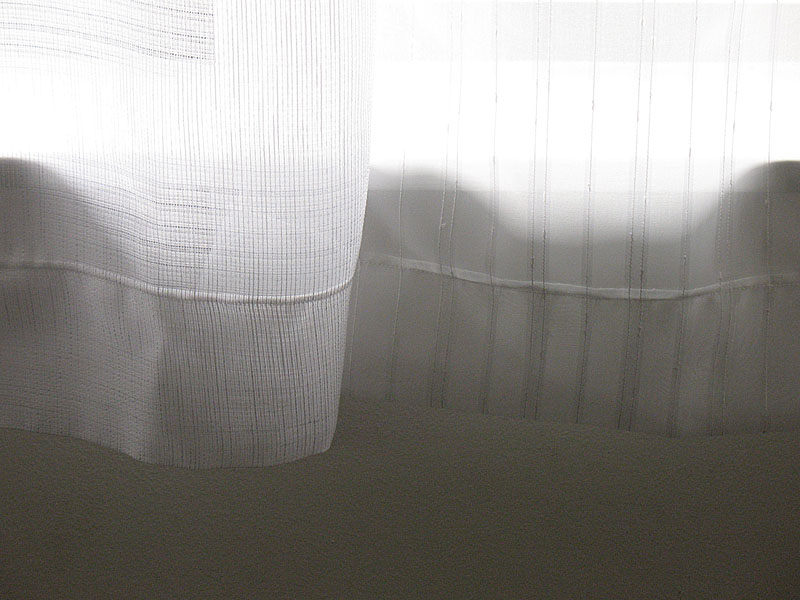
I’m happy to say my fears were quelled. The curtain panels and their measurements fit the windows right where they needed to be and they look great! Ever since they were installed, I’ve got nothing but thank-yous and compliments from my fellow church goers. It felt good to contribute something of myself to a place I visit every week and have others like what I do. It also felt good to get something right on the first try too. Maybe making curtains can be my true calling, 😊.
Thanks for checking this sewing swerve out and I will see you soon!