 Close-up of Pack Front | Close-up of Pack Back
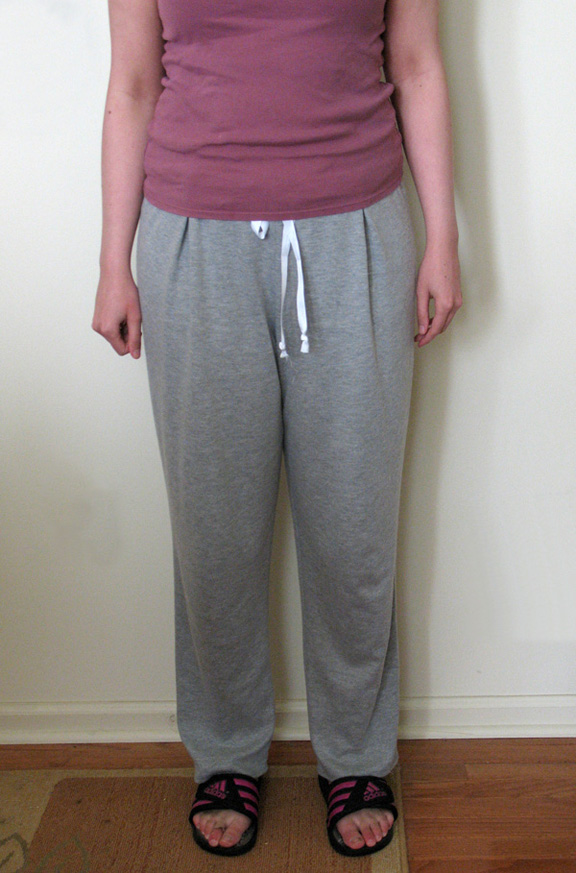
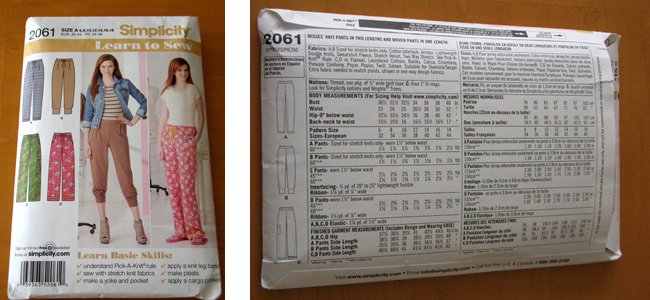
Okay so here is the first post for The Pattern Probe series. This was a project of necessity; my favorite pair of comfy yoga pants that I’ve had since college have finally fallen apart and I needed a new pair of pants to lounge around the house. I discovered this “Learn to Sew” pack with 2 types of lounge pants in the Simplicity section and picked it up. Let’s see if the pattern and instructions live up to the Simplicity “Learn to Sew” label…
To sum it up, the pattern and its instructions were very simple to understand and I had a breezy time sewing the sweatpants together.
For materials, I chose an interlock double knit fabric in a light gray for the pants and picked the drawstring pant design in the packet’s top left for the final product.
Overall, the project took me a few days to cut and sew, since I had a short time block in my day to work on these pants. As for measurements, I mixed the sizes from an 18 at the waist and a 16 at the hips. When you start to sew, you’ll find that one size number may not accommodate both your bust, waist, and hip measurements. For me that was the case and I had to increase/decrease the pattern pieces according to my own measurements for a good fit (which is the whole point of sewing your own stuff in the first place 🙂 ).
Here are 2 videos I found on You Tube that helped me to adjust the pattern measurements effectively:
How To Increase The Waist In A Commercial Pattern
How To Increase The Hip In A Commercial Pattern
Anyway, here are a few photos showing the results of my project:
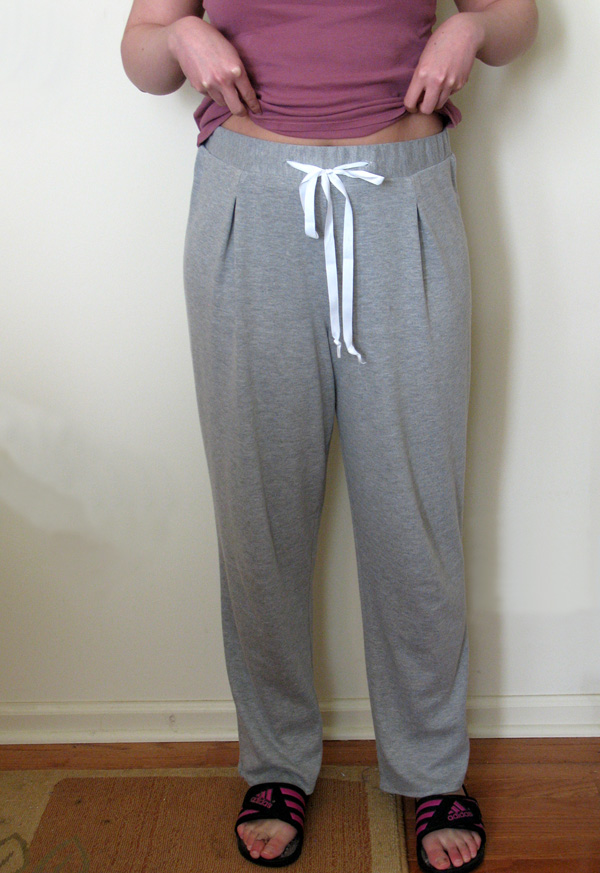
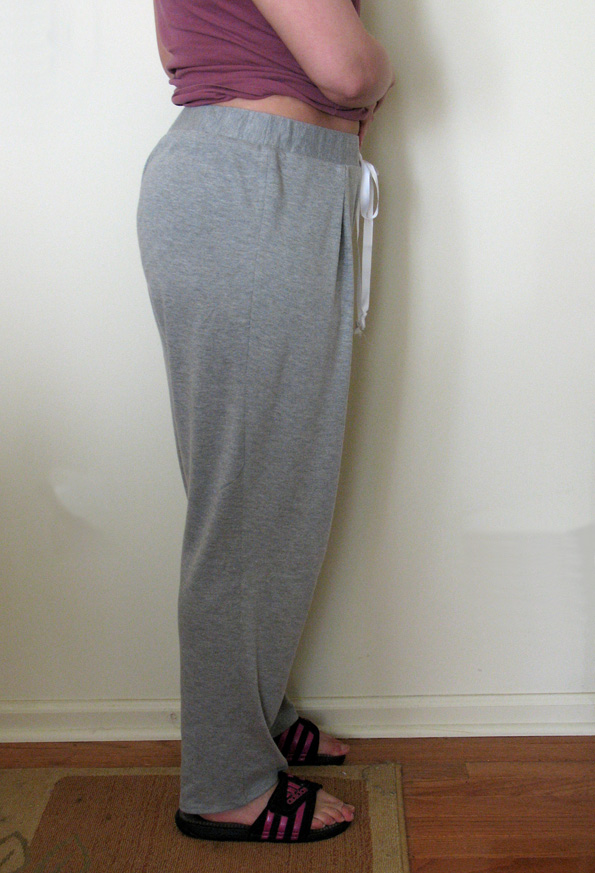
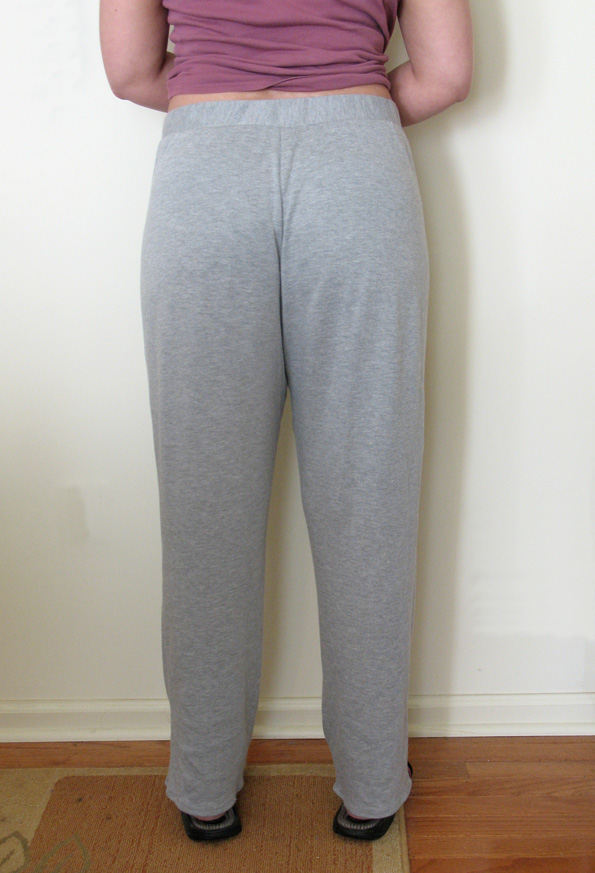

Like I said, the construction was pretty breezy. The instructions were simple to understand and I was able to make some sweatpants that I could lounge around the house with pride. The fit is good around my waist, but from the hip down it’s fairly big, which isn’t a big deal for sweatpants because they’re supposed to be comfortable. However, if I would like a closer fit, I might have to decrease the pattern measurements from the hip down.
When it came to creating the holes in the waist to insert the drawstring, the instructions say to baste a 1″ square of interfacing/scrap fabric to the spot where the buttonholes would be sewn in. I used some of my leftover knit fabric to do this, but my waistband kept sinking into the machine and not make the buttonhole. To solve this, I pinned a large piece of scrap knit fabric over both spots, made the respective buttonholes, and cut out the 1″ squares from the scrap fabric without a problem. With knits, you need major support to handle small close stitching like a buttonhole to prevent the machine from crashing.
My only issue with this pattern project was the twill tape. I HATE this twill tape:
It feels flimsy to the touch, frays at the cut ends, looks cheap and the measurements for the drawstring end up being very unnecessarily long. I guess the pattern is for beginners and that is why twill tape was chosen, but I would have tried a cord instead just so that it would look like sweatpants from the store and not TOO homemade.
So in the end, I really like this pattern’s design and instructions. I would definitely recommend it to a novice who wants to start sewing and needs to learn pant construction ( not the easiest thing to make in general). Everyone needs comfy pants, so this will be a staple for the sewing room and the closet.
In the future I will revisit this pattern pack to make the jogger pant design on the pack’s top right. This is where I will experiment with slimming the hip and leg widths and forgo a drawstring to see if that ends up looking good too. Also, I may try to add side pockets to the design since this sweatpants pattern design doesn’t include pockets unlike the cargo pant pattern design.
STAY TUNED. 🙂