
GASP! Another Pattern Probe so soon?
Yes, yes there is.
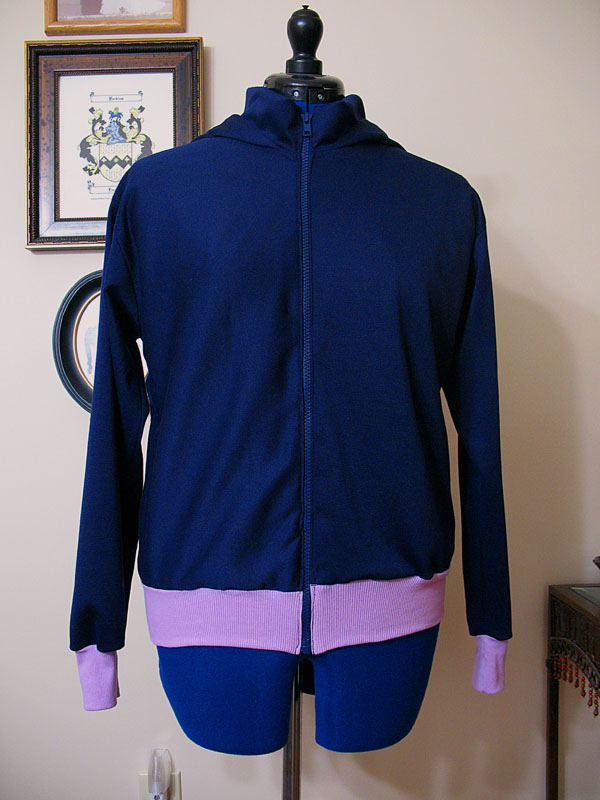
This one was kickstarted by another friend of mine who was interested in me making a dark blue and purple hoodie jacket.
Of course I took on the project! I would not miss a sewing opportunity for something I’ve always bought but never made for myself, much less for anyone else.
This Burda Young pattern from my collection was the final pick (Design B). Up to this point I’ve purchased Burda patterns but I haven’t tried making any of them so this was a ‘right place, right time’ moment for yours truly.
Annnnd off we go on another knit project!
So Burda patterns in general operate differently from the others I’ve used. Their markings are different and they have snip marks instead of notches. Also, they mark where numbered pattern pieces are supposed to go when constructing the garment. It’s not so far off from what Simplicity, McCall’s, etc. do with their patterns to be too confusing. There aren’t any finished measurements to go by, but there is a full chart of measurements on the pattern paper for each size to go by and my friend and I had no trouble figuring out what size was best.


It just so happened that my friend wanted the hoodie jacket a size smaller than what this pattern offered, so I had to employ grading techniques and trace the pieces on tracing paper before officially cutting them out on fabric in case of any mistakes. This was the first time I had ever graded a pattern design outside of the offered sizes, so I was intent on doing it on paper first, then cut each piece according to the construction instructions order to make sure everything was measured properly and that I wouldn’t waste any precious fabric. I’m glad to say this method worked and I will elaborate further on why in this blog post.
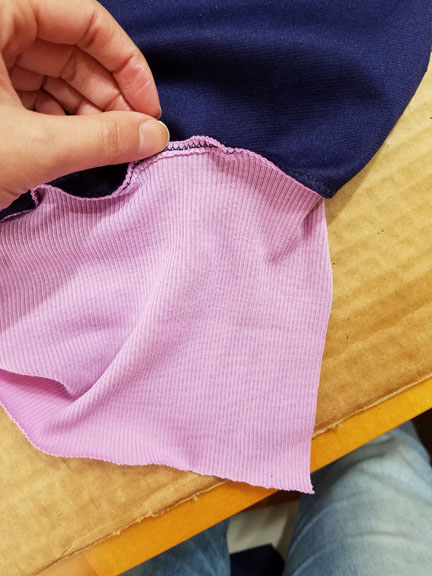
When it came to the rib knit for this design, I wasn’t able to find the right shade of purple to go with the navy blue two-way stretch fabric I scored for the jacket. I had to make do with a nice pink rib knit fabric and dye that into the light purple I wanted using Rit DyeMore For Synthetics’s Royal Purple. The process was pretty simple: I tested the color on a sample swatch first to make sure the color formula worked, then cut out what I needed and dyed that pink rib knit according to the directions. Thankfully it all worked out and I had my rib knit trim for the jacket.
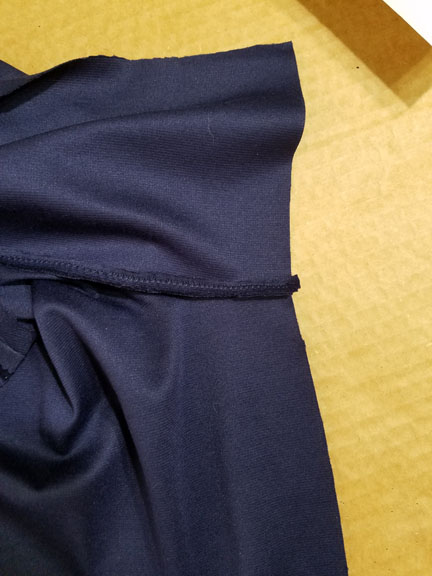
I have to say the instructions for constructing the hoodie jacket had its confusing moments. There are fewer illustrations so there were directions that had no visuals to clarify what you’re supposed to do next. This did become an issue so it was good to cut & sew each pattern piece at a time to double-check everything before finalizing with permanent stretch stitches.
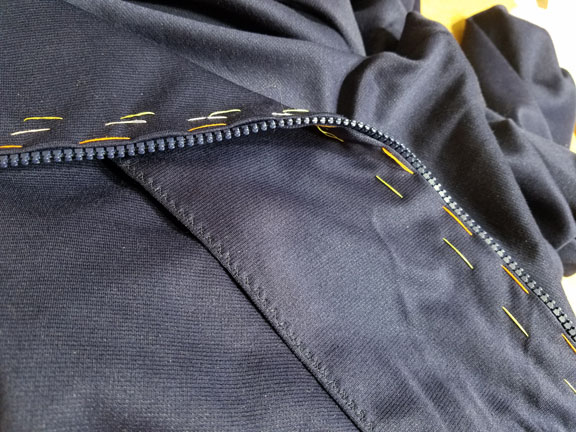
Also a good thing to do is hand baste stitch everything together to make sure all is well before sewing those permanent stretch stitches. Plus, it’s a helpful seam allowance marker to follow on the machine and it keeps the pieces from sliding around unevenly.
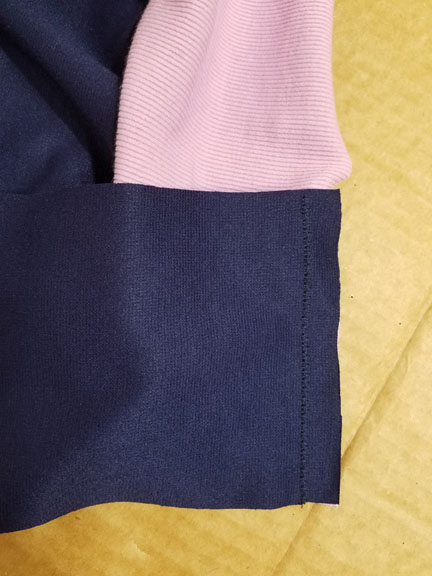
Most of the jacket required the seams opened flat for smoother application. Normally I prefer to finish my edges in one shot and trim them, particularly for knits, because it just looks cleaner, but I decided to defer to the pattern’s directions and pinked the seam edges for some polish. It did make my job easier with less bulk to sew through though so I’ll probably do it the next time I make this hoodie jacket.
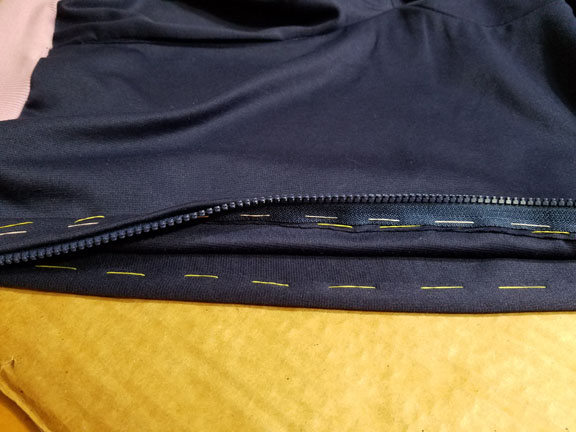
One part I particularly messed up was the collar and waistband. I misread the instructions and folded both into tubes and stitched them too soon. As a result, there was nowhere for me to properly apply the front facing. Since pulling the stitches out was not an option (stretch stitches are notoriously in deep within fabric), I had to carefully cut the collar & waistband open in order to sew in the facing later. It sucked, but at least I was able to selvedge what I had done without having to start over and THAT would really have sucked.
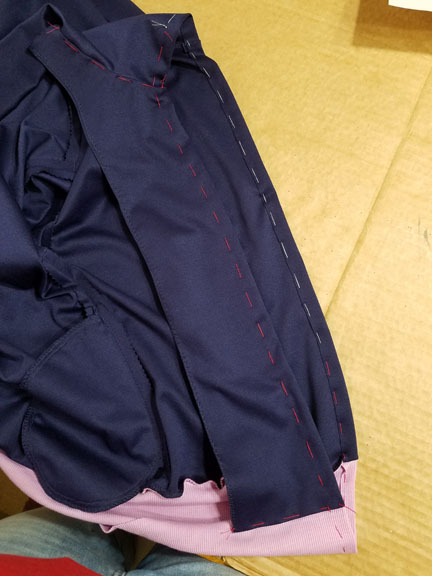
With the front facing pieces, I found it super helpful to hem the long edge about 1/8″-1/4″ as a means of finishing them for polish.
Don’t forget to hand baste stitch everything before machine sewing the front facing step-by-step; it visualizes the 5/8″ seam allowance and keeps the fabric steady while machine stitching any stretch stitches.
Learn from my mistakes and JUST SEW ONE EDGE OF THE COLLAR AND WAISTBAND TO THE JACKET.
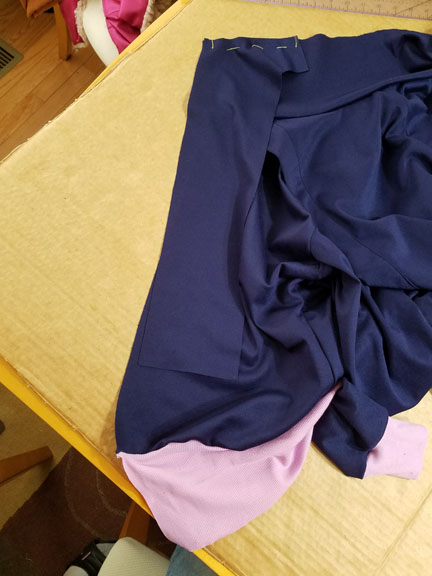
Below is a gallery I put together of the front facing installation process, just to clarify a bit more than the paper instructions did on what you need to do. Don’t worry about the facing pieces being too short; they’re supposed to be that way once you flip them around and sew the collar/waistband ends to the jacket. Then they’ll be the right length.

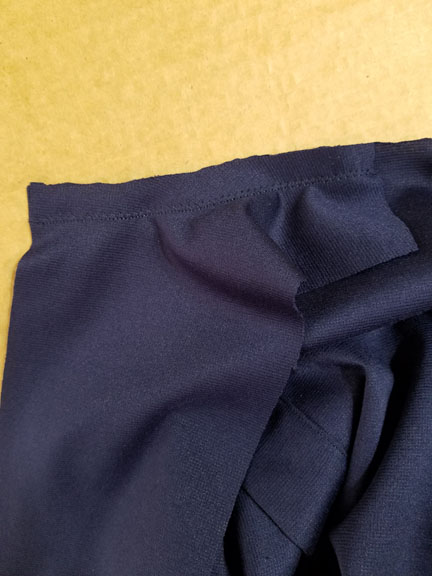
With the collar, I modified its original length and made it longer so that I wouldn’t have to stretch it so much to fit the jacket neckline. It worked out fine so if you find yourself in this dilemma, just lengthen it to fit before cutting and it won’t mess up the overall construction.
Also I just want to mention that sewing rib knit fabric IS A DIFFICULT ENTERPRISE. That fabric stretched so much while sewing it to the two-way stretch. You have to take your time and stretch both fabrics while stitching them so they all fit together properly. I particularly had trouble applying the waistband to the jacket it was slipping all over the place. I finally figured it out and pinned the rib knit edge a bit past the seam line so it’ll stay in place while the machine stitches next to it.
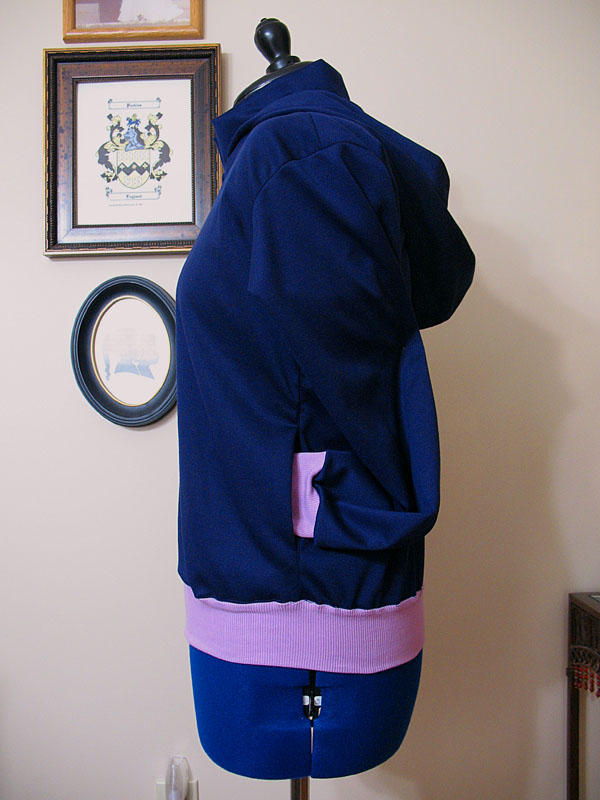
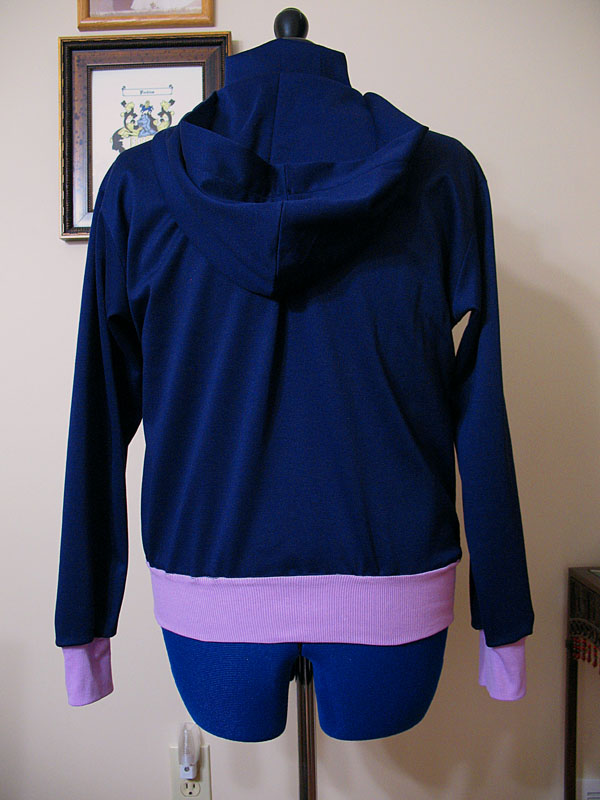
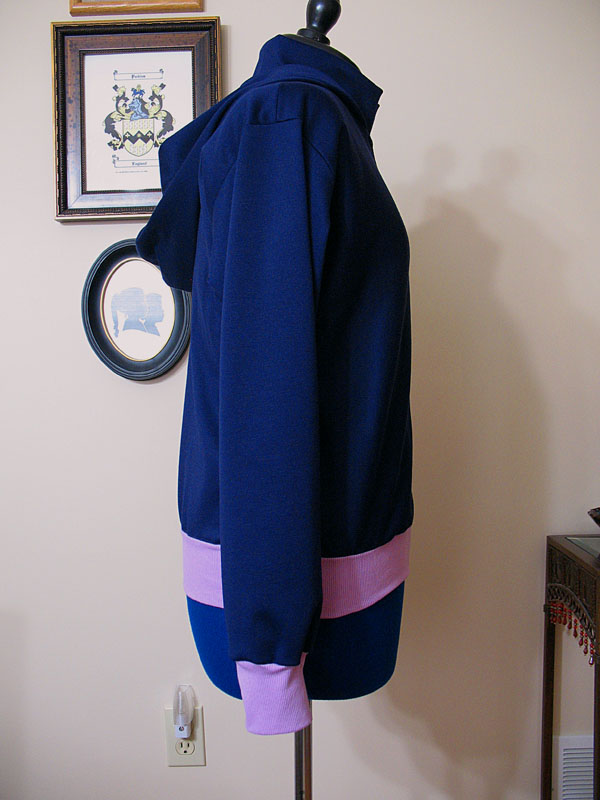
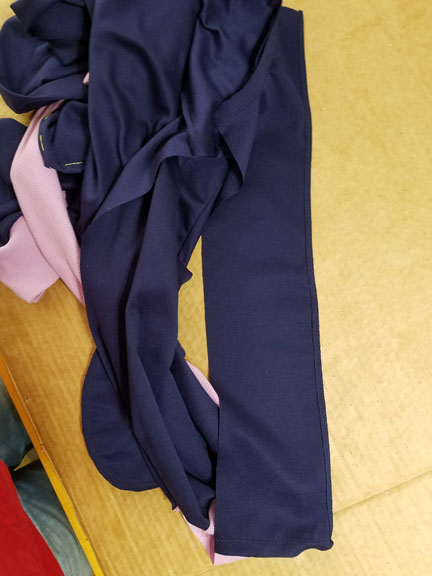
So after all that, the hoodie jacket came together into a solid Size 6 garment. Bust and waist measurements are about 37″ and hips are 38 1/4″. For a first time crack at this pattern design, I’m happy with the way things turned out. The color combination is beautiful and my pattern size adjustments worked with one another. On top of that, my friend loves the jacket and it fits her just right so we’re all relieved on that front, lol. My advice if you’re doing this pattern is to cut the pattern pieces one at a time in accordance with the directions order and take your time reading them before sewing.
Learn from my mistakes and go forth making your own awesome version of this pattern.
Take care and until next time! 🙂