Roll over image for a closer look. 🙂
I know it’s been a while since my last post, but it’s actually because I have been really inspired by this pattern pack and have made TWO skirts back-to-back just to try some things out. I’ll get to that in a bit.
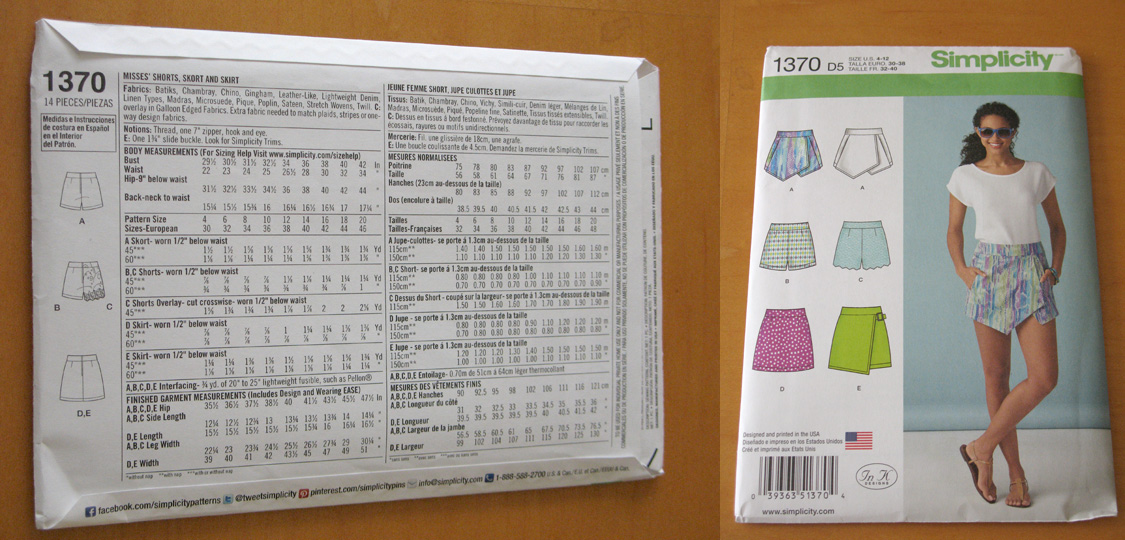
So I got this pattern because the skort design jumped out at me and I found it interesting design-wise. Also, I have been looking for a wrap skirt pattern that closely resembled a beloved skirt that can’t fit me anymore, and I will be making that for a future Copycat Fashion post.
First off, I want to say that this pattern was probably designed for juniors fashion because the measurements run smaller than regular misses pattern ones. If like me, you are a grown woman interested in this, get the larger size so you won’t have to struggle with measurement adjustments like I did at first.
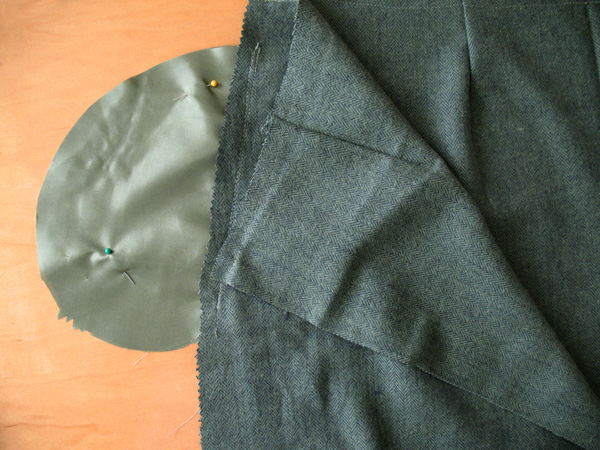
I used the basic A-line miniskirt pattern first so that I could get used to the constructing directions. They were pretty simple to follow and I was able to sew this skirt efficiently. The only part that tripped me up was installing the zipper. It was in a method that I wasn’t used to, so here are photos showing what to do at this part:
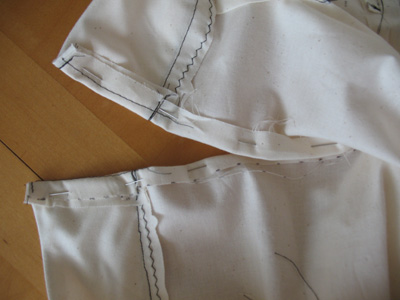
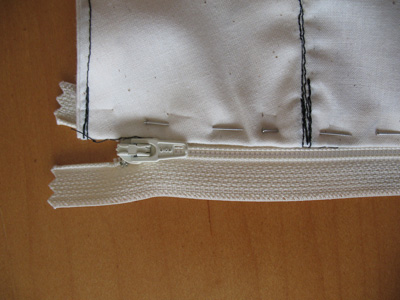
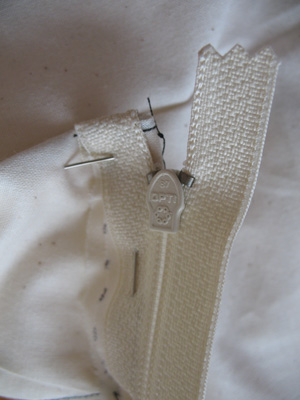
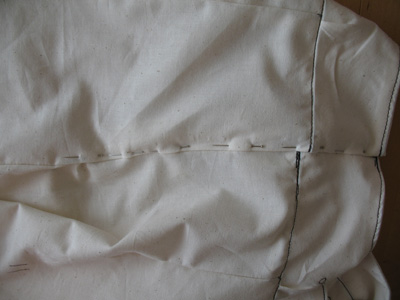
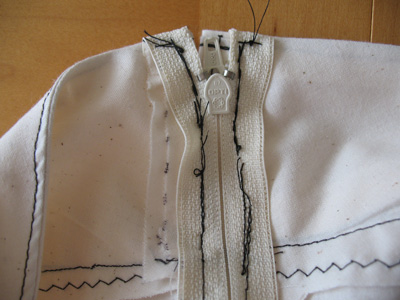
The instructions weren’t clear to me, but I learned that the 2 flaps where the zipper tape will be placed are at slightly different sizes because one flap is supposed to overlap the other to camouflage the zipper. Plus, there is supposed to be some tape sticking out at the top in order to tuck it under the zipper seam allowance.
So, here’s the first of the 2 skirts I made:
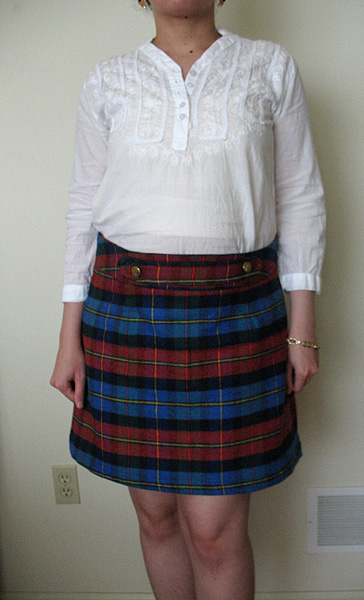
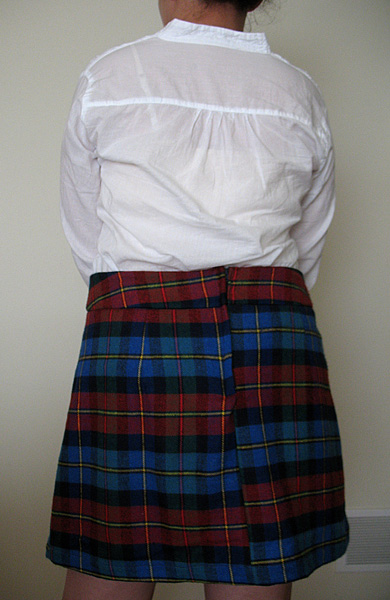
Not a bad job for a first attempt. Obviously, the plaid doesn’t match up evenly even though I tried to cut the pattern in the right spots. I guess I’ll just have to practice some more doing that and maybe buy some more fabric to work with. However, it’s not a total catastrophe and is still wearable.
As for the zipper, I’m used to installing zippers a different way, so I was a bit clumsy with this part. There’s some bunching at the bottom that I’m not proud of, due to sewing across the tape to secure it. Hopefully I’ll get better at it because I do like the potential cleanliness it brings to the skirt back.
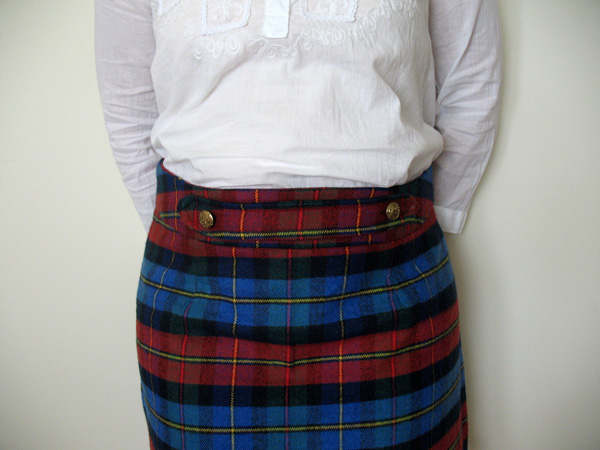
I took the liberty of adding some embellishment to the waistband. One of my coordinates patterns, Simplicity 8058, has a neat band with buttons on the pants’ waist and I thought it would look nice on my skirt. Fortunately, I had some fabric left over and it was pretty simple to do:

Roll over image for a closer look. 🙂
So in short, I liked the outcome of this skirt, but I wanted to try some more stuff out. The finished piece of this design is supposed to sit 1/2″ below the waist and it doesn’t include pockets. I wondered if I could make the skirt sit higher on my waist and add side pockets.
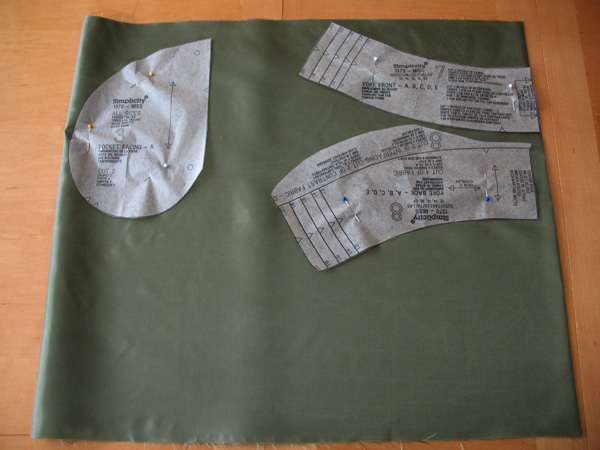
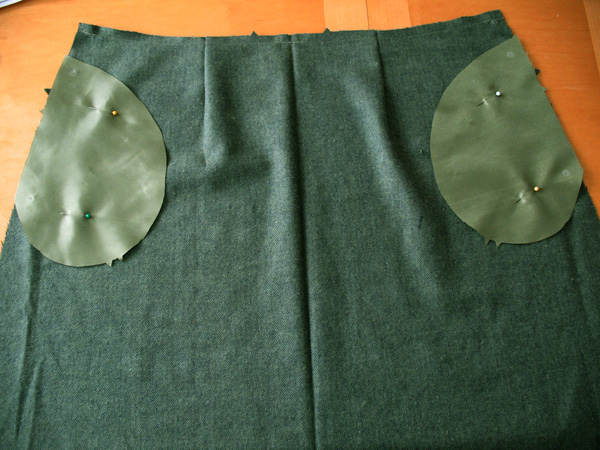
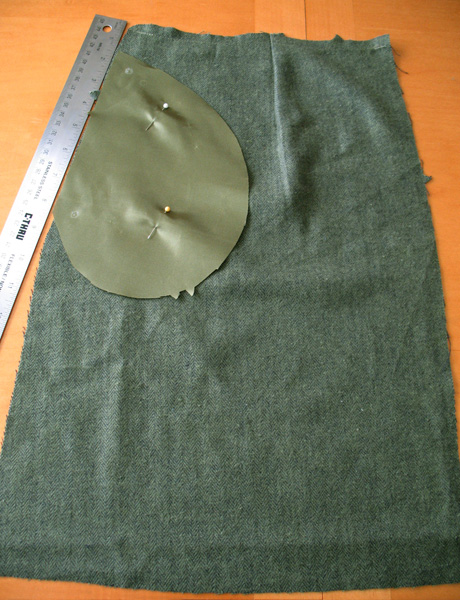
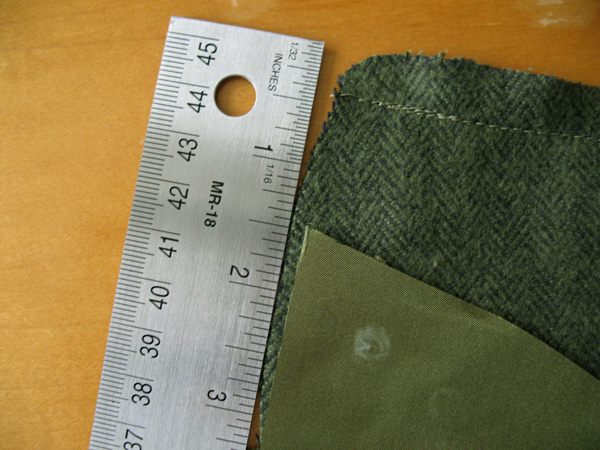
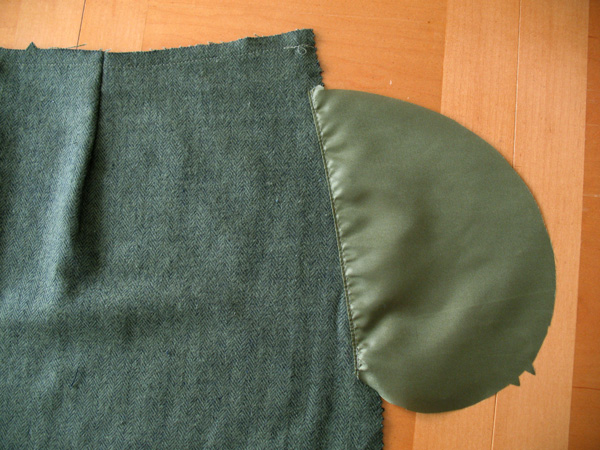
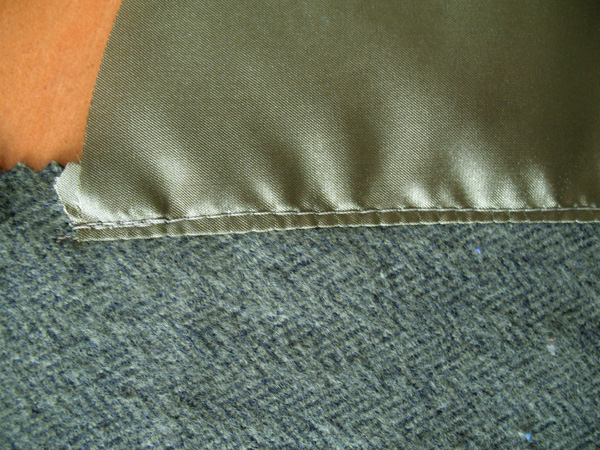
I used the pocket facing pattern from the skort design and cut out pieces for it and the waistband facing from some lining fabric. Adding the pocket did involve some slight adjustments to the construction but nothing too complicated was involved. I placed the pocket pieces on the right side of the skirt front and back (1 1/2″ from the waistline) and understitched them before piecing the front and back together to seal everything up.
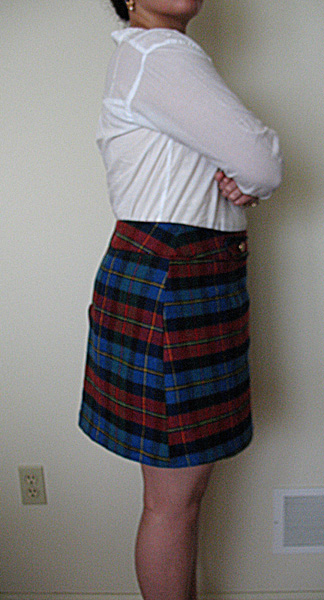
Here is the second skirt I made from this pattern design:
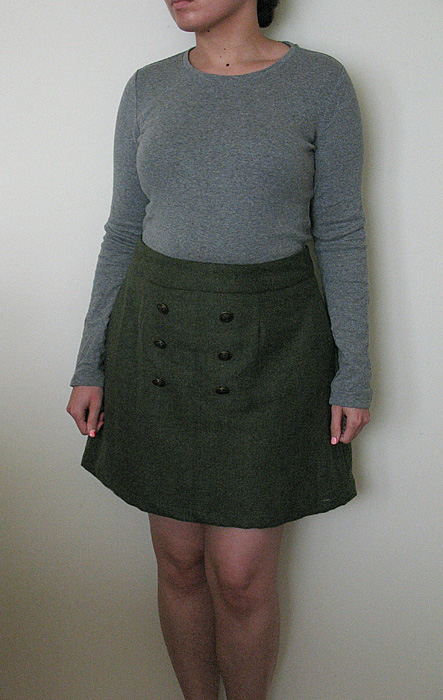
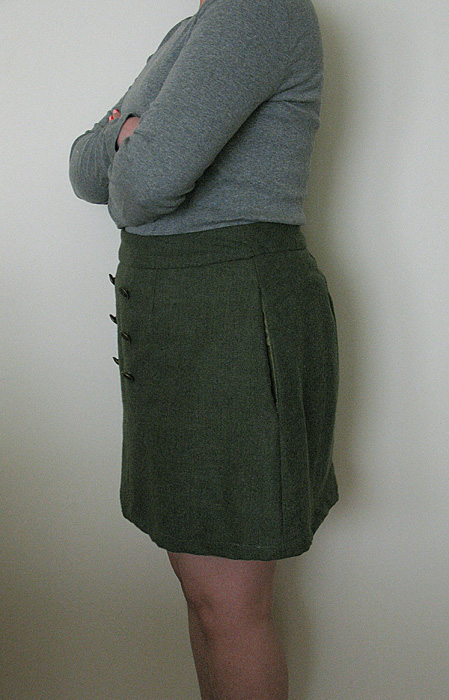
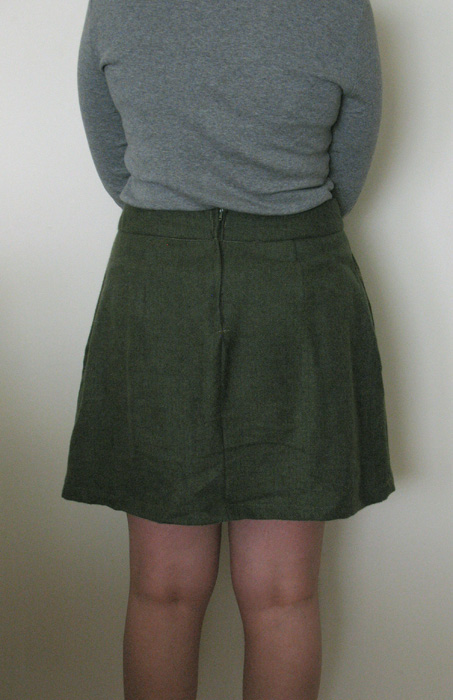
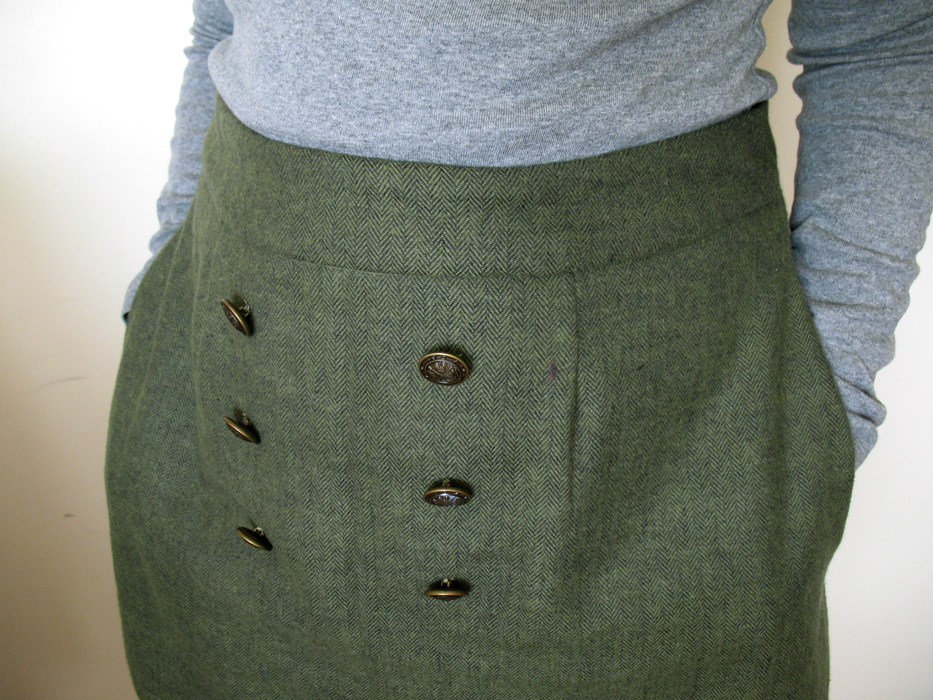
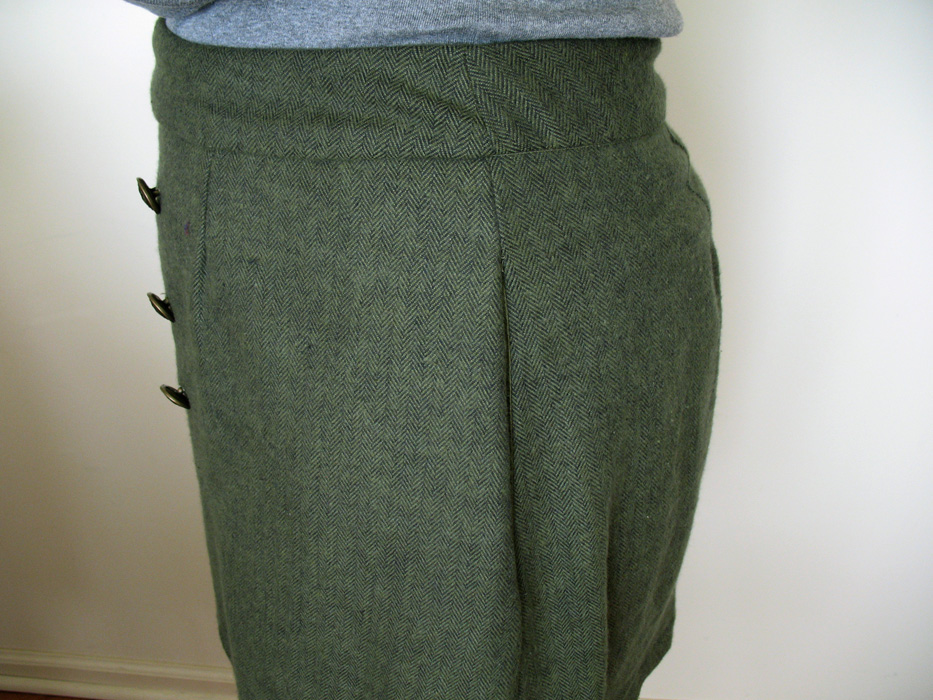
Second time’s the charm! Actually, I did improve my construction from the first skirt. The zipper installation is better; not as bumpy as the first, but the execution of the zipper flap could always be smoother. The side pockets came out fine, but they’re a little shallow; I may try a deeper pocket next time.
However, I do like how these fit me. Going down a pattern size in the waist turned out well; the skirt has a more fitted silhouette that will be more suited to certain styles than a relaxed fit like the first skirt. Also, since the fabric is an army green wool-type, I thought the military-style buttons would be a nice touch and in tune with the latest revival of military-style fashion trends. 🙂
As you can see, I had a good time with this design. It’s a blank canvas for so many skirt ideas and it’s pretty simple to put together. The zipper installation will take some practice to get it right, but I would recommend this for any sewing beginner. As for sizing, the finished skirt is a few inches larger than what the chart says for the waistband, so if you want a skirt that sits higher on the torso, I suggest going down 1 size in the waist measurements while adding an inch or 2 to the hem to compensate for the rise. Make sure to test it out on a muslin version first just to make sure of the fit/proportions.
I will be making more things from this pattern in the future so stay tuned to see how that goes for me. Until Fall everyone! 🙂