I know I can’t believe it either. TWO POSTS IN ONE DAY? She’s so productive. 🙂
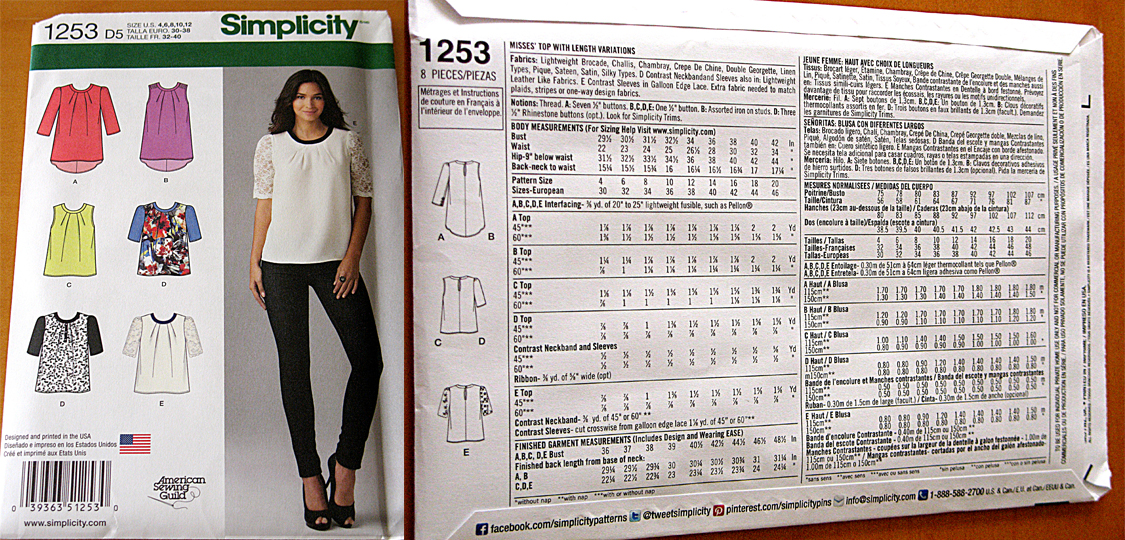
Anyway, my next Pattern Probe was inspired by my need for more summer tops. Changing my wardrobe for the warmer months made me realize that I don’t have a great deal of them. Plus, I had this great leopard print lightweight fabric I bought for a song because there was only a little over 1 yard left. After going over my pattern collection, this Simplicity one had a sleeveless design suitable for the limited amount AND I haven’t tried it yet, so this was the one I went with.
Because I was unfamiliar with the flimsy feel of this fabric I had a limited amount of, I made 2 practice versions of this pattern first. I have to say it was a good call on my end because I needed to learn how to use this pattern and figure out the right fit/proportions for this fabric. I got all my mistakes out of the way with scrap inconsequential fabric so that the top I wanted would turn out better.
Toile A

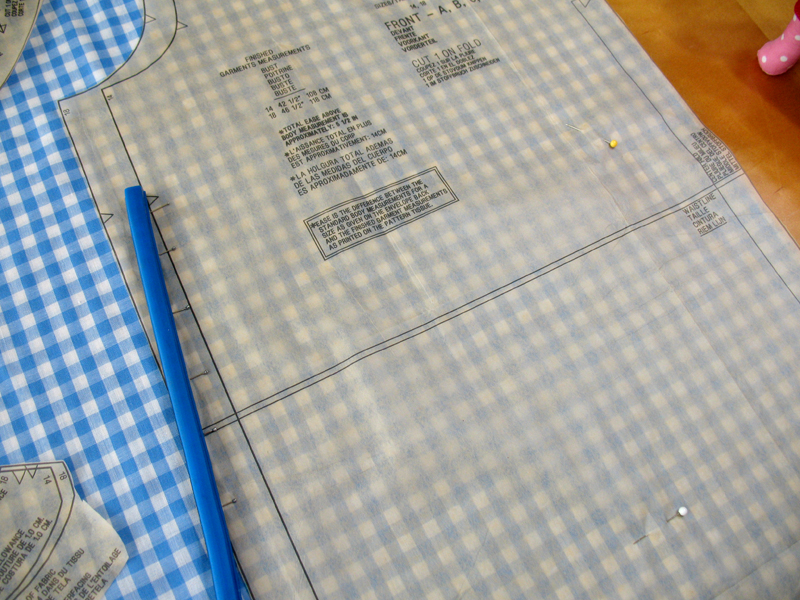
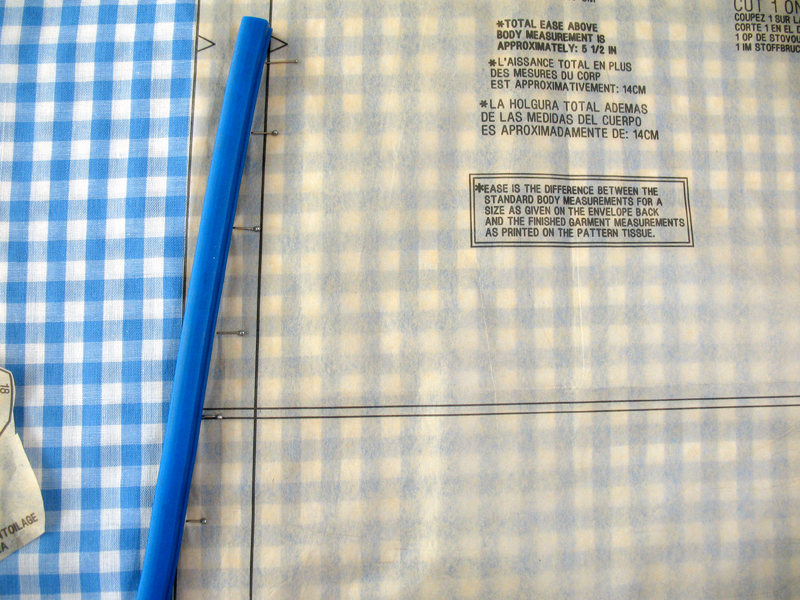
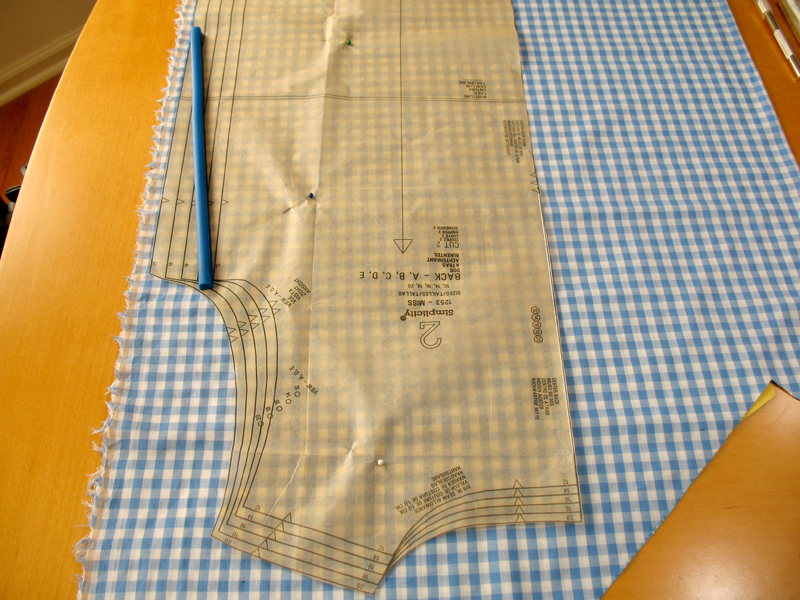
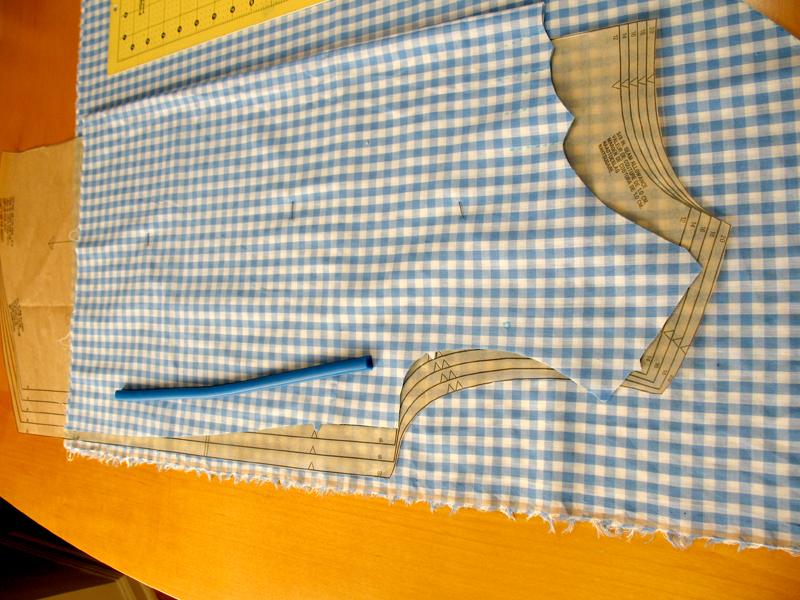
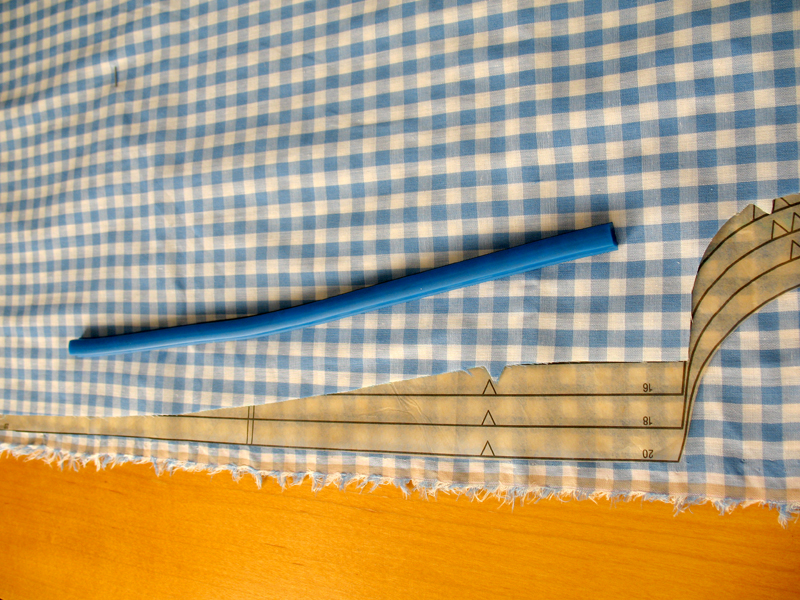
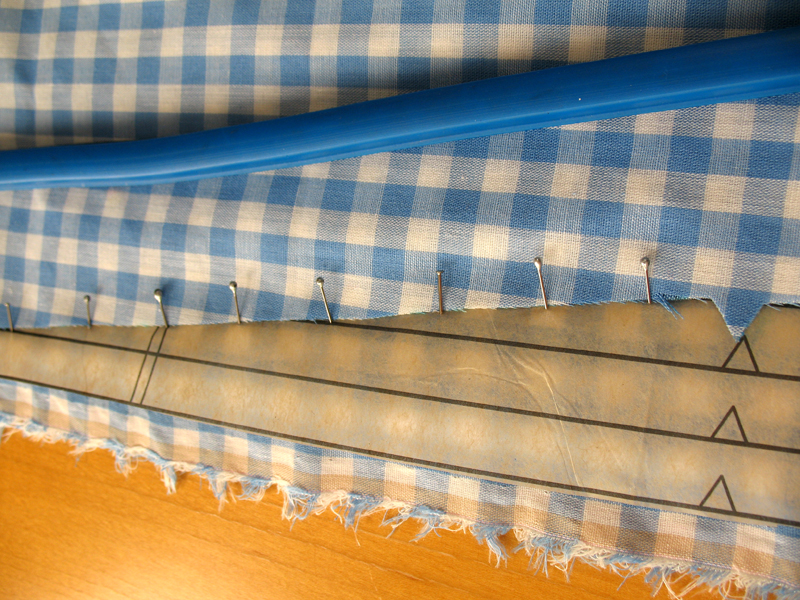
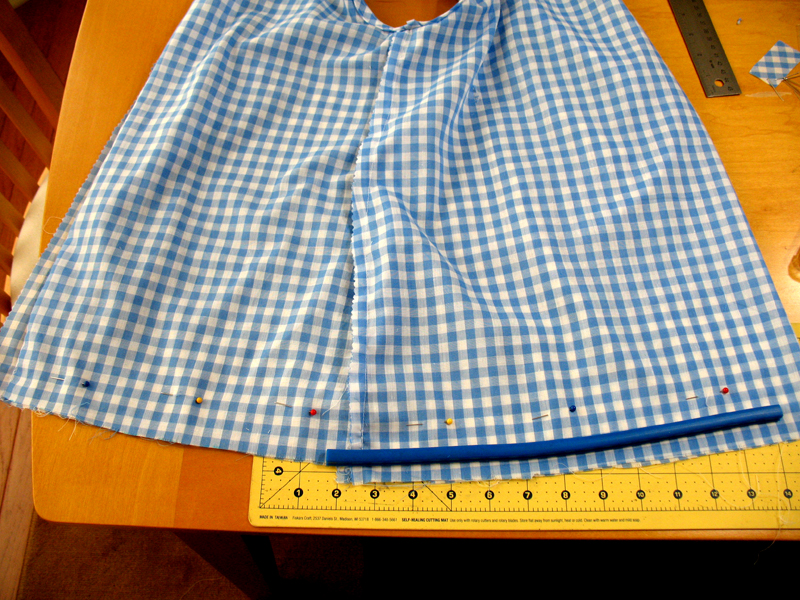
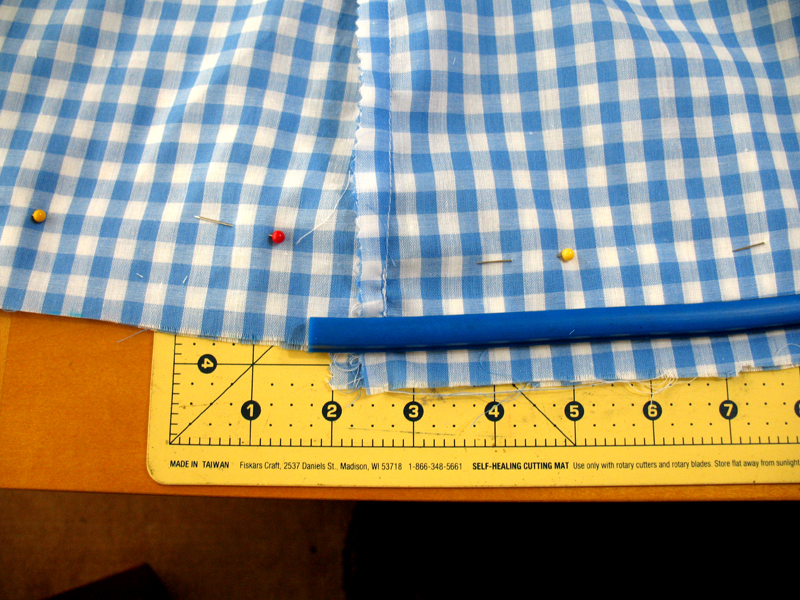
Okay, so the first try was about making the top according to my specific measurements just to see if I could & to learn how the pattern worked. Because the leopard print fabric is so light, I was worried that a too-large size would affect the draping, hence the specific measurement construction. Here’s a gallery depicting me applying my specific measurements to cutting out the pattern:
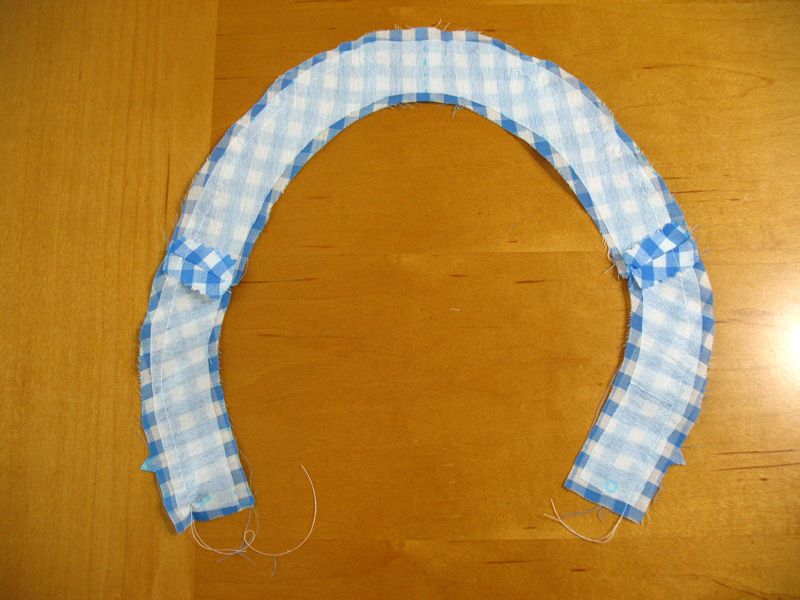
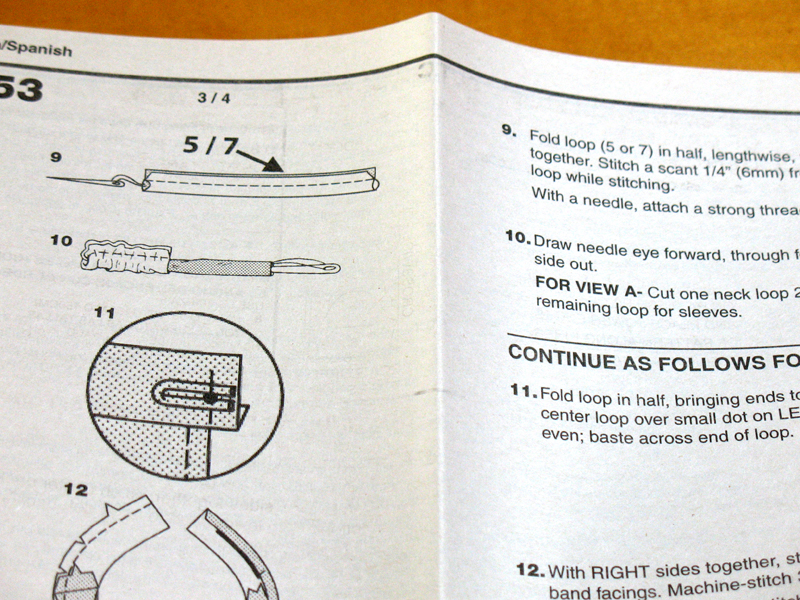
While I was following the directions sewing this toile, the collar installation step required more effort since I wasn’t entirely sure what the directions wanted me to do.
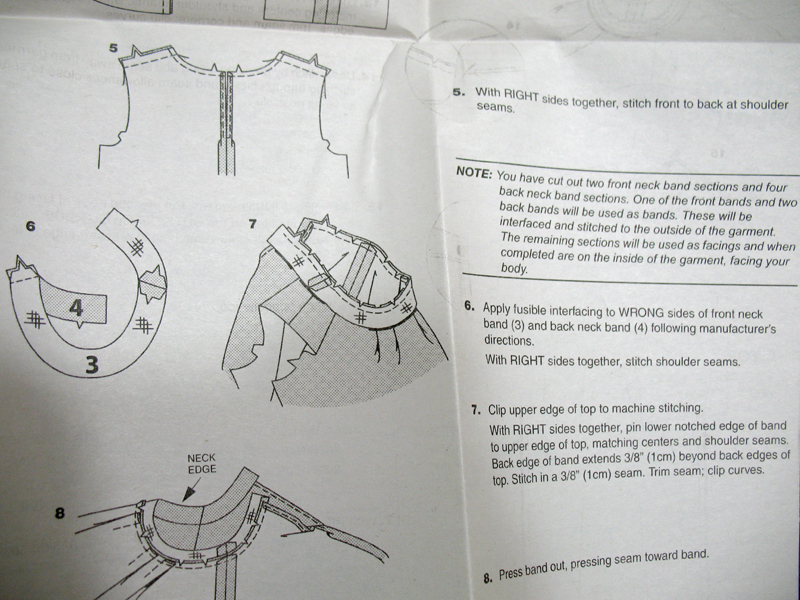
The illustration for Step 7 made it look like I was supposed to machine-stitch 3/8″ from the collar’s notched side then snip the curves before attaching it to the top, so I went with that just to see if it was right. Here’s the gallery depicting my collar installation:
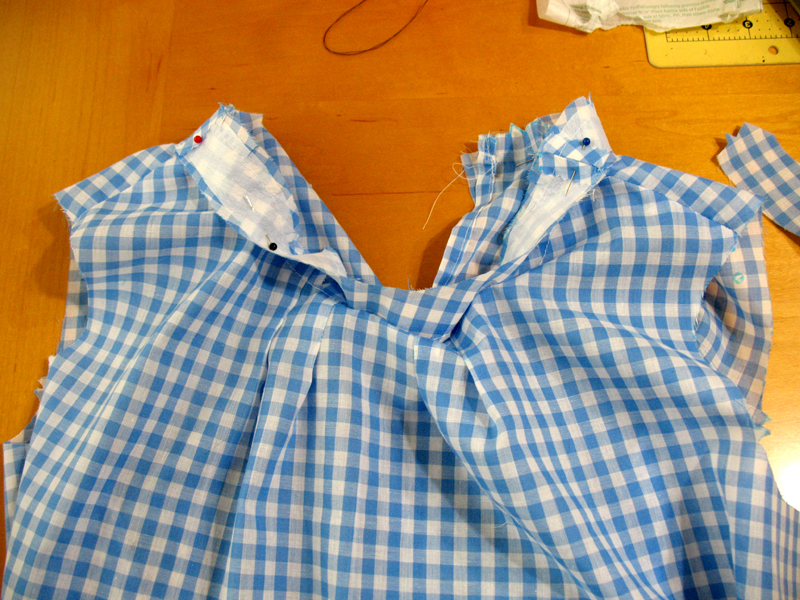
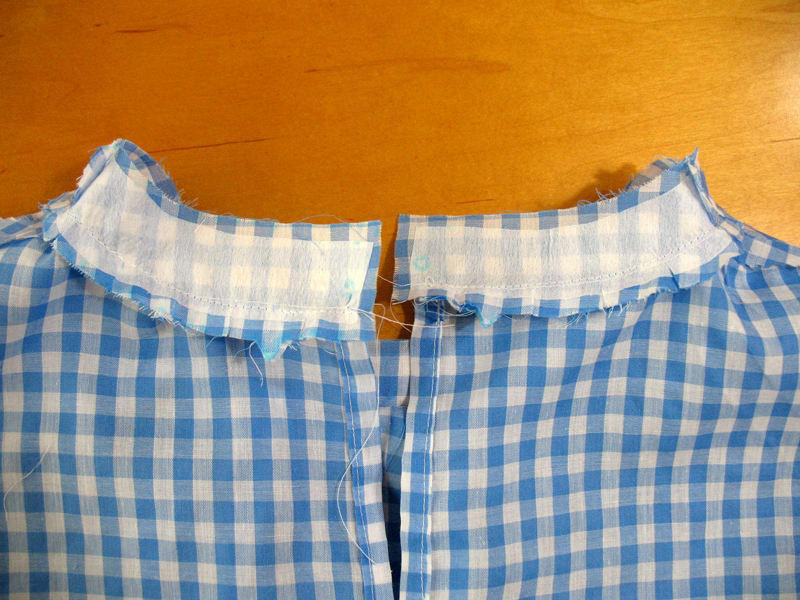
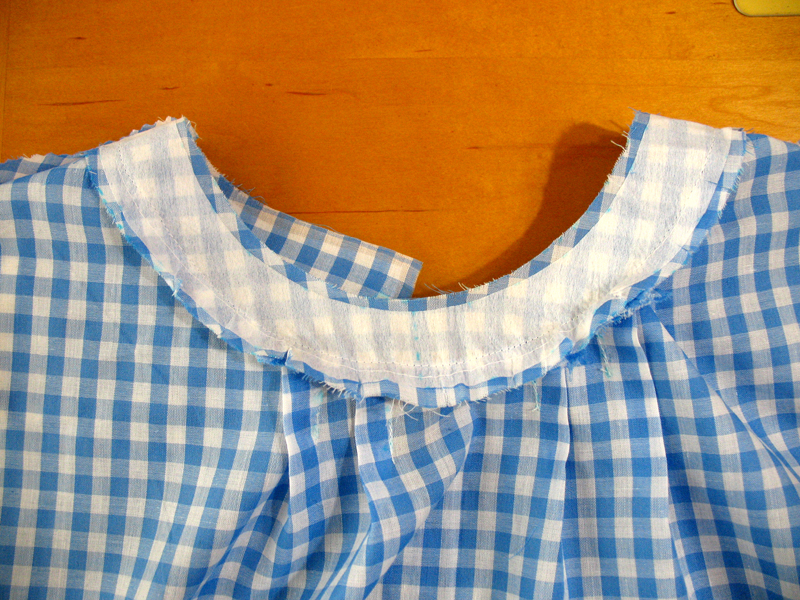
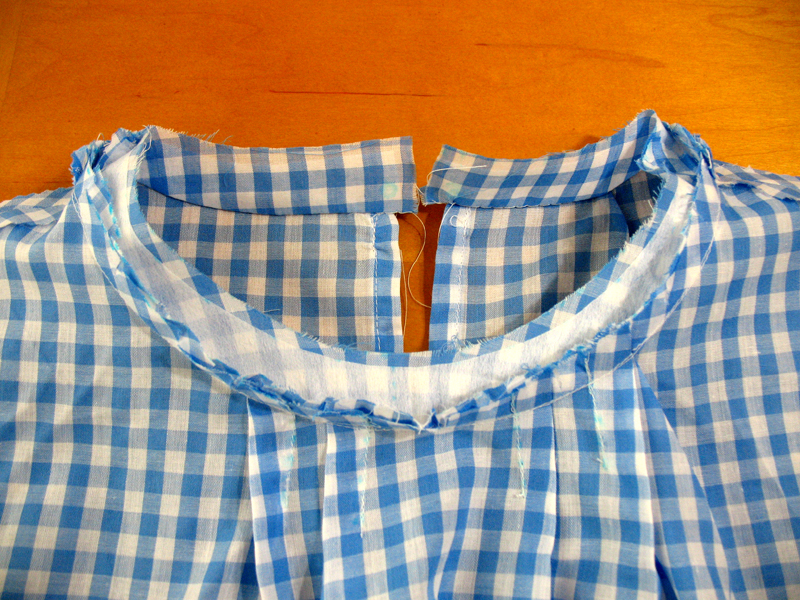
This is where I ran into my first problem. The collar pattern piece size that corresponded to the bodice pattern piece size didn’t match up. I had a hard time pinning/sewing the collar to the top, and I ended up scrunching the top just so that it would match with the notches/markings. There was an extra pleat to the neck making it less symmetrical to the eye.
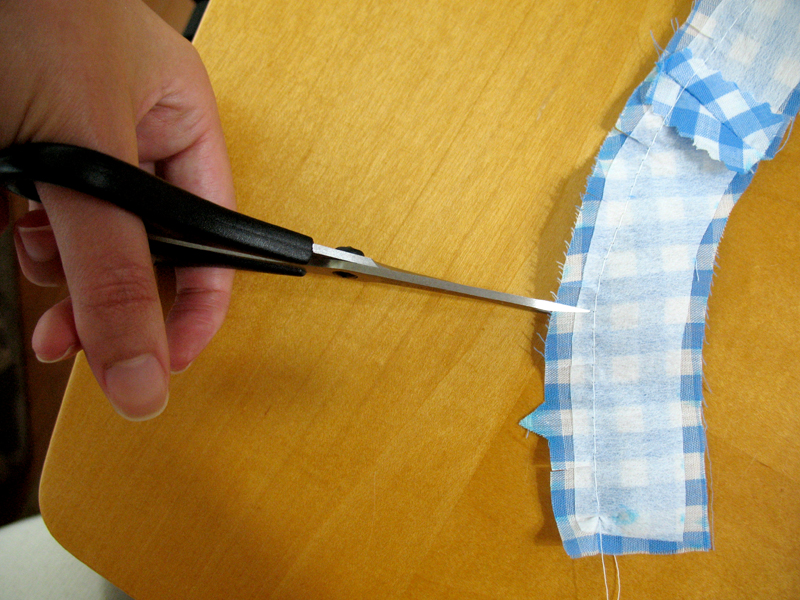
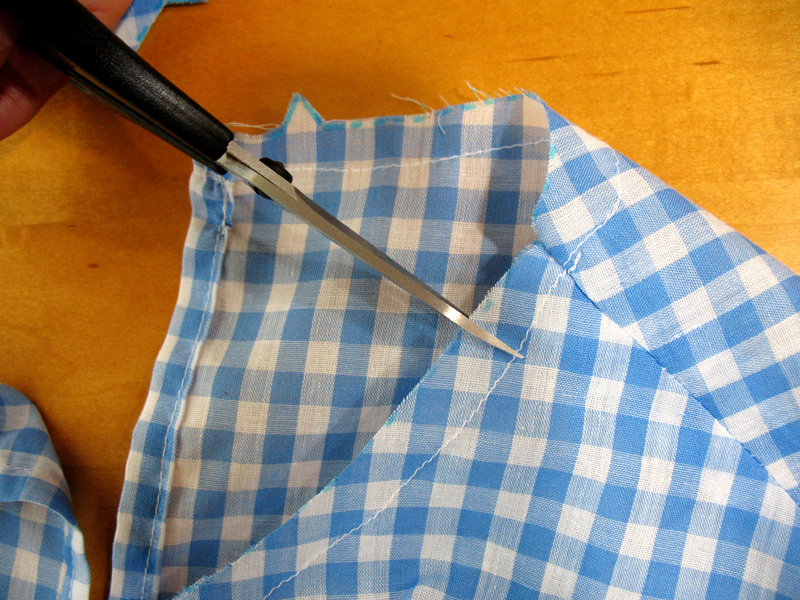
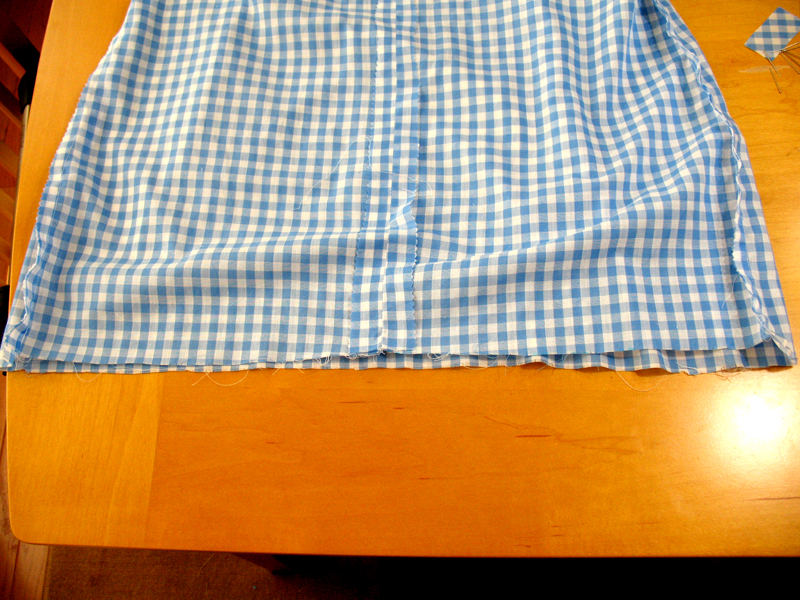
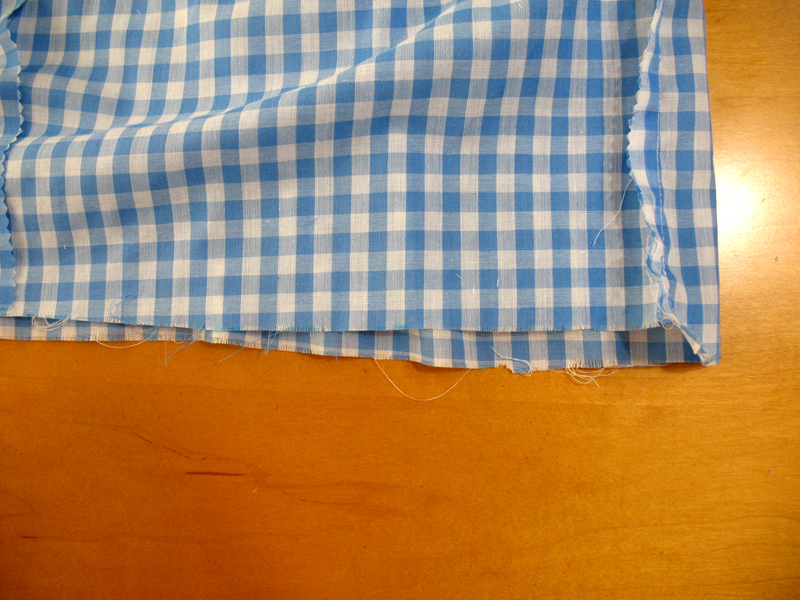
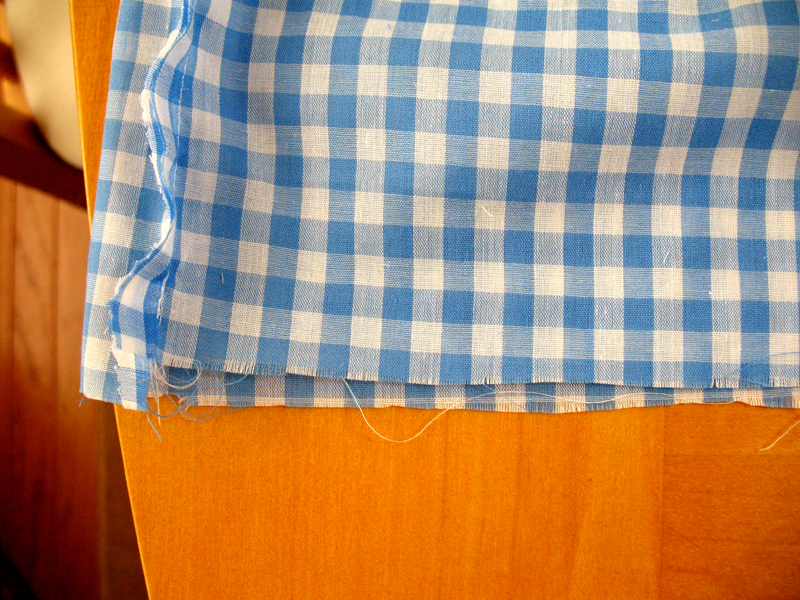
In addition, my sizing adjustments made for an uneven hem that needed fixing. I laid it on its side with the longer parts lined up and trimmed that off:
Here is a gallery of the finished product:
So after all that, the toile fit okay on my body with the specific measurements. However, the design didn’t seem to coincide with the closer fit that well and that extra pleat in the neckline looked like a sewing mistake (which it was).
As for the armholes, that was another issue with this project. First, the armholes in the finished product were a little too high on the bodice, cutting into my armpit in an uncomfortable way:
On top of that, I had the same problem with the armhole facing as with the collar piece. The corresponding facing pattern piece was too large for the bodice arm hole and I had to scrunch that just so that it would match the notches:
It was a good thing I made this for practice because I would not be happy with a top that looked like this! Time to try again with another toile.
Toile B
Okay, so I had some fabric lying around that had a similar weight to the leopard print, and used that in my second try. This time I used one pattern size that accommodated my waist/hip measurements while having a larger bust than what I have (size 18). As for the armhole facing pieces, I went down ONE size from the bodice (size 16), and I kept the corresponding collar pattern pieces for the bodice (size 18) just to see if it was my fault for the collar issues.
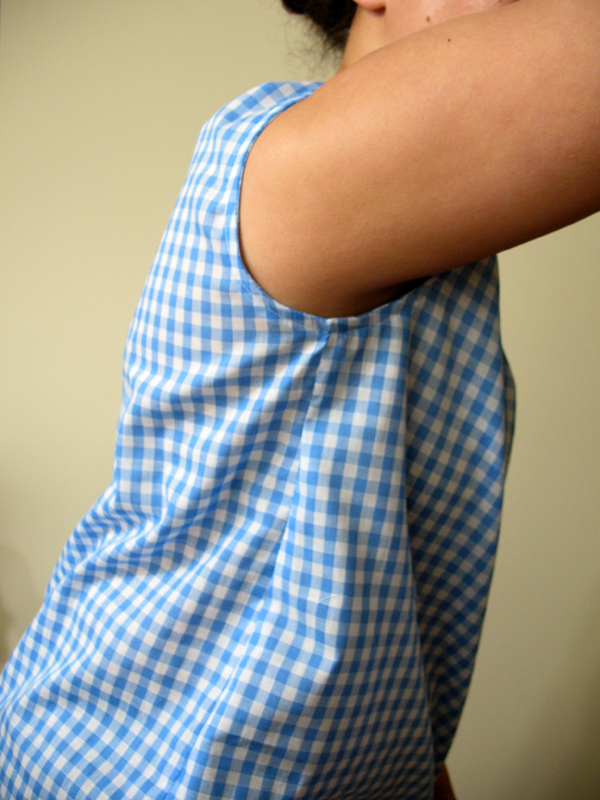
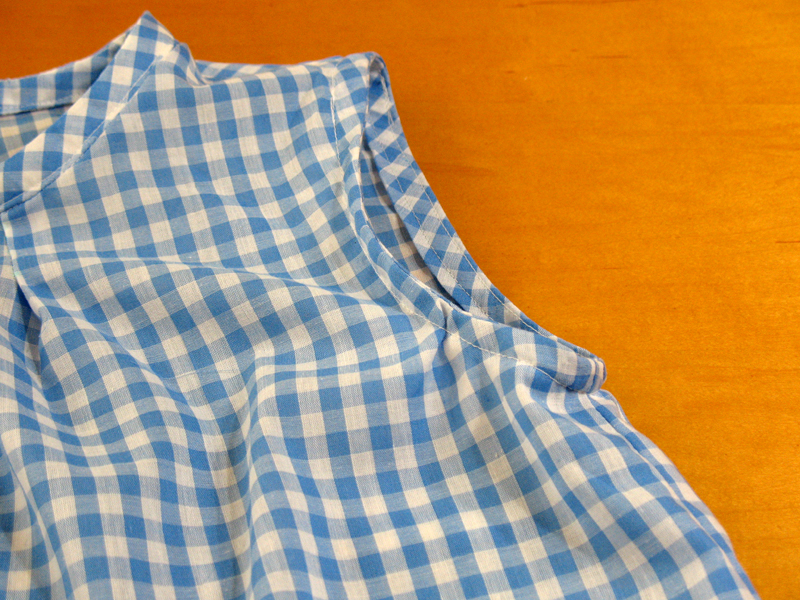
Well, the bodice size worked out MUCH BETTER this time around. Turns out the fabric was accommodating to the larger size, while the design looked better with that size too, and the armholes were more comfortable. Plus, the smaller armhole facings worked much better; I didn’t have to scrunch anywhere to have them fit properly. However, I finished them with a straight stitch close to the hole instead of the facing and it looked too tortured:
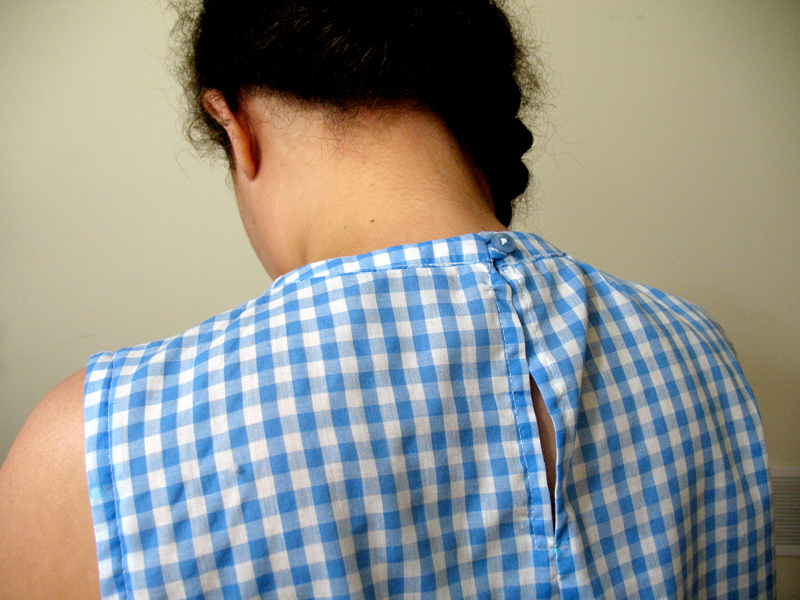
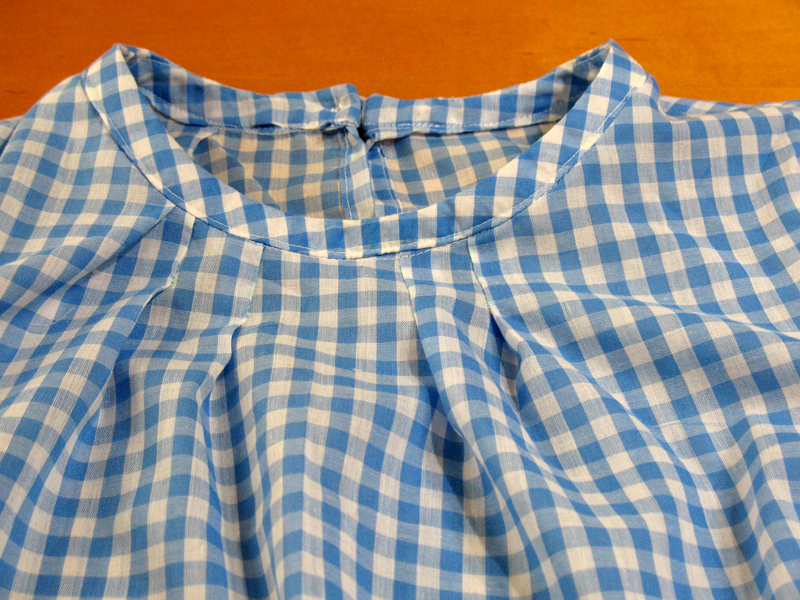
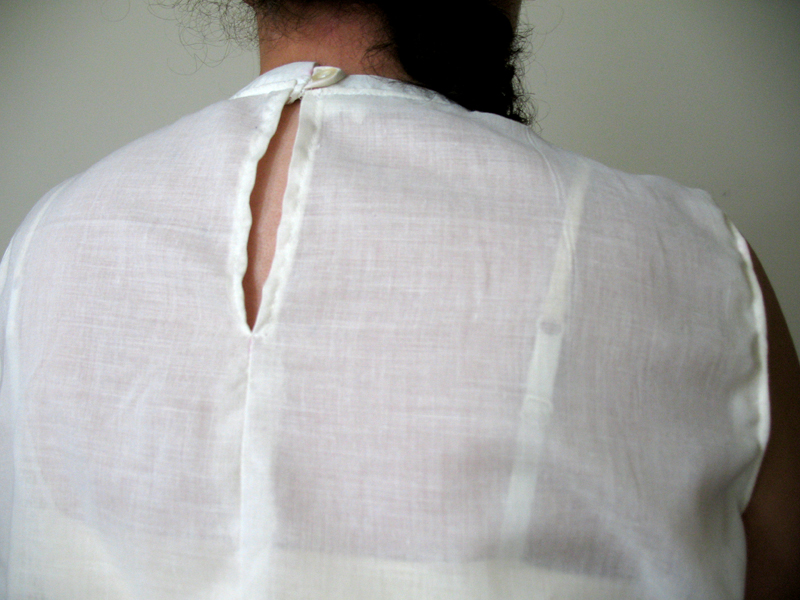
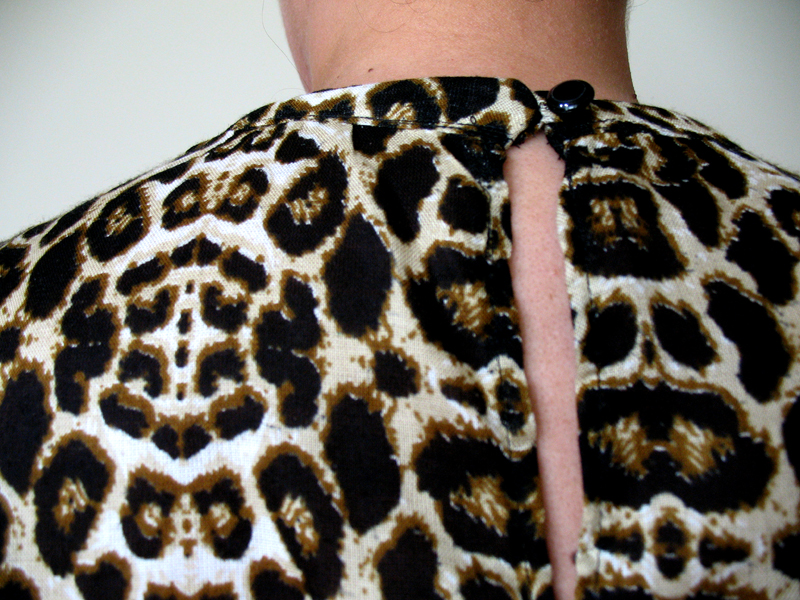
With the collar, I had the same issue as the first one (too small) so I added TWO pleats on the bodice neck hole to even things out. As for the button loop, I had some trouble machine-sewing the tube together due to the small size and flimsy fabric weight. Plus it was TOUGH flipping this thing inside out; I had to have massive time/patience to do this part:
Fortunately I had an extra button loop piece, so I hand-sewed the tube instead and used a toothpick to assist the inside/out process. It worked out better this way.
So with the collar on the finished piece, the two extra pleats helped construction-wise, but the overall look wasn’t sitting well with me. I felt I shouldn’t have to add another element to the design. Maybe the problem was just like the armhole facings; I need to go larger:
So again, I’m glad this was another practice garment and not the real thing. I made all the mistakes I could with these toiles and learned from them to prevent the real top from looking terrible.
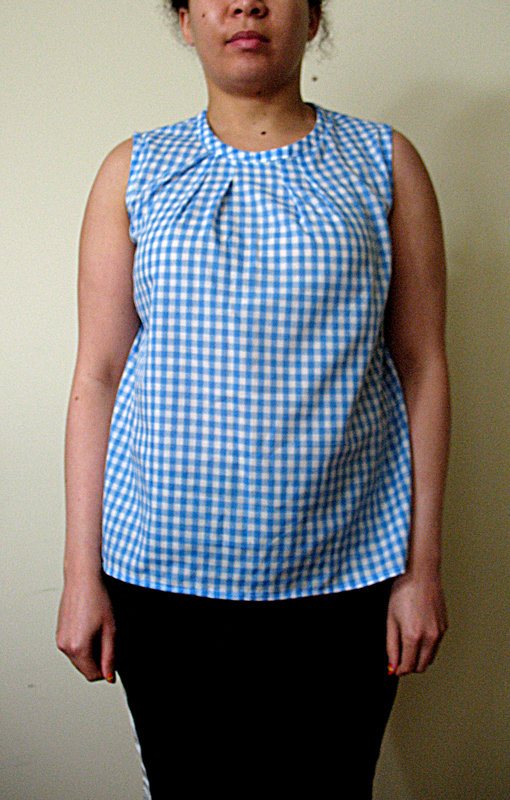
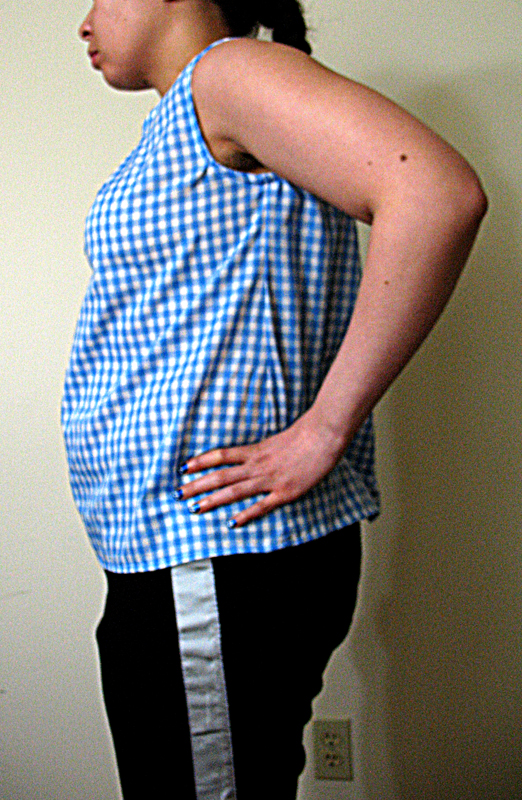
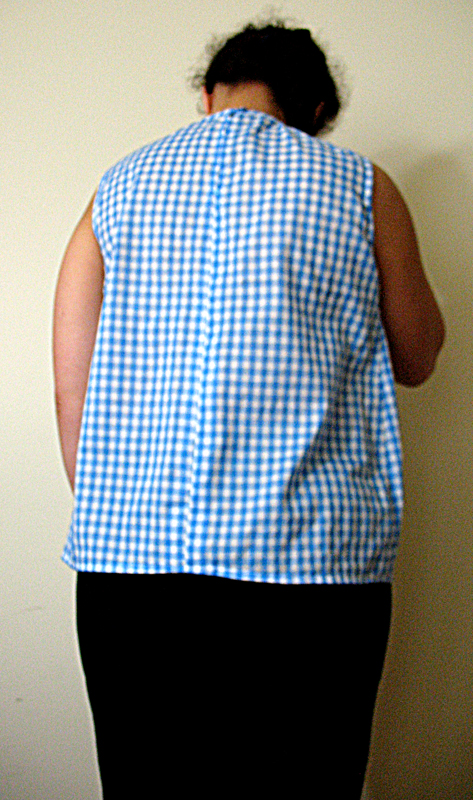
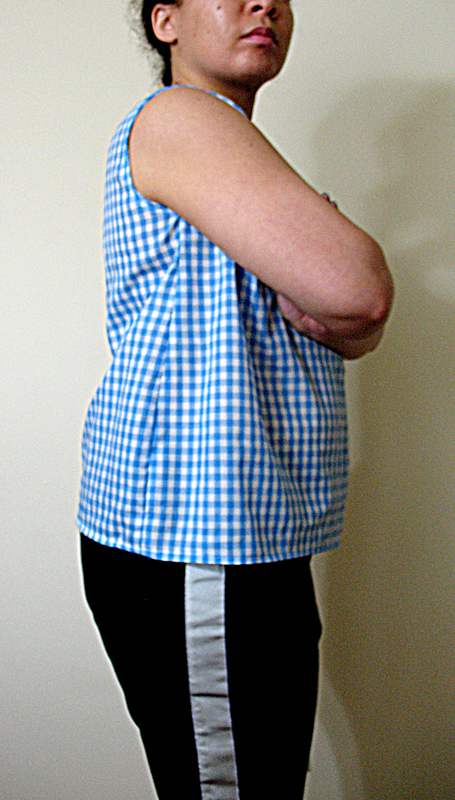
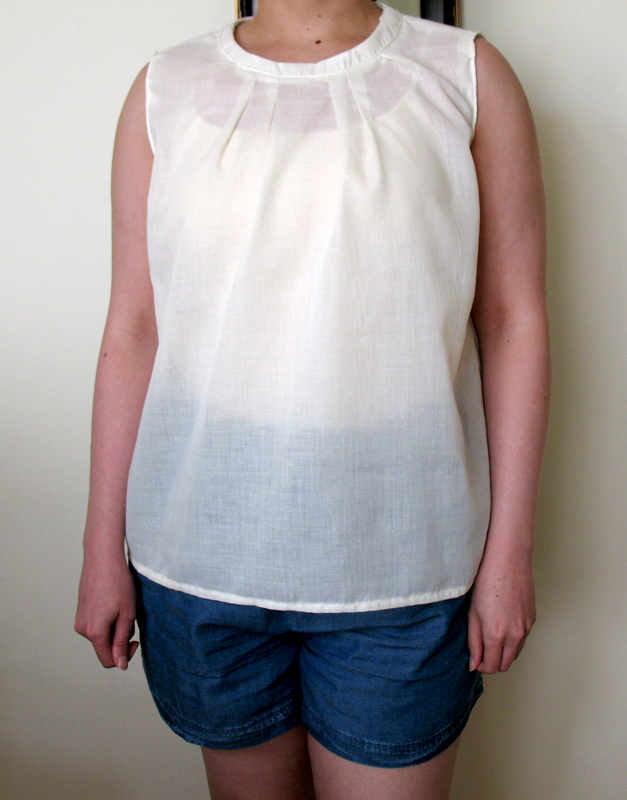
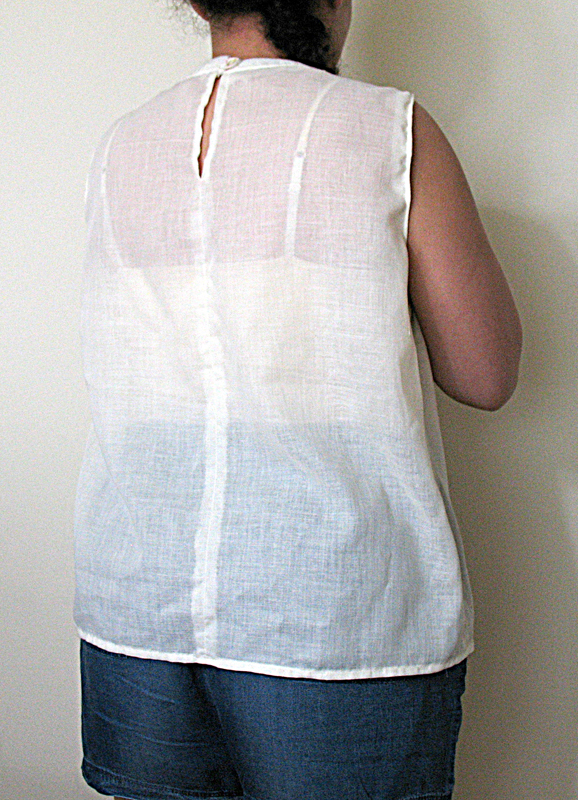
Final Look
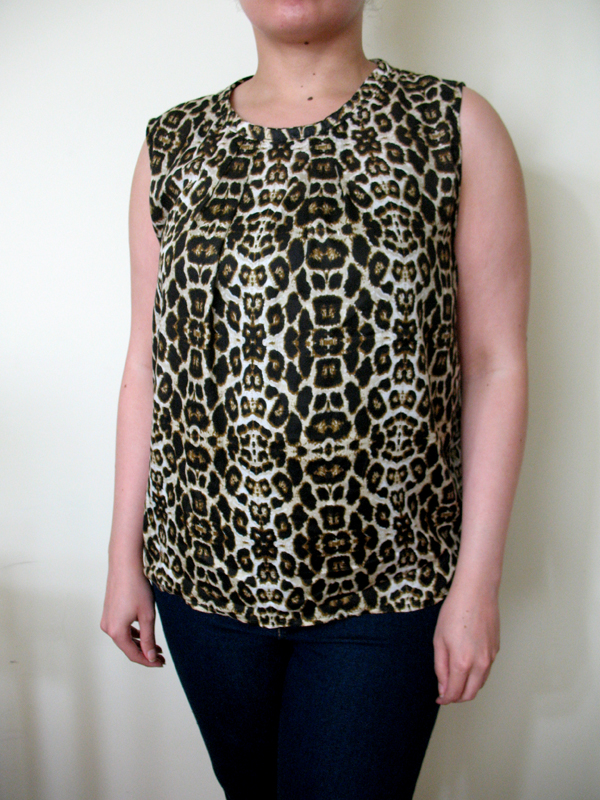
TA-DA! Third time’s really the charm. 🙂
After 2 tries, I made the necessary adjustments to the pieces and the construction. First, I changed my sewing machine needle from the all-purpose to a lightweight fabric one & I tested the stitch length/tension on scraps to figure out what would be best for the fabric.
With the pattern pieces, I stuck with the same bodice size (size 18) and armhole facing size (size 16). However, I went UP a size with the collar pieces (size 20) to see if it would fit better around the neck.
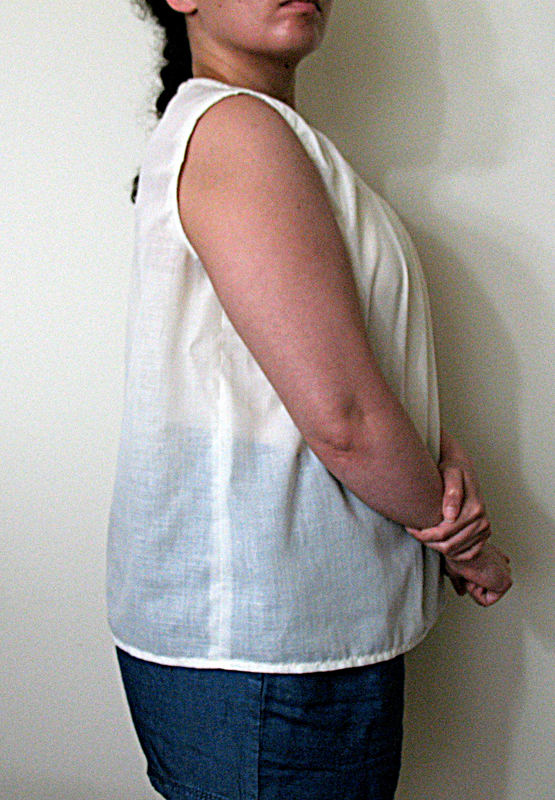
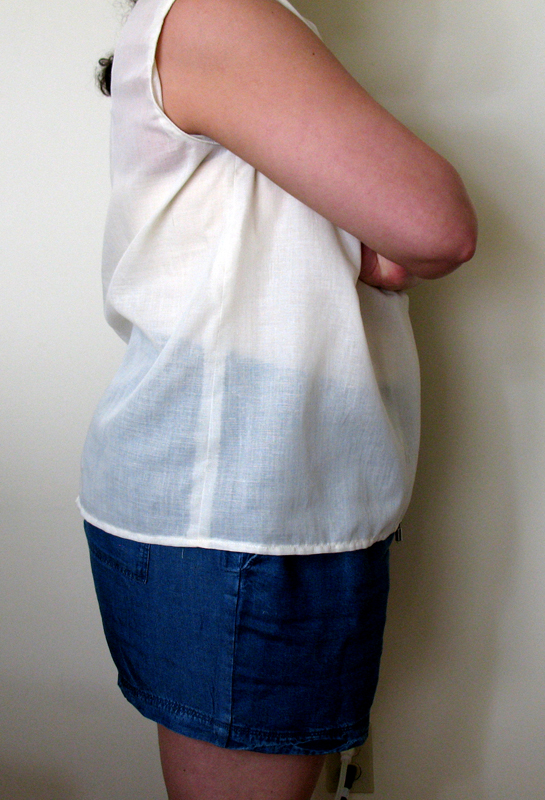
Here’s a gallery of the finished top:
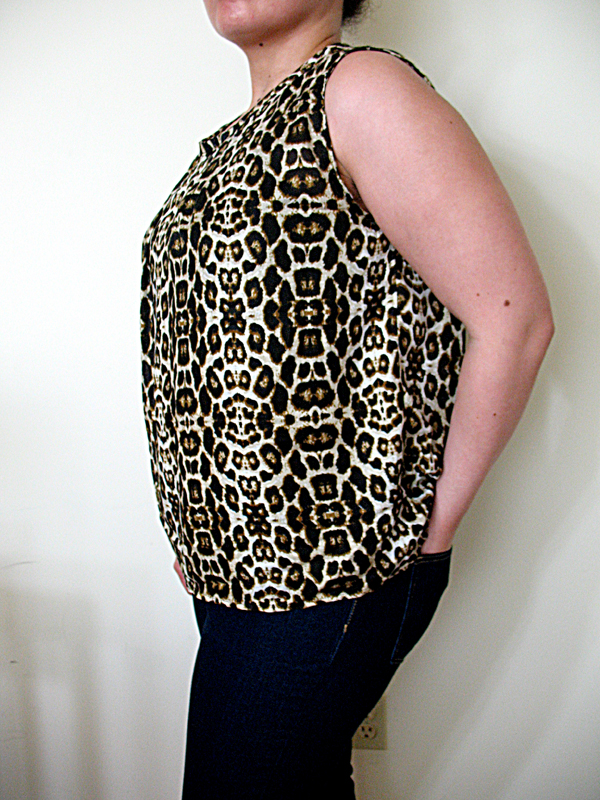
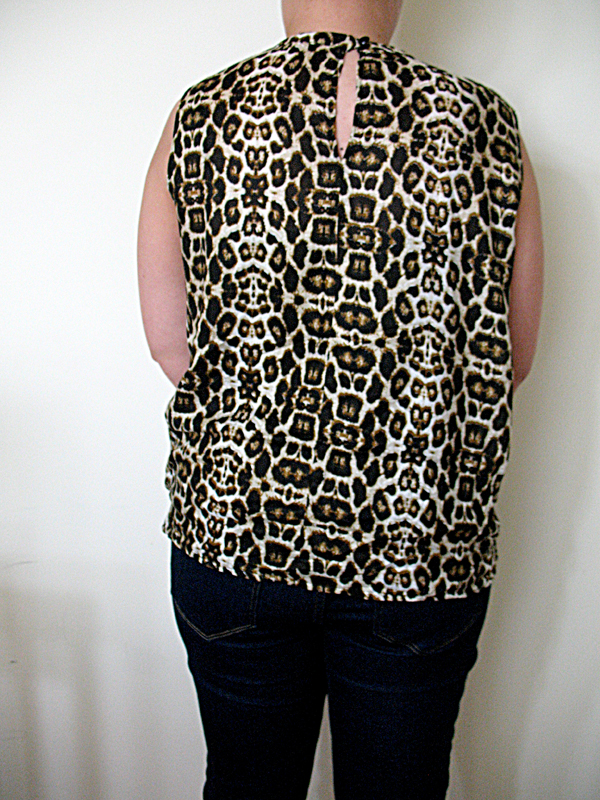
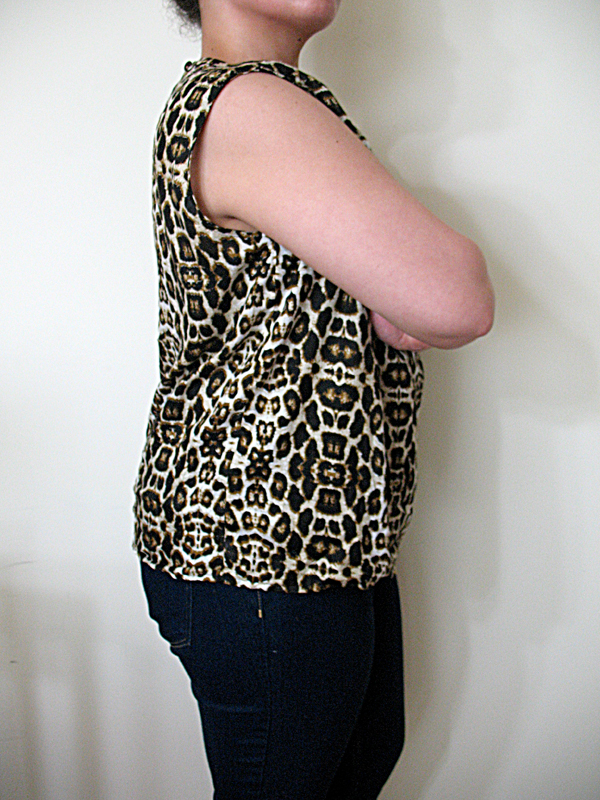
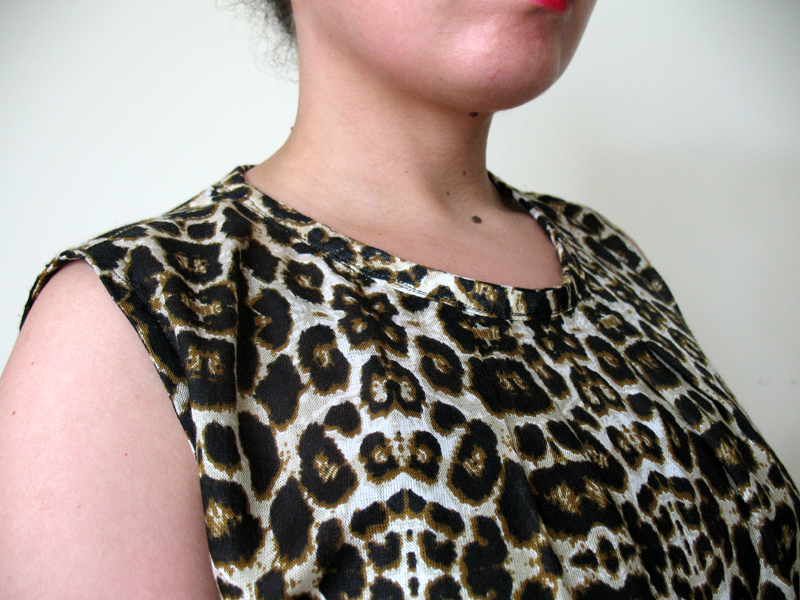
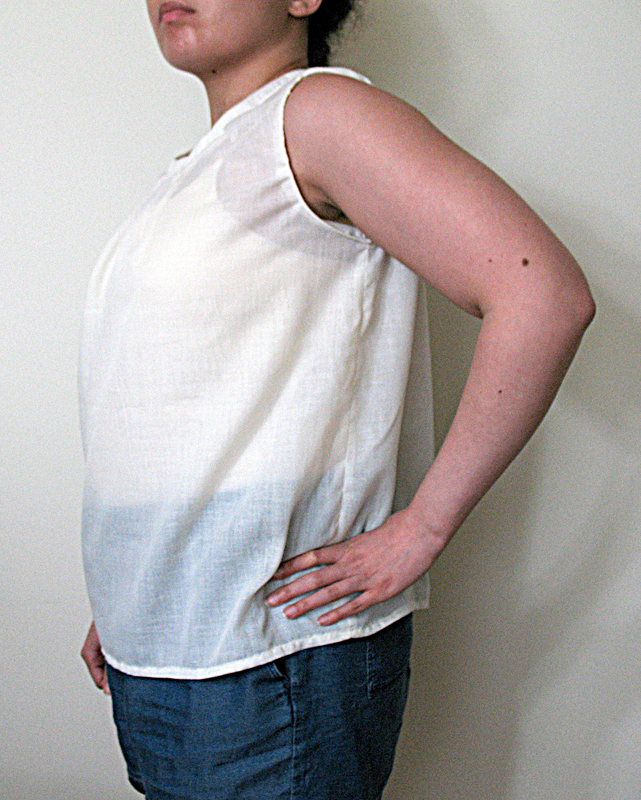
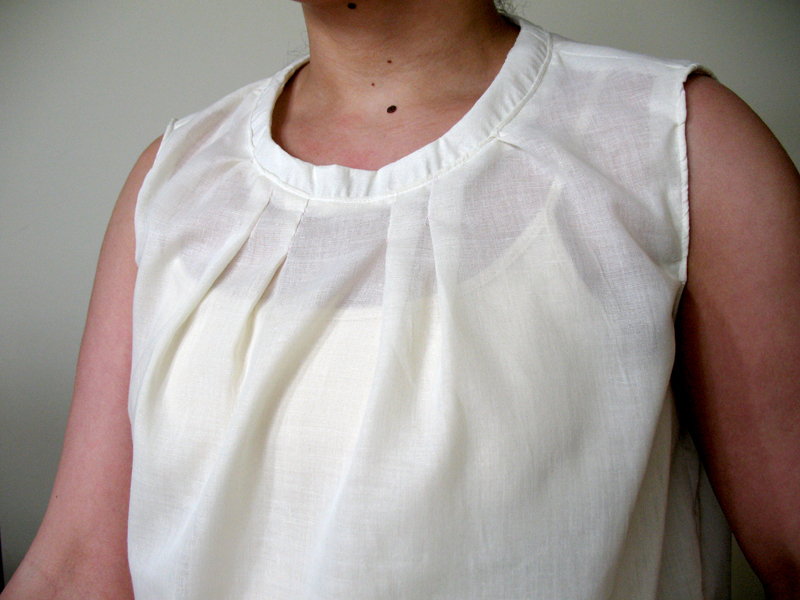
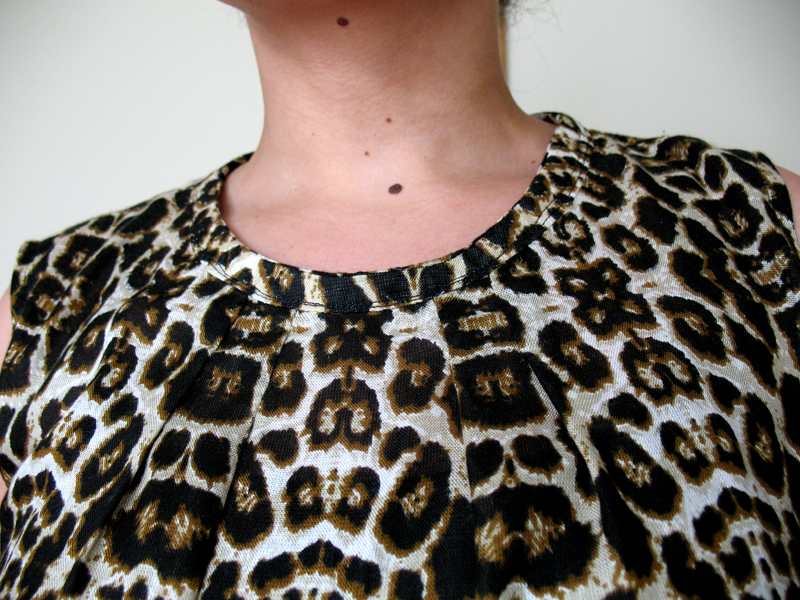
Overall, the top came out great. It drapes beautifully on the body and it’s comfortable all over, including the armholes. The collar was especially a success, since my instincts were proven to be right and it needed to be larger to accommodate the neck hole’s size. As for the instructions, I re-read them carefully and it turns out I didn’t need to machine-stitch the collar pieces & clip the curve BEFORE pinning them to the top. I did that AFTER I stitched it to the top, and it worked out fine:
Boy what a journey this assignment was! But I would do it all over again because I learned so much just practicing on scrap fabrics, that I was able to cut/sew the top I wanted with very few ugly mistakes. It may seem like a lot of wasted time, but I would recommend making 1 or 2 toiles for practice and fit tests just like the pros do since good fabric is not cheap and easy to come by.
As for this pattern, I love the simplicity of the design & the instructions (no pun intended). It’s not overly complicated in construction, but the collar will take some time and patience to sew, and that’s as difficult as it gets. I would recommend this for crafters who are still beginners but have a little basic experience under their belts. Amateurs may want to start with patterns made for people jumping into sewing for the first time, then hop on this one when they’re ready to take on a new challenge.
I’ll have to try out the sleeved versions of this top as soon as possible. Until then, happy sewing! 🙂
Thank you for showing your work. The final garment looks lovely on you. I just popped on google to search how to make adjustments to the arm holes and found your page. The size of the pattern is not even close to my body size 10/12. I ran into all the same issues as you in my practice garment. The directions for the neck are overly complicated making it seem more difficult than it was. I wanted a short sleeve and in my test project the pattern size for the sleeve would not even fit around my arm, so I went sleeveless. However, i’m going to attempt to make some pattern adjustments and forge on. It’s fairly simple pattern and could be a good template for cute summer top or dress.
Thanks for the comment! If you have both the small and large pattern packages for this design you can adjust the proportions easily to make the top work for you and not the set pattern size measurements. Good Luck!