Hello everyone!
So that friend I mentioned in my Burda Young 6799 Hoodie Jacket post? She asked me to make her a pair of pants to go with her navy blue/lilac purple jacket too.
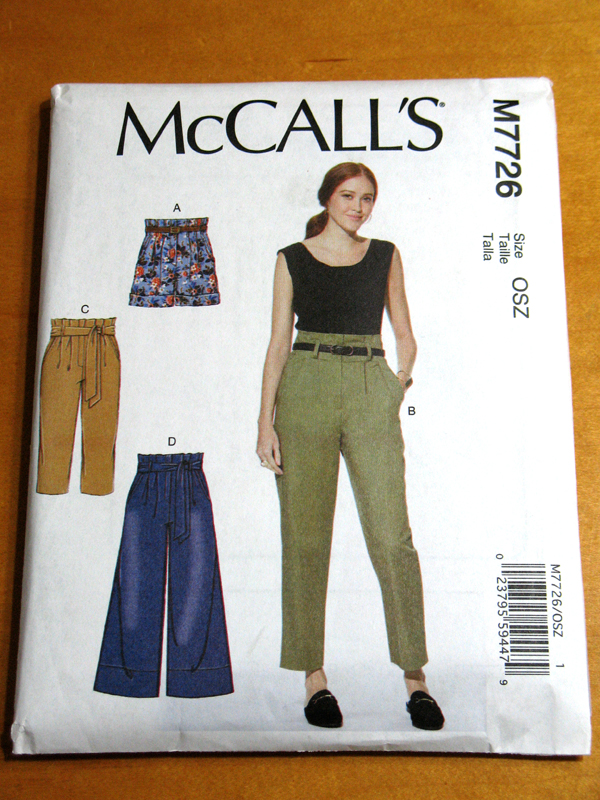
Awesome! My home sewer heart loves getting more requests, and after sifting through my online pattern archive she chose the tapered ankle-length pants design in this McCall’s pattern collection with just the belt loops in a navy blue fabric.
No problem! Let’s get to my process sewing these pants…
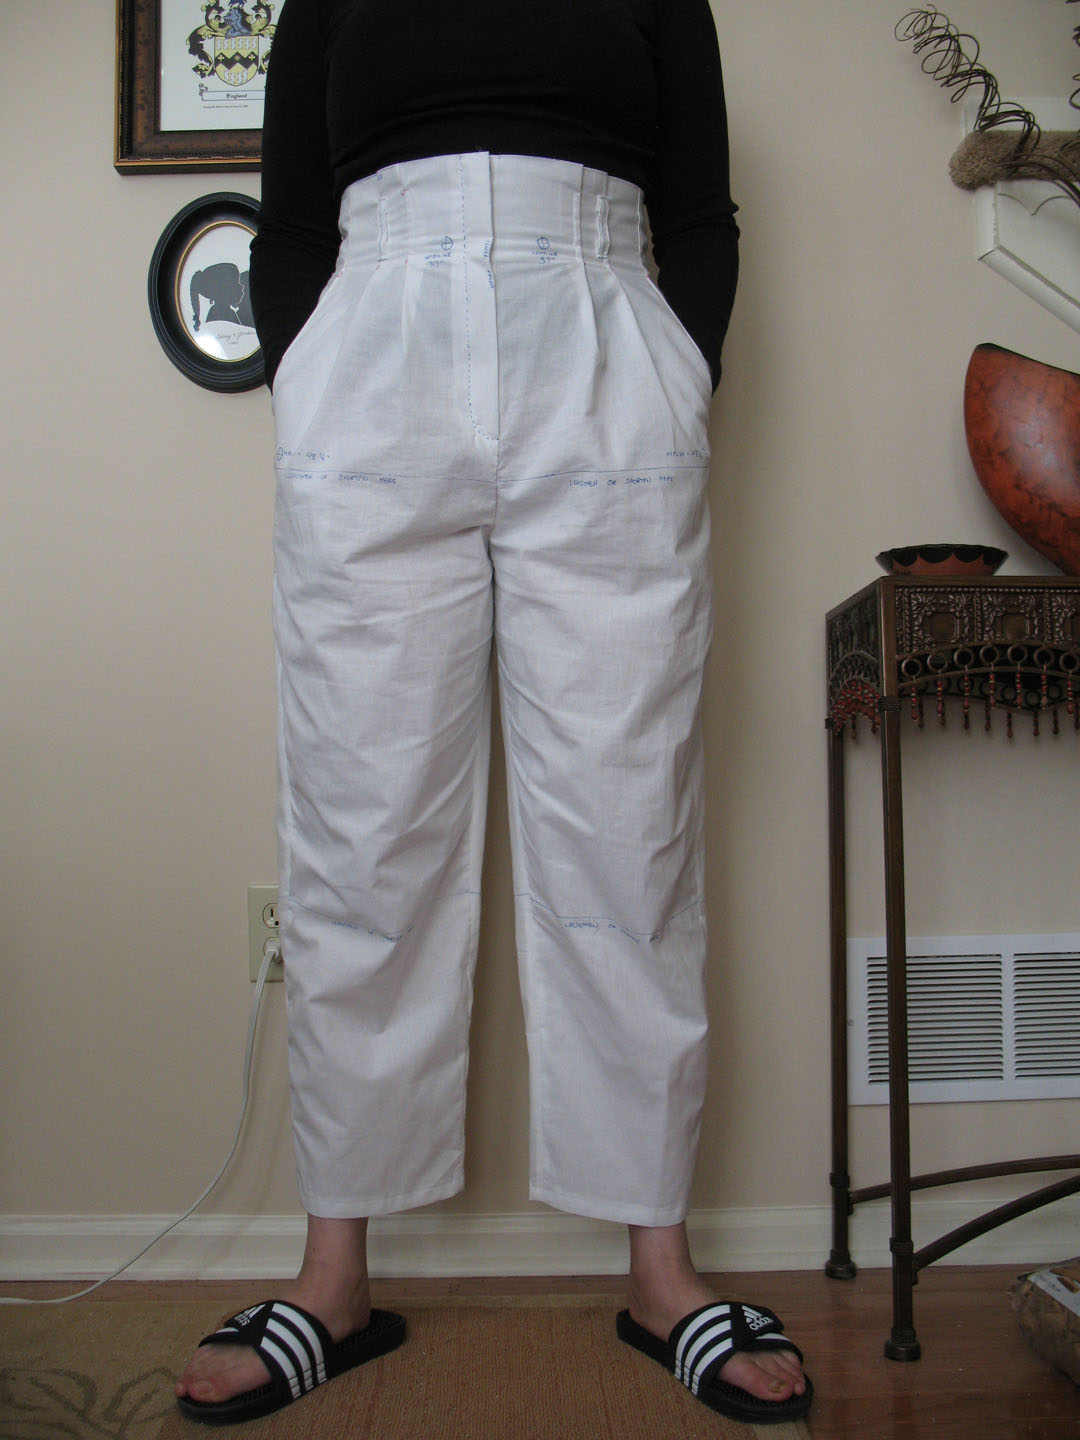
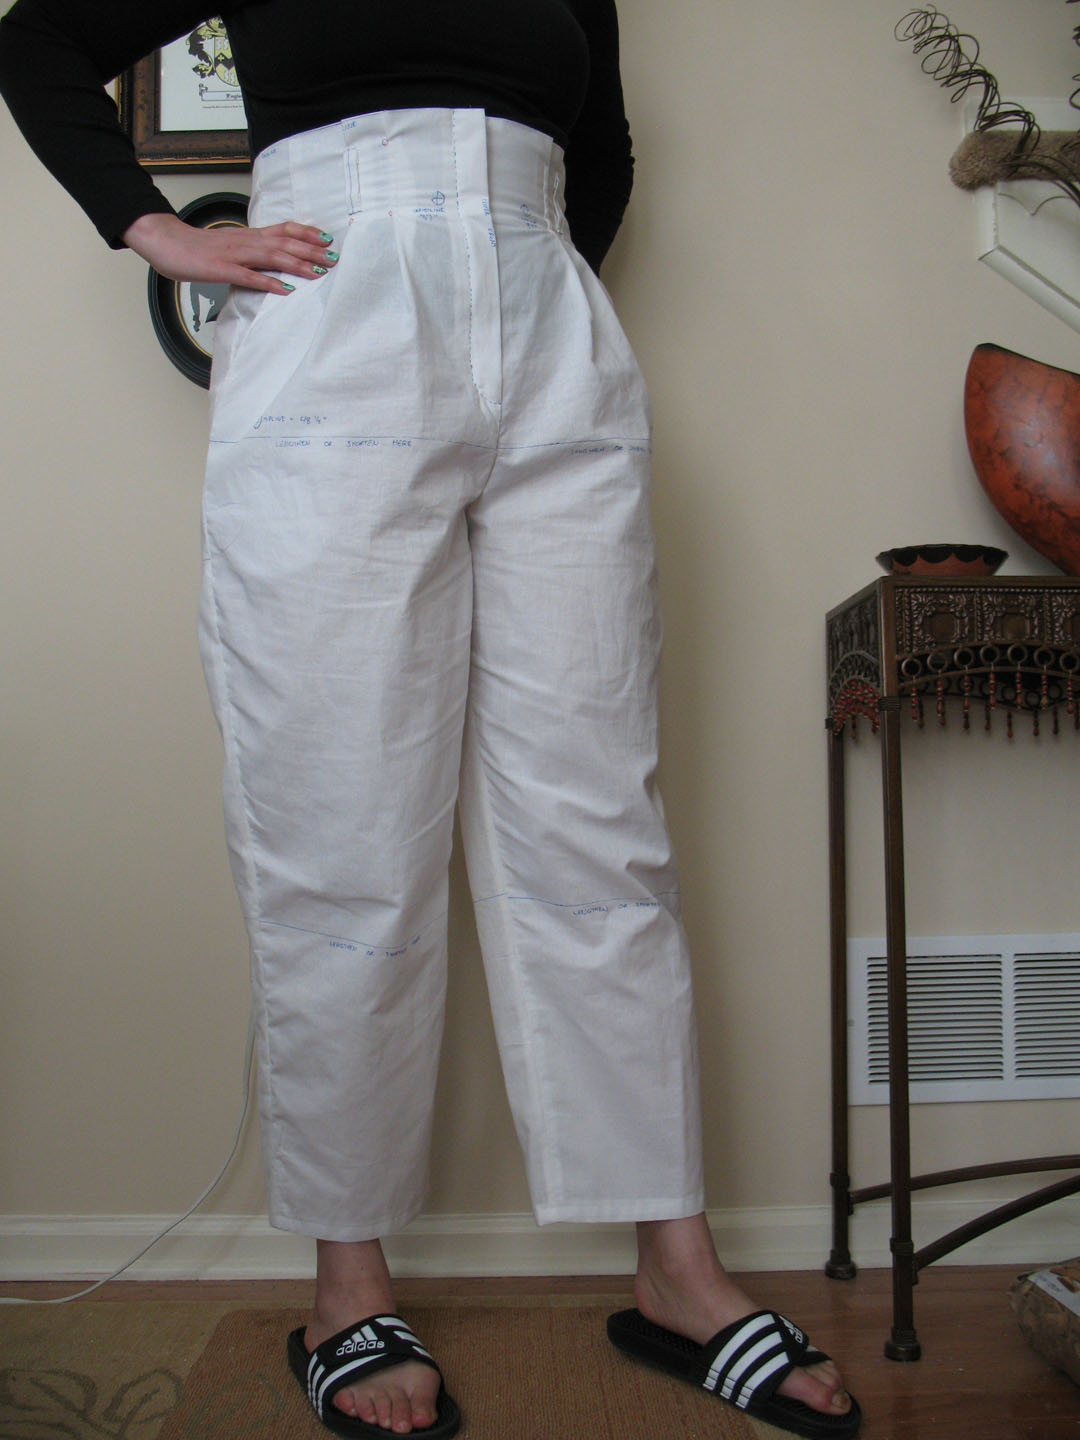
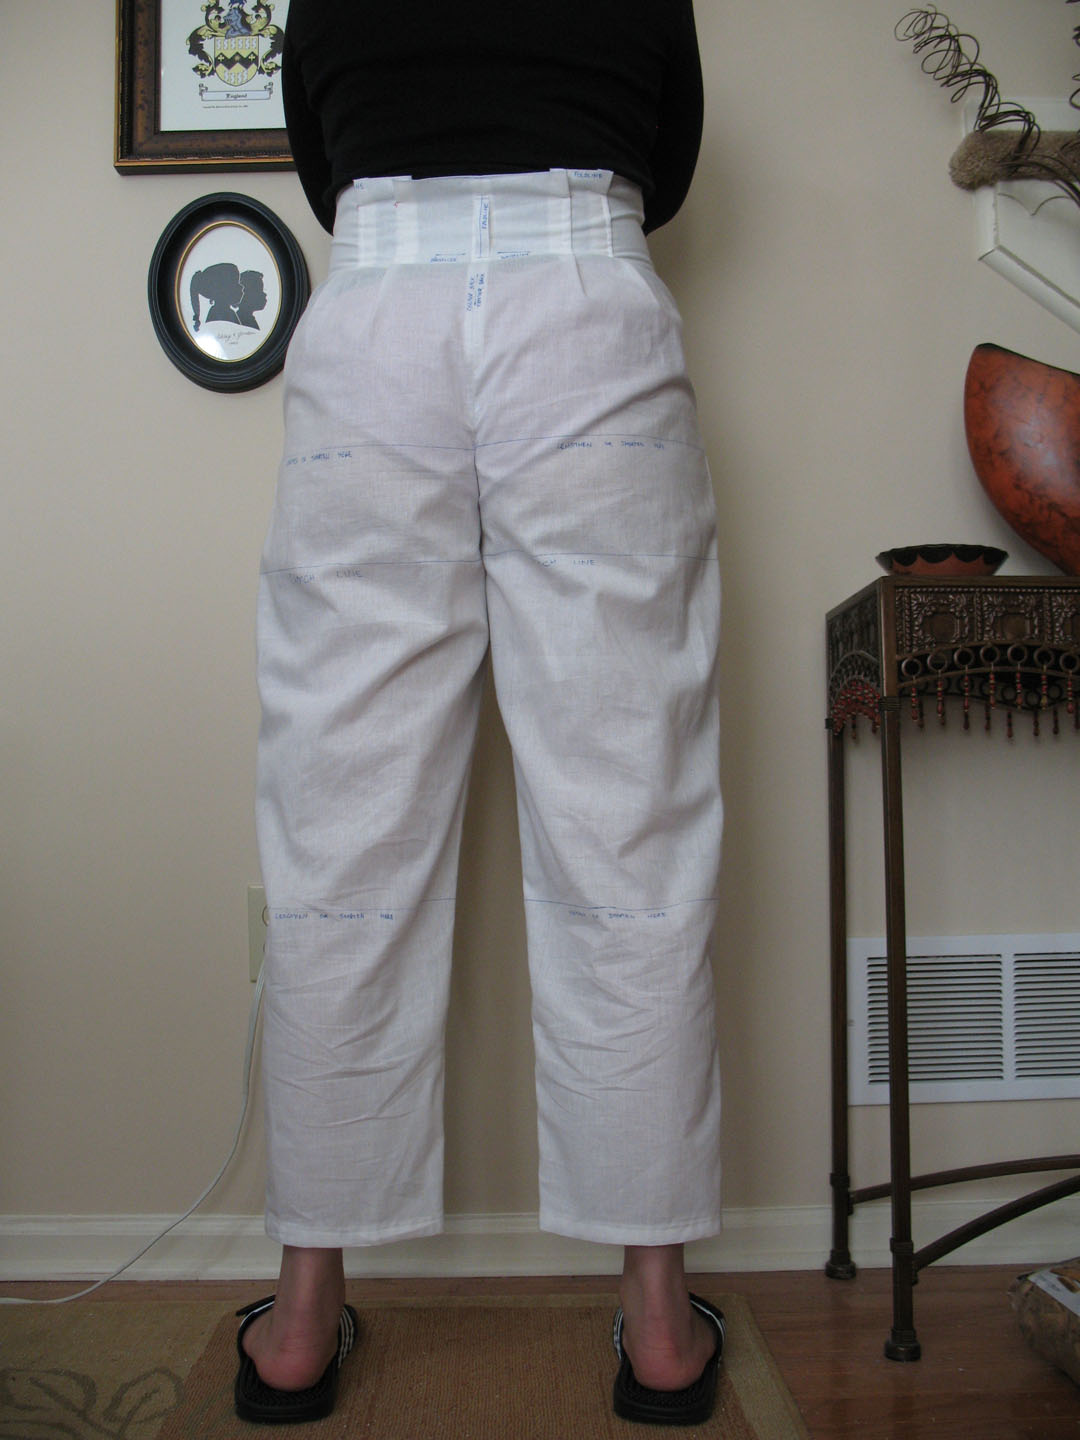
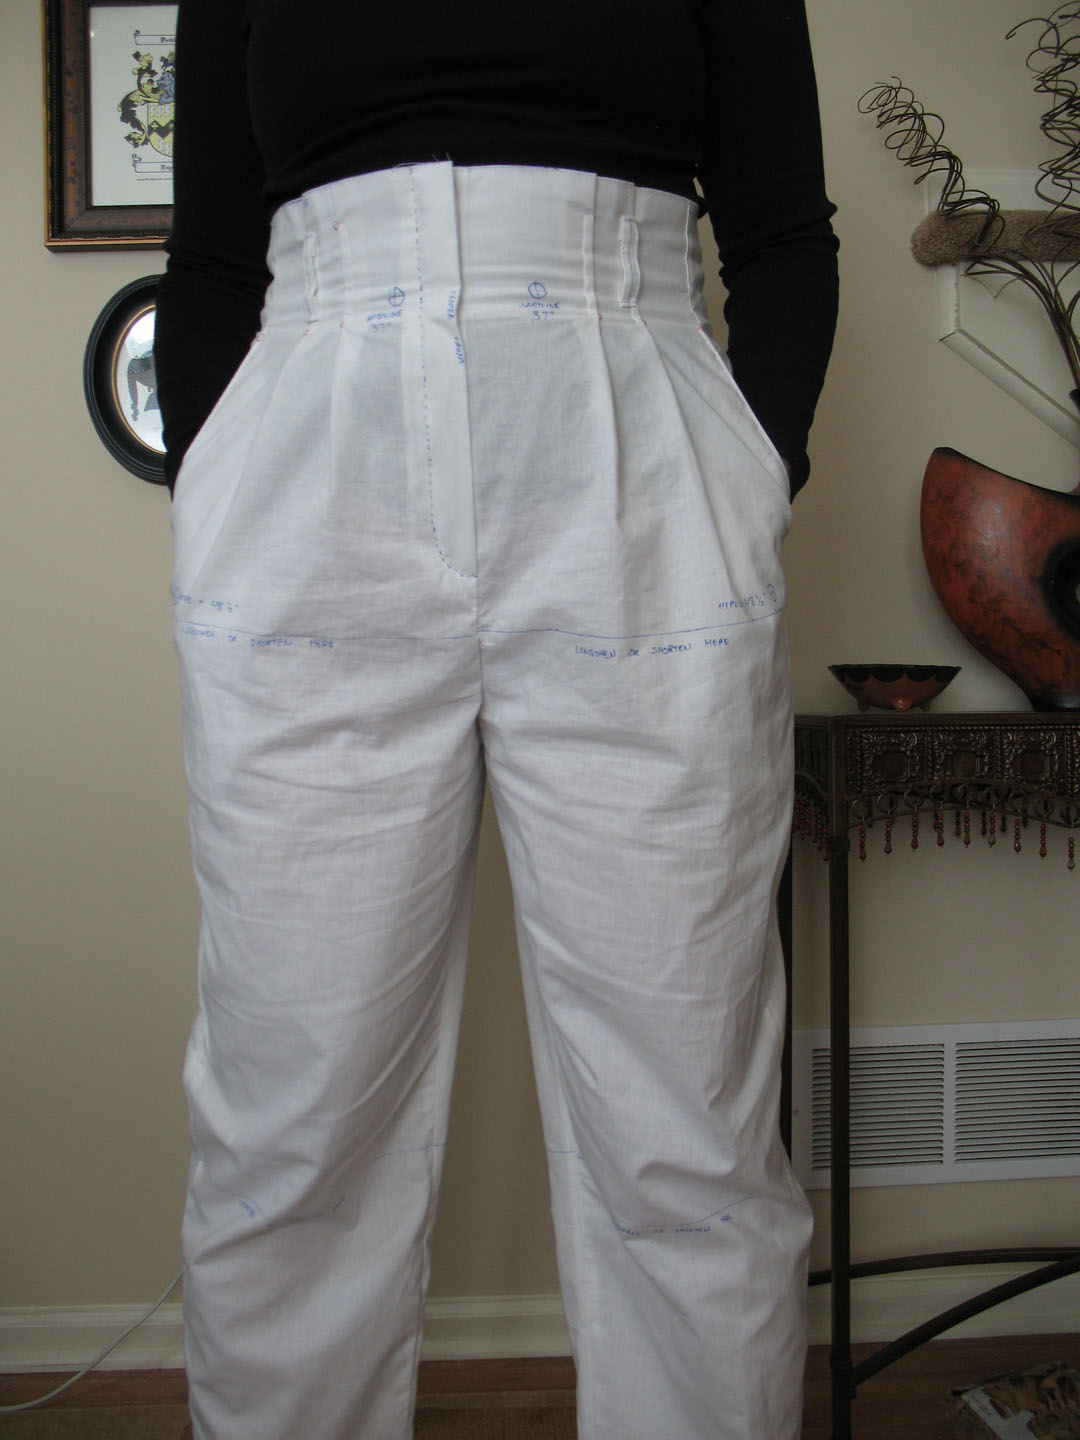
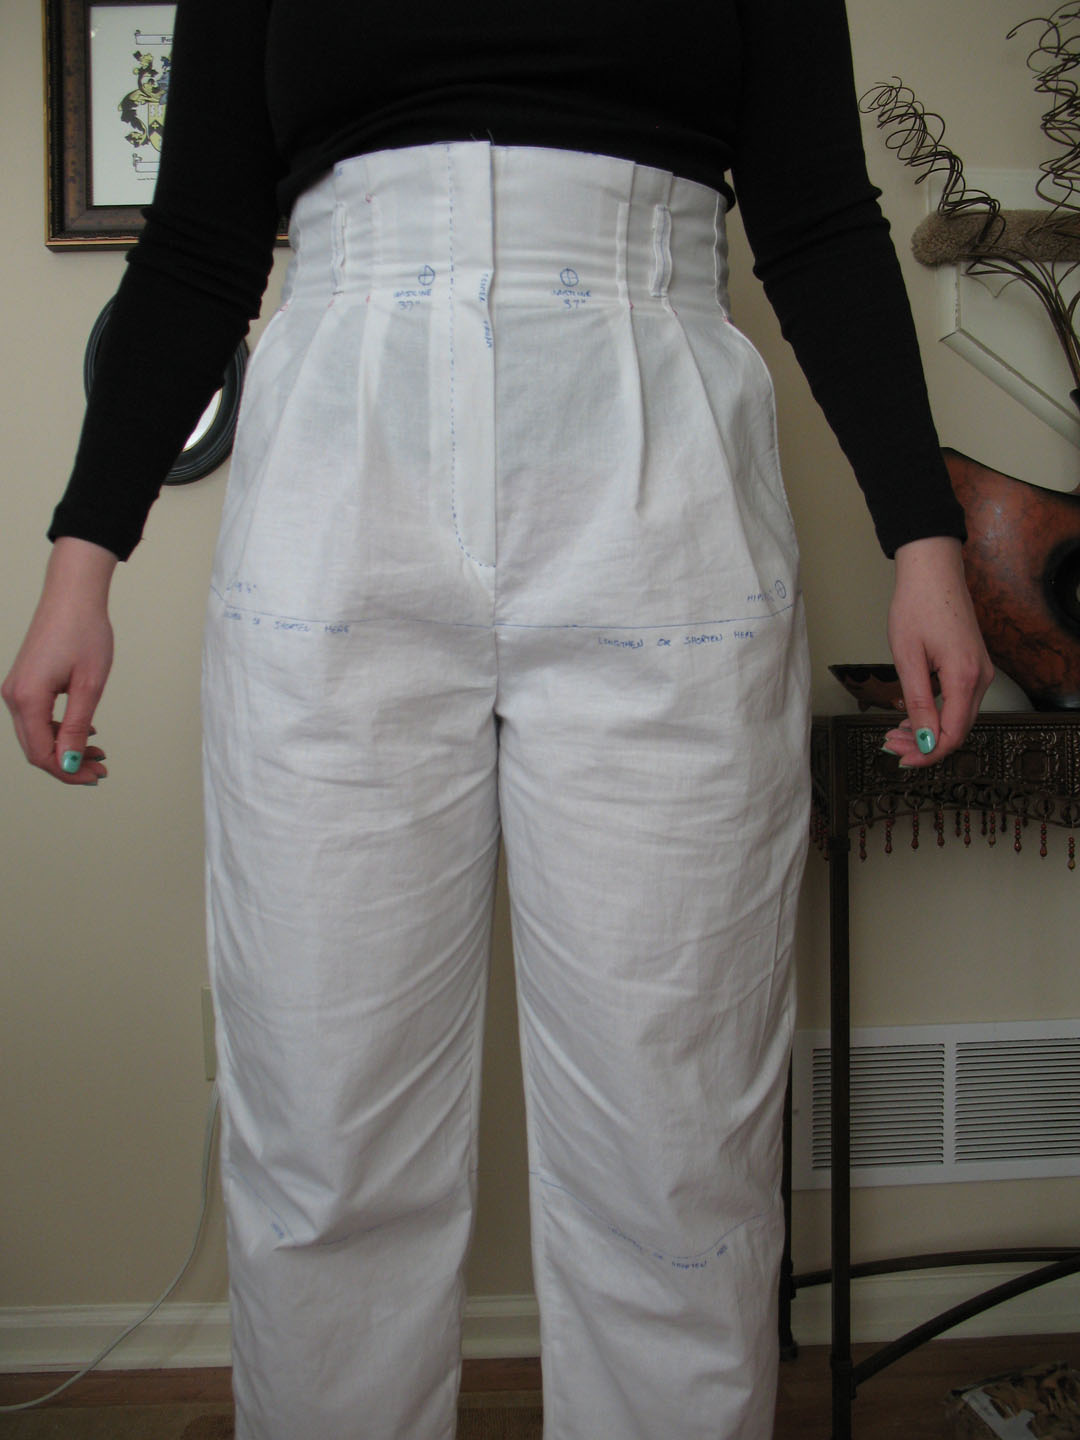
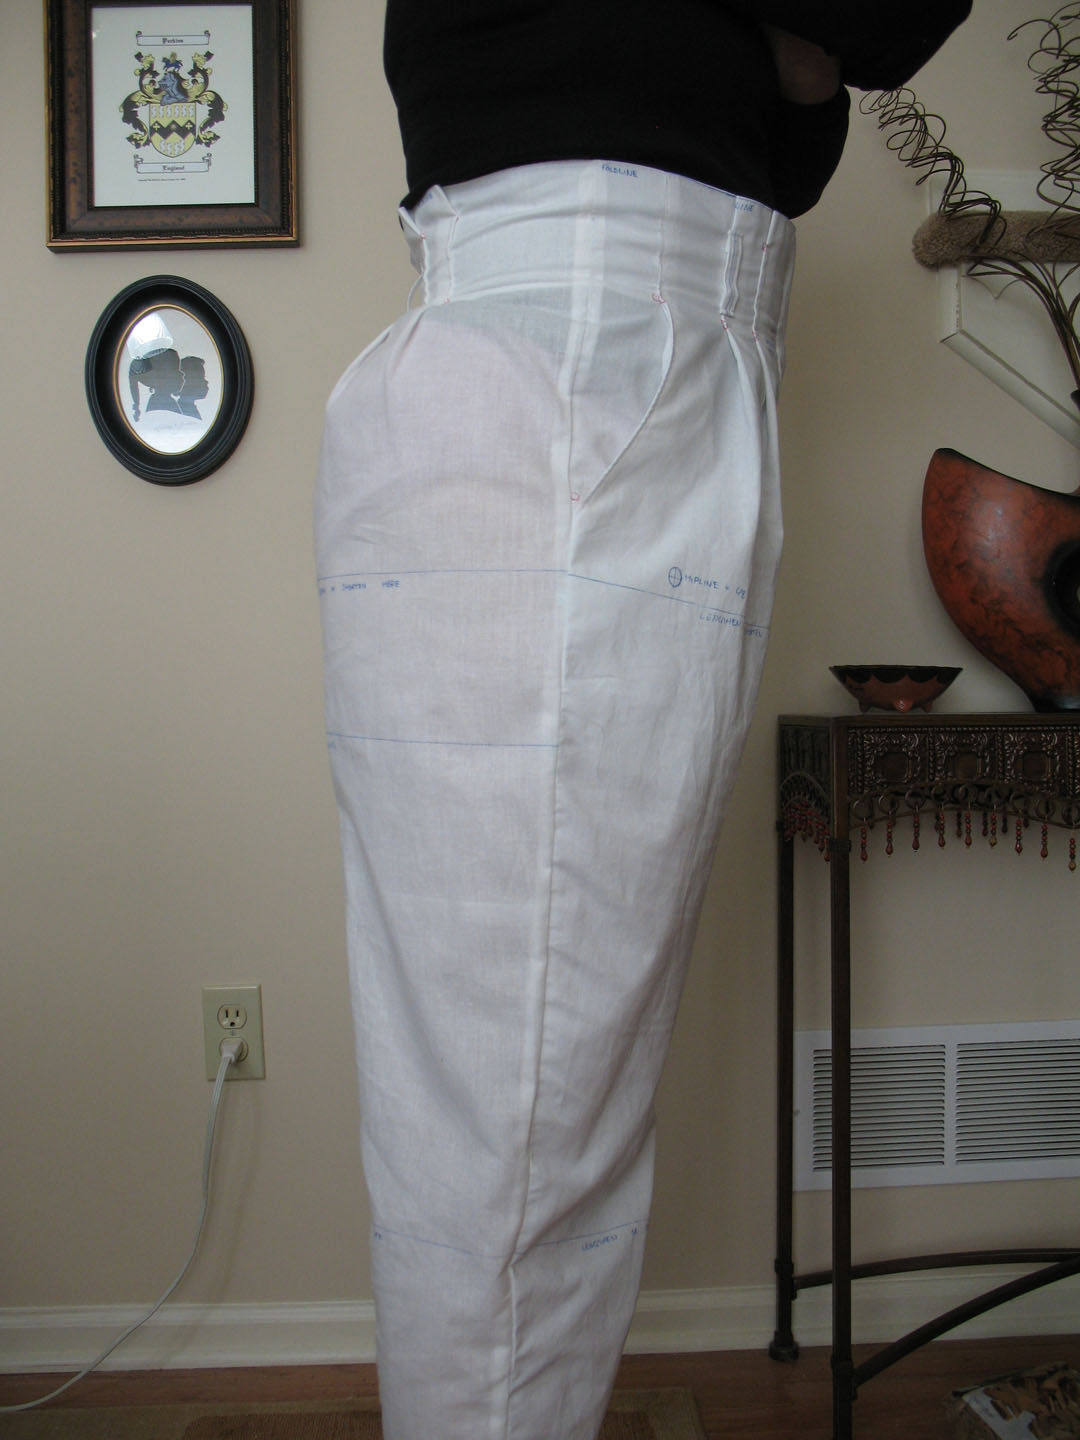
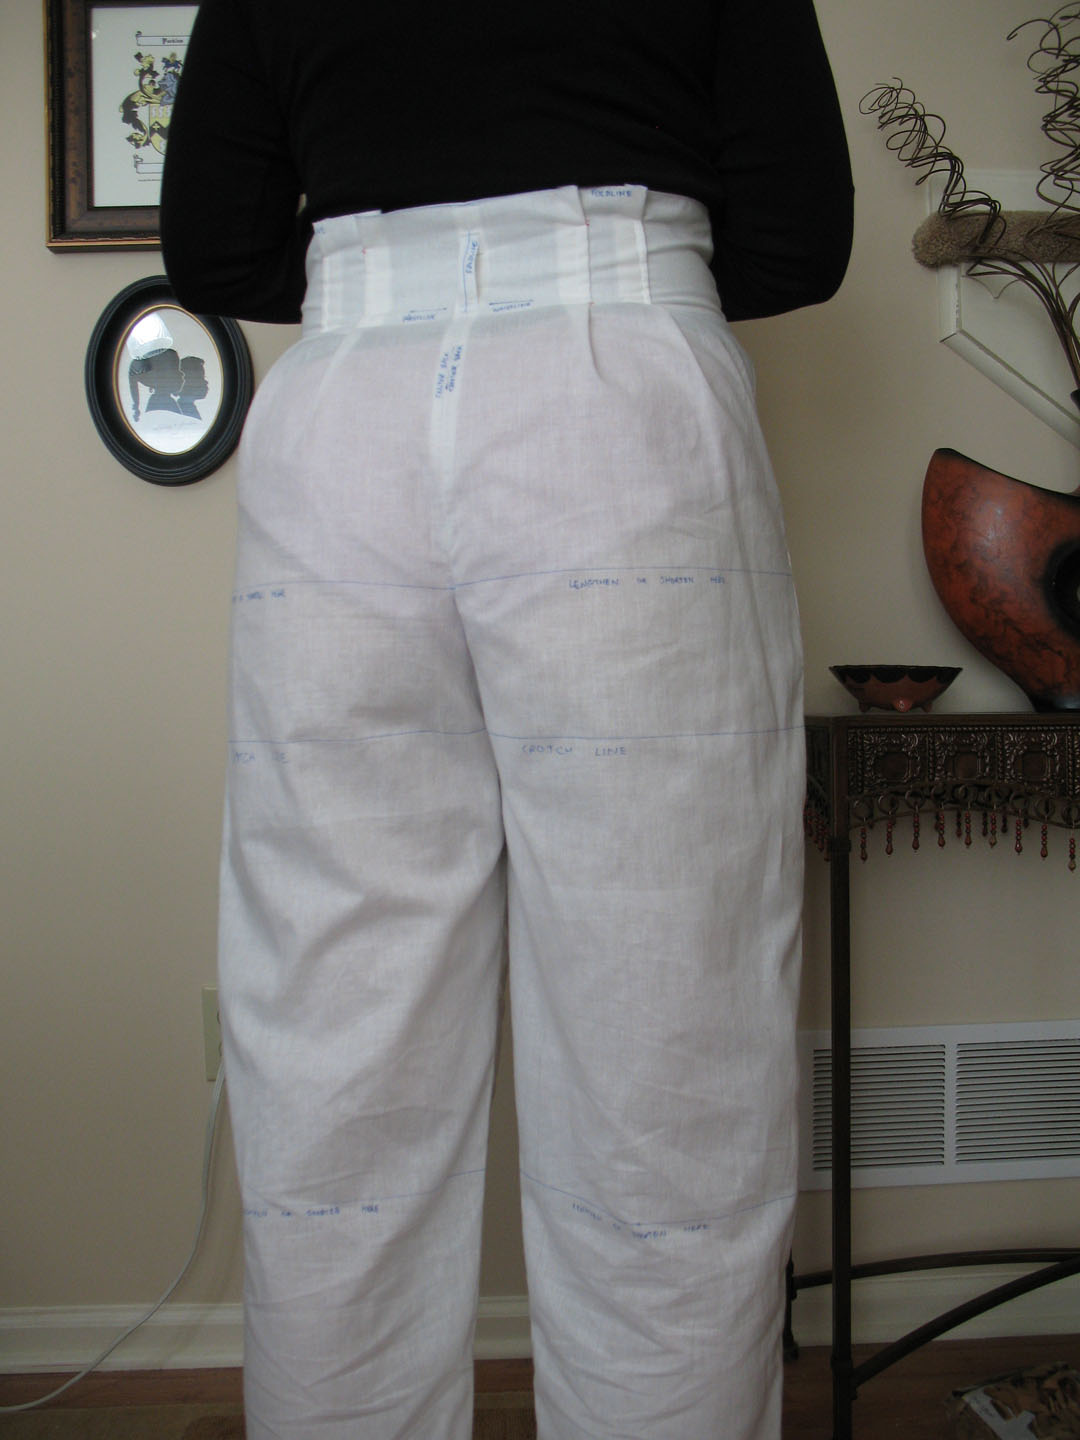
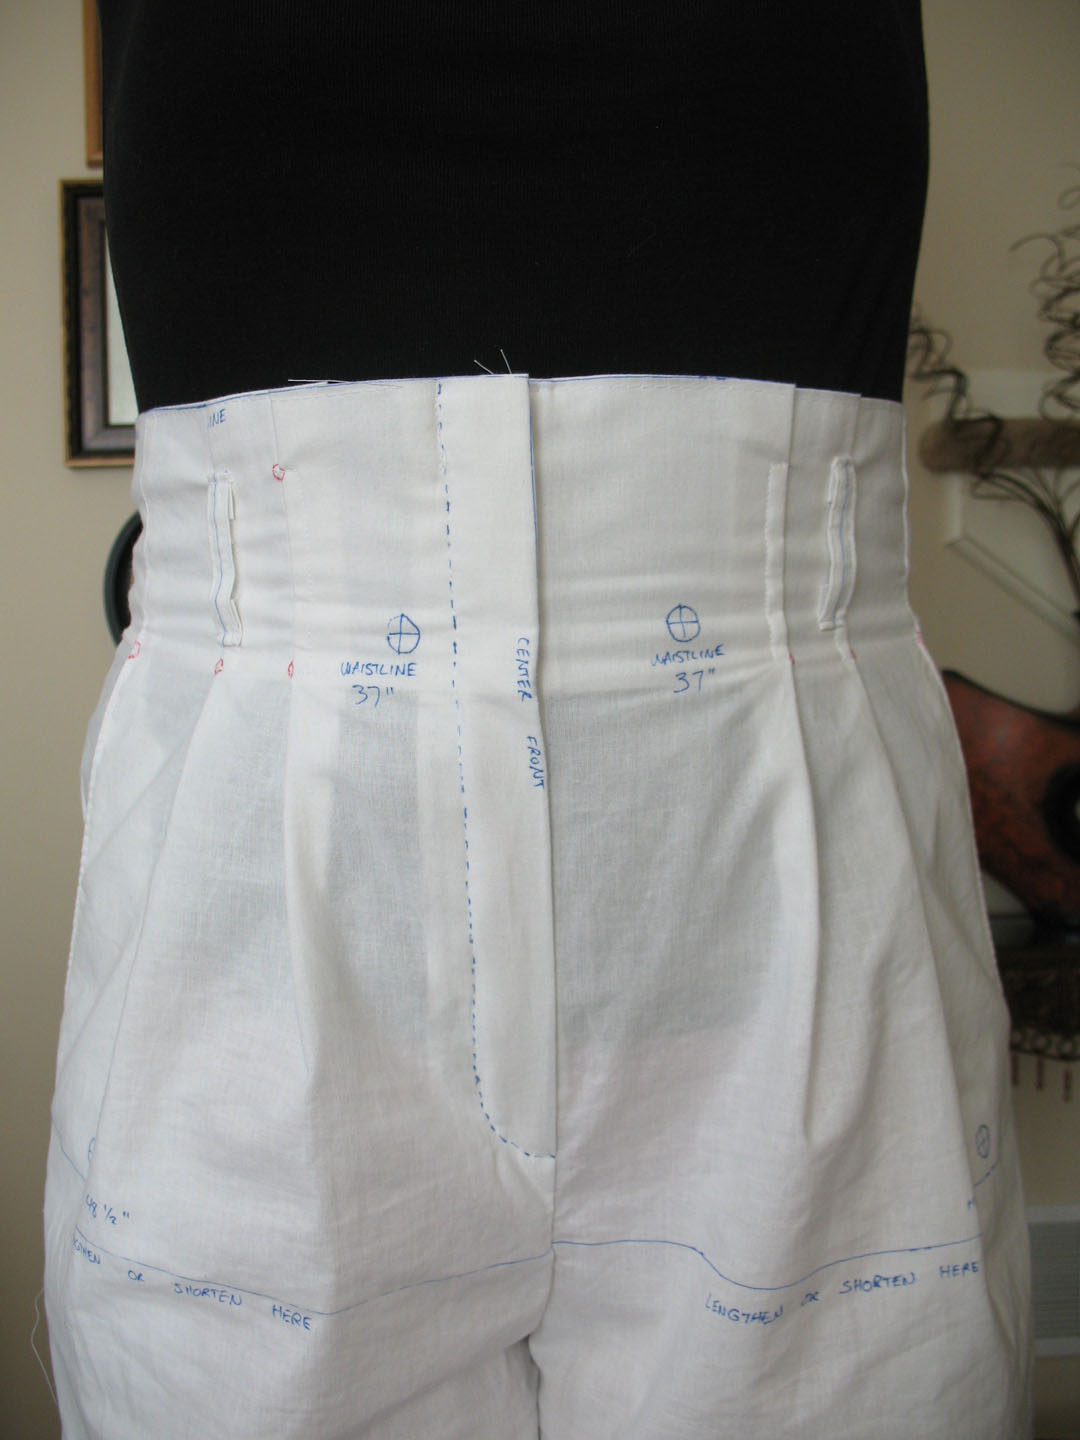
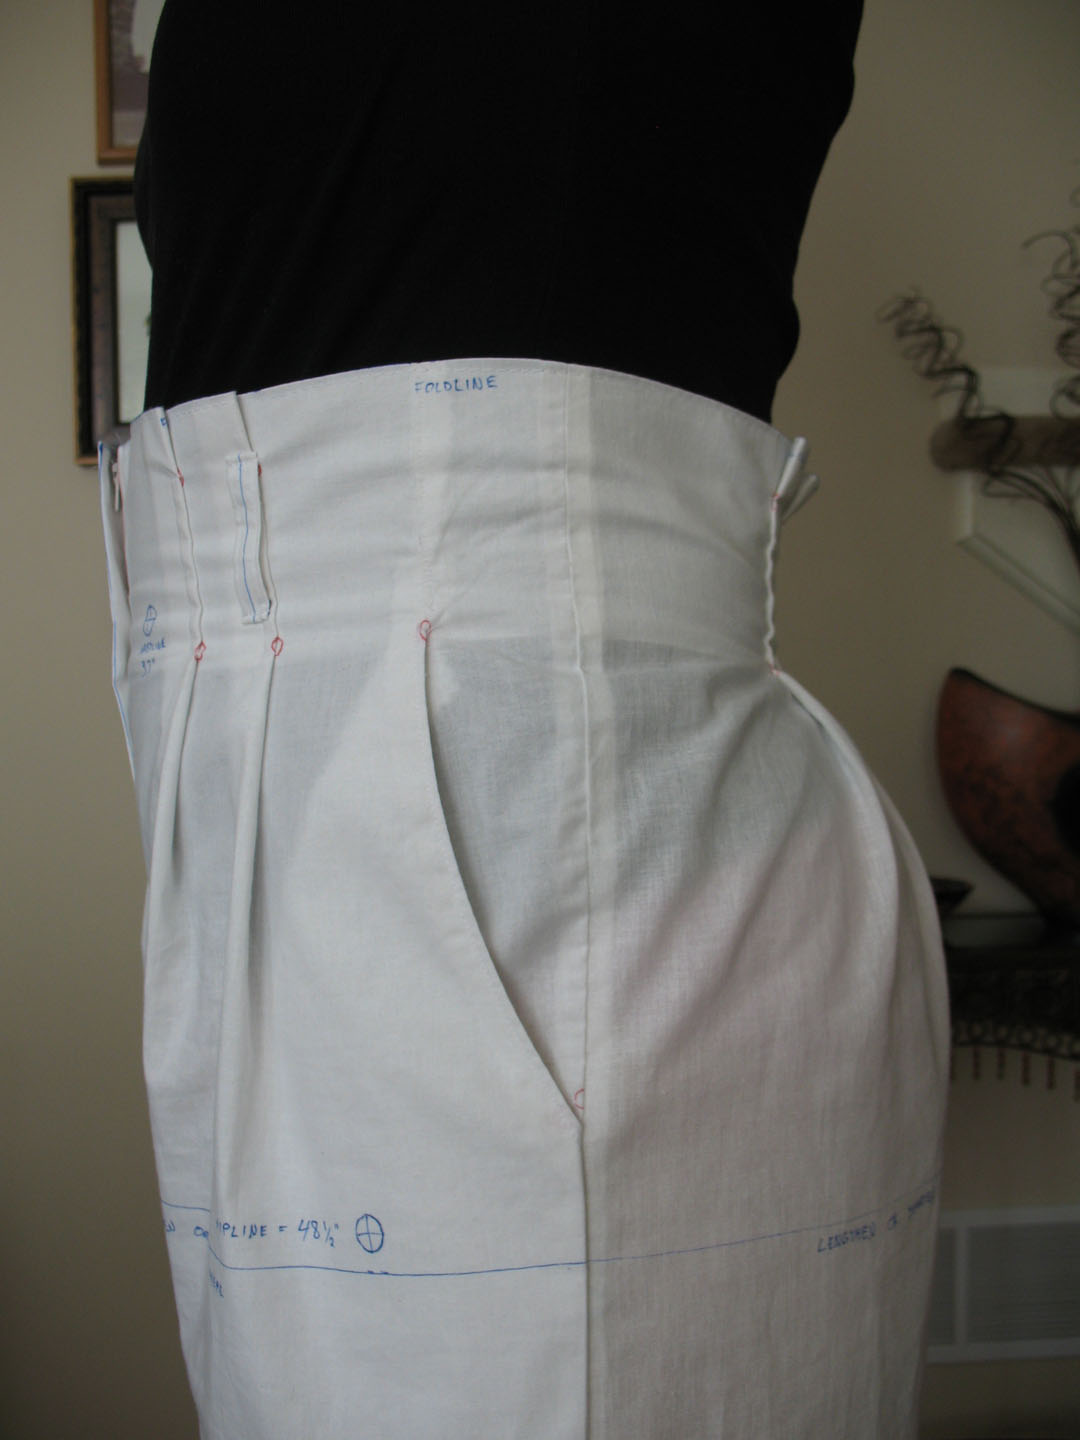
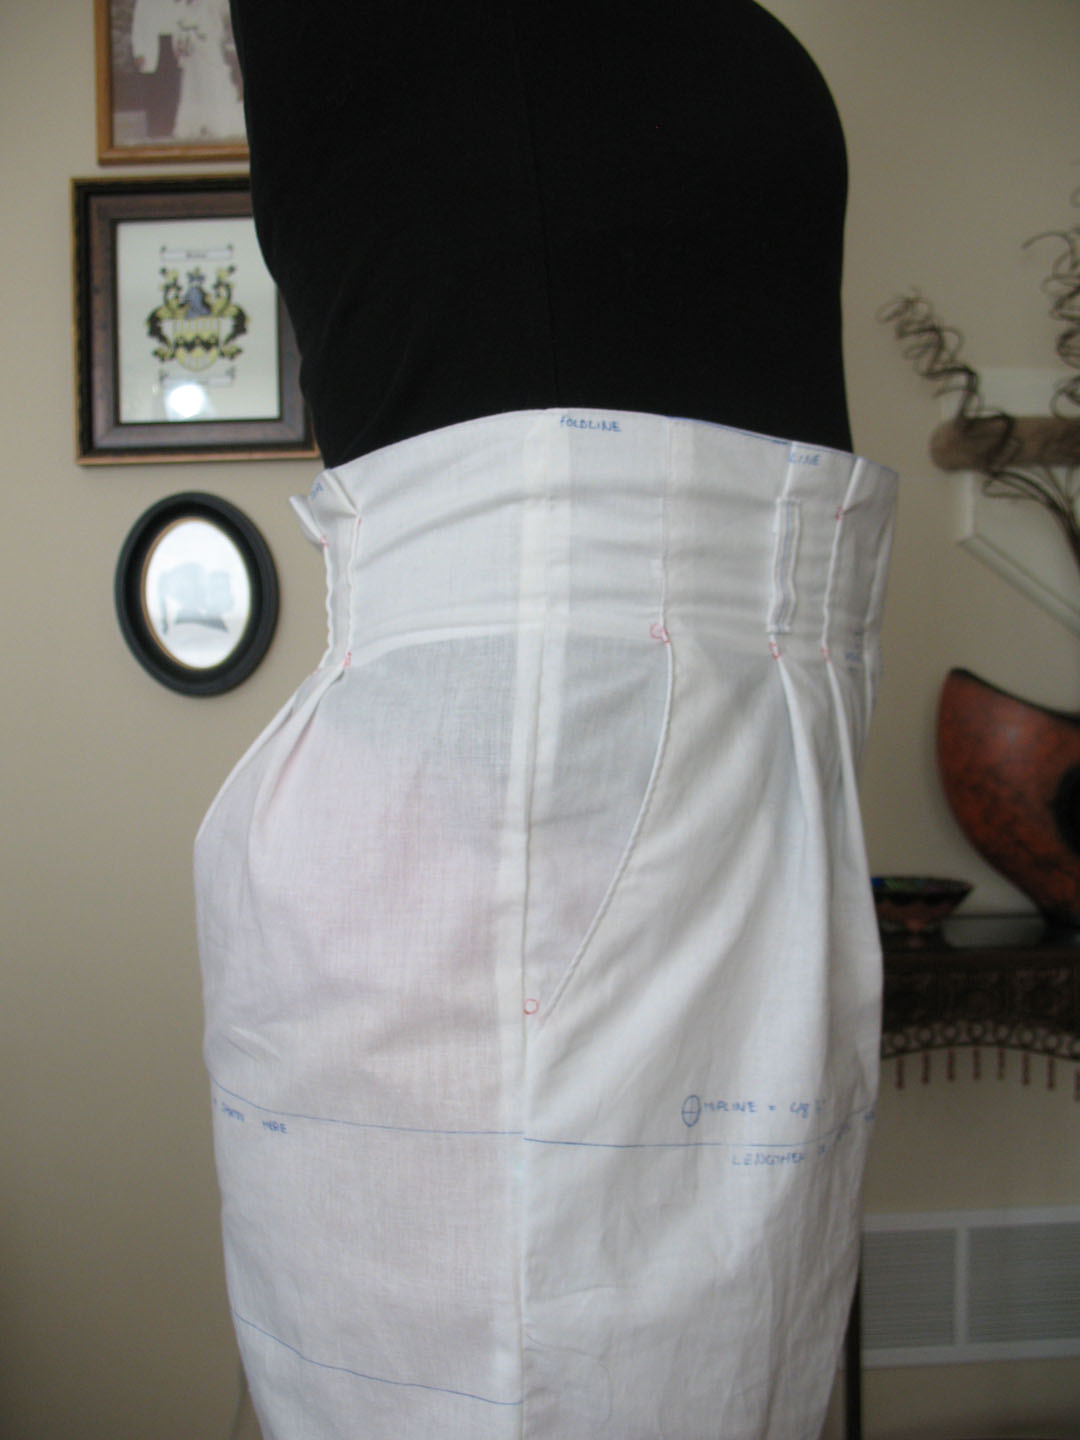
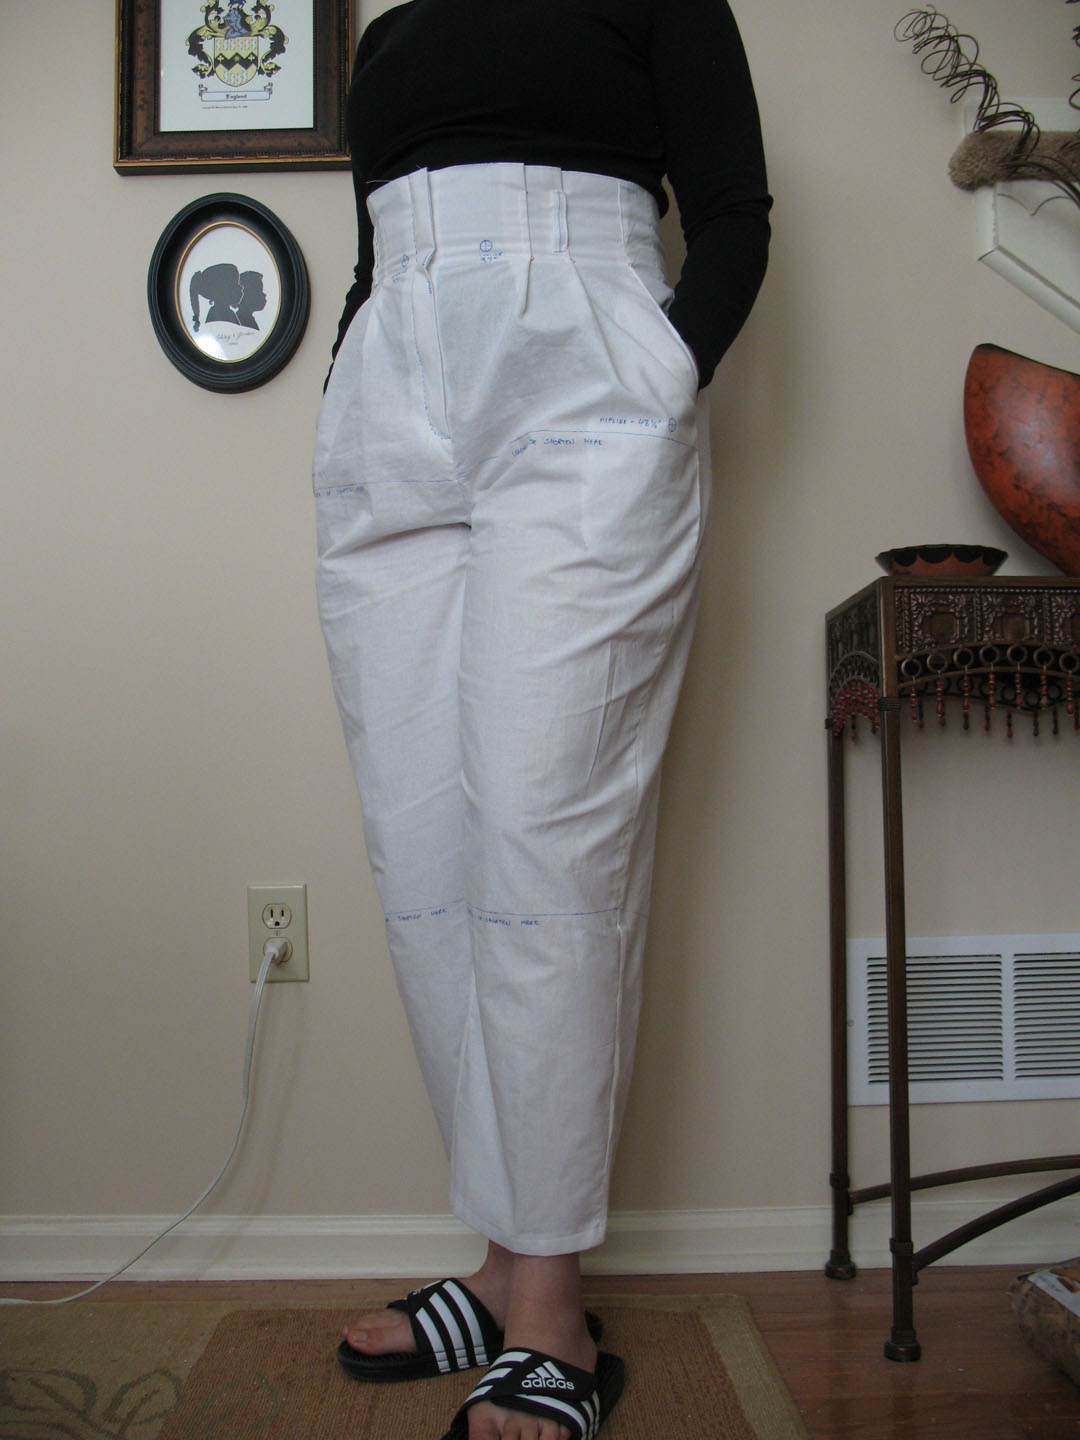
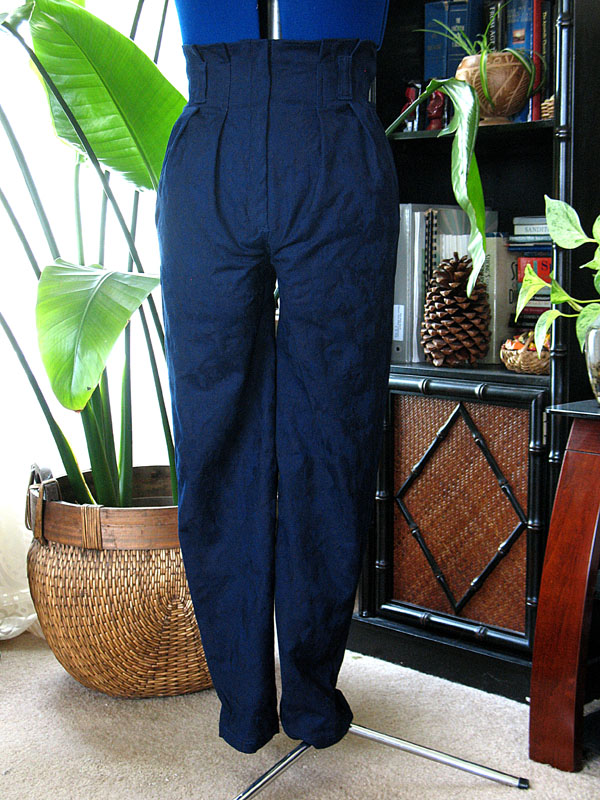
Here is the toile I made to practice constructing this garment before grading the pattern for my friend’s measurements. This is actually the SECOND one I made; the first one ended up being too small for me. I was confused at first because I followed the finished measurement information printed on the pattern paper and chose the size accordingly. But after my second attempt was successful, I figured that the pleated high waist element was where the shift in measurements happened. The fit in that area is meant to be close-fitting so if you’re making this pattern, make a muslin toile first in 1-2 pattern sizes up so you figure the right fit before sewing it for real.
LEARN FROM MY MISTAKE, lol.
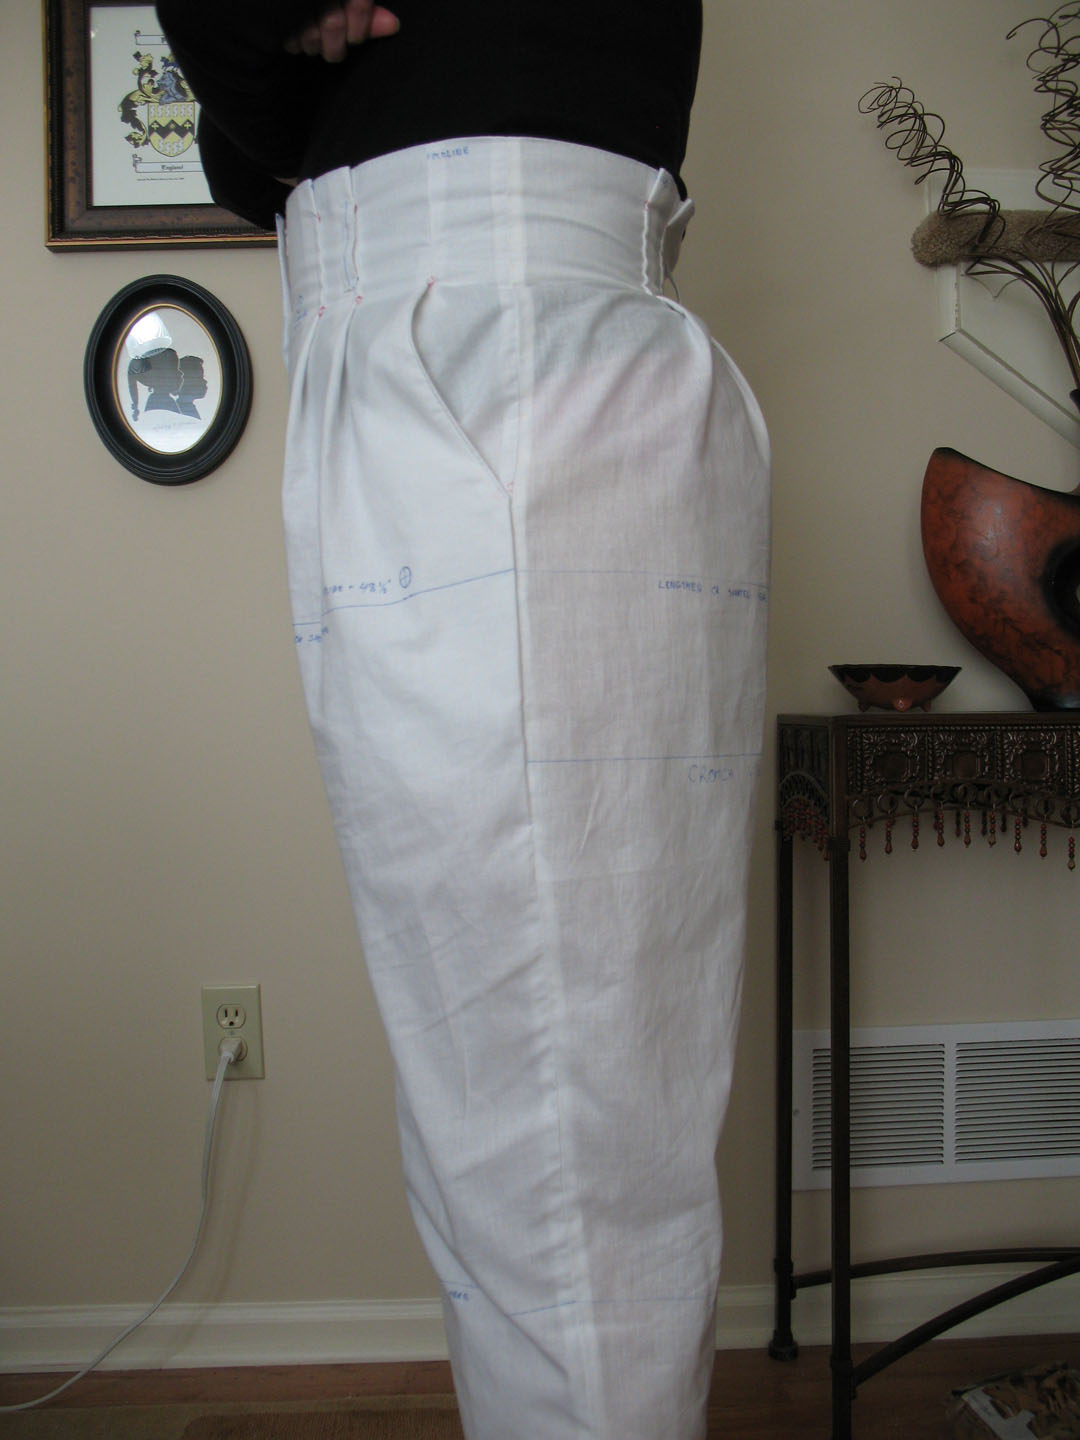
Anyway so besides my fitting issues, this was a simple garment to construct with pretty clear instructions to follow. I had no real trouble sewing the pants together. On that note, I used my practicing opportunities to figure out HOW to construct these pants effectively so that they’ll stay strong and durable. The fabric I chose for my friend’s pants had a denim/upholstery quality to them and it frayed very easily. Fraying fabric is a personal pet peeve of mine; I hate seeing hanging threads and it also decreases the garment’s durability over time too. Practicing this pattern design 3 times ended up being a good thing because I experimented with different seam finishes to see which ones would be best for constructing the pants.
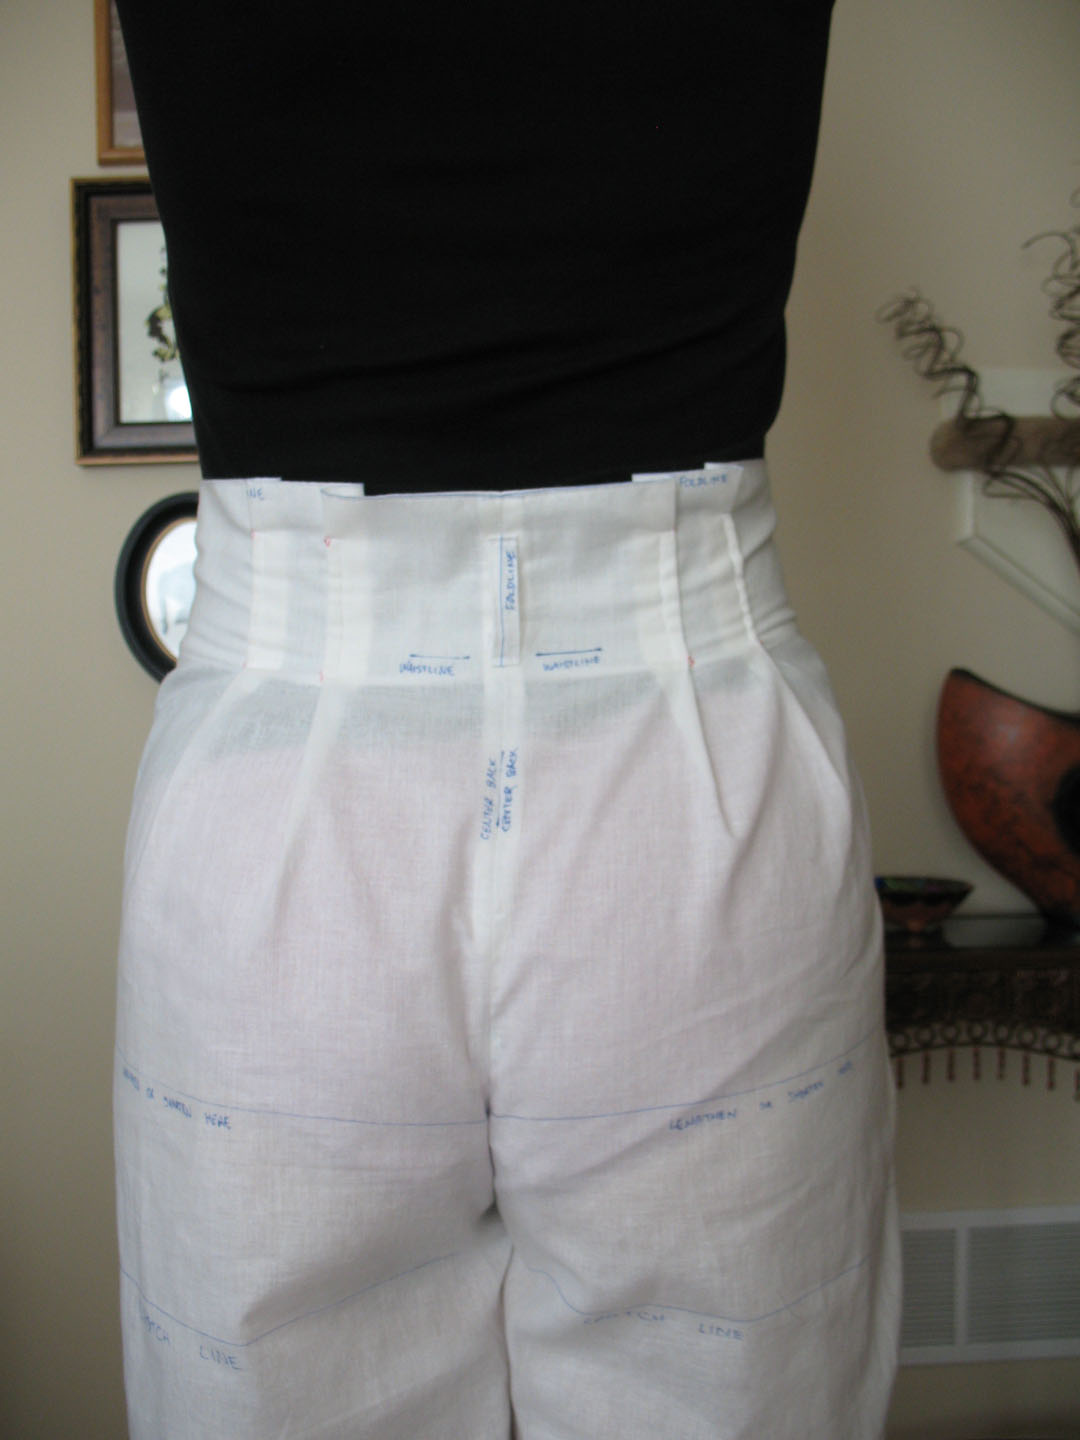
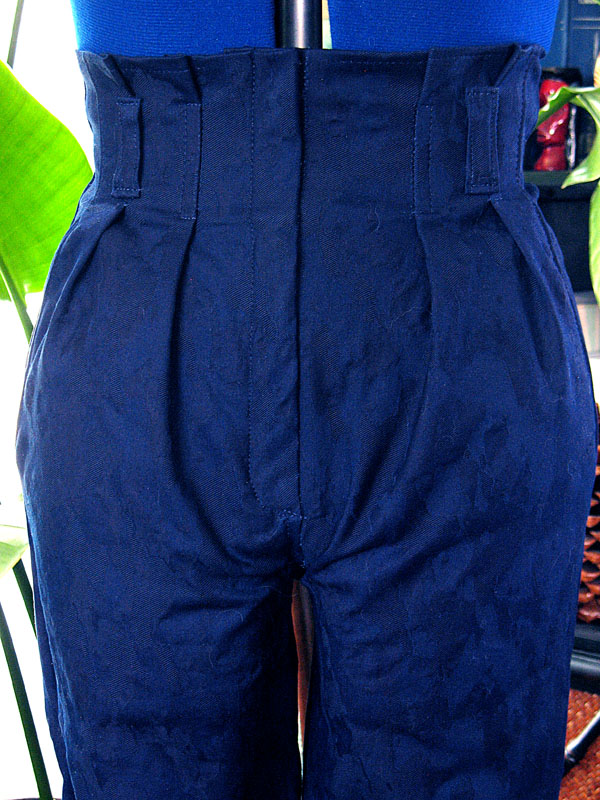
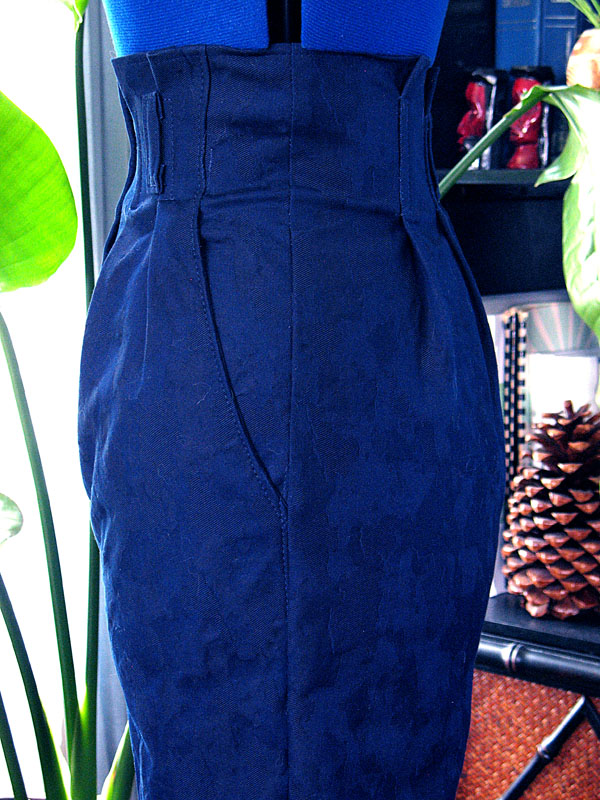
In the end, I decided on combining the straight and overedge stitches overall for adding strength with a double stitch and locking in the raw edges to slow down the fraying. However, the crotch seam I finished with a flat felled seam so that it will stay flat, and for the waistband facing I stitched 1/4″ from the raw edge then tucked that under and stitched it again to lock it inside the garment.
Anyway, remember when I said I practiced this pattern 3 times before making my friend’s pants? Here is the 3rd time:
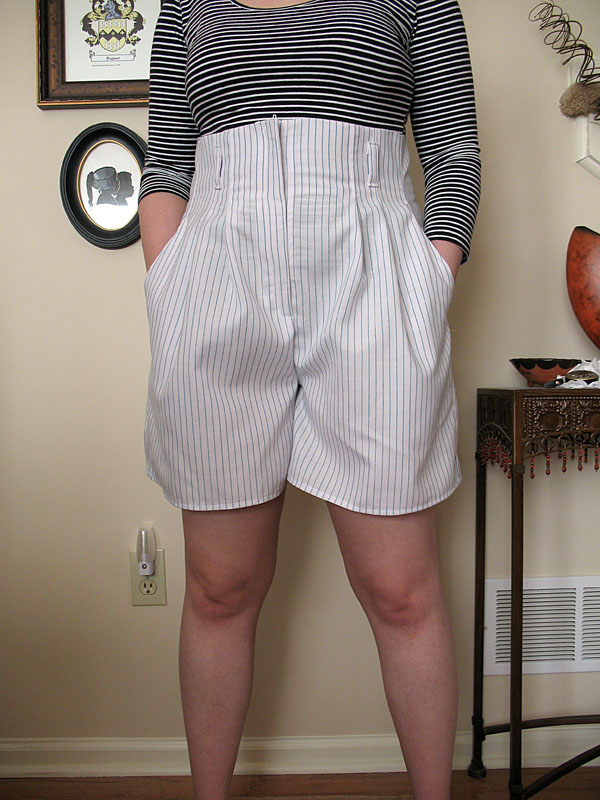
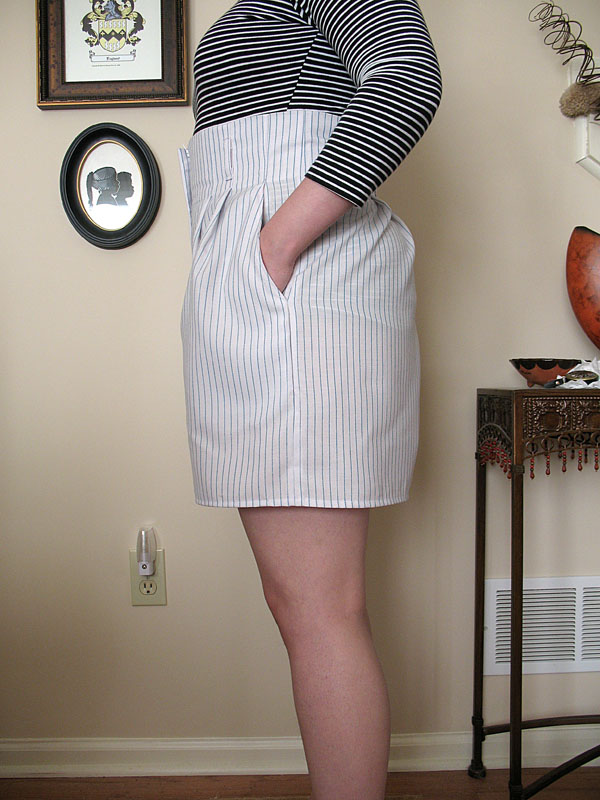
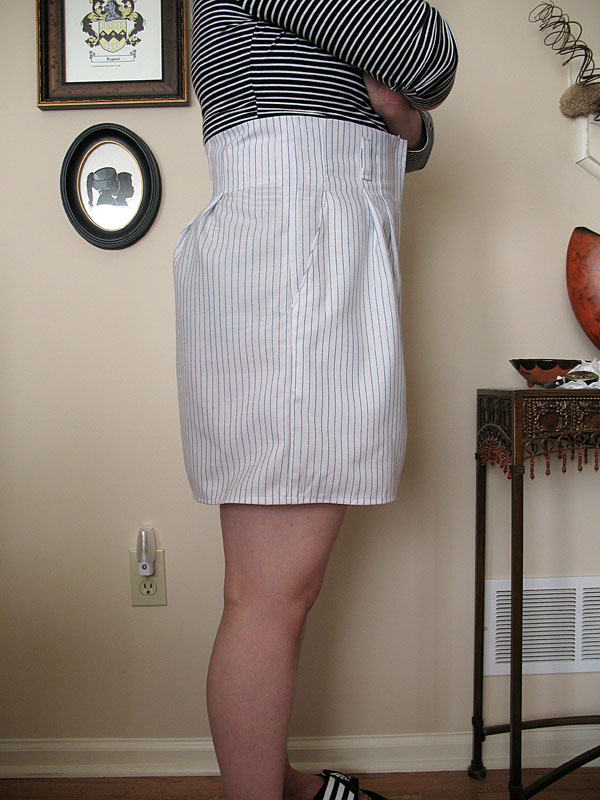

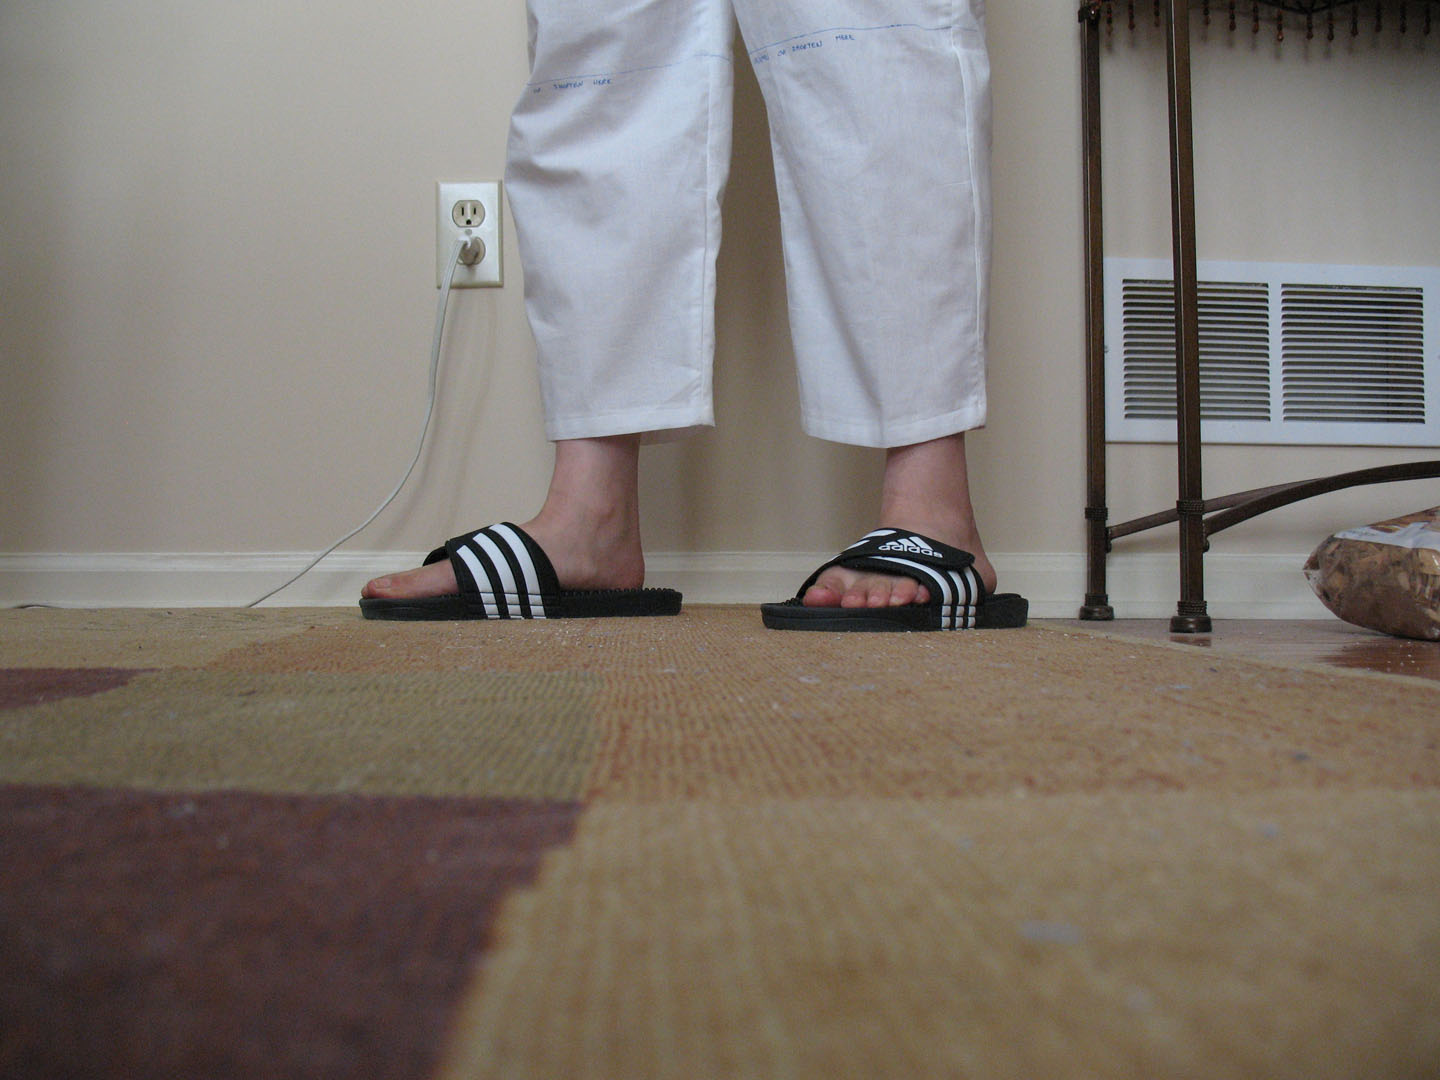
During this project I found 2 yards of this pretty white/blue pinstripe fabric that I just COULDN’T leave behind. I had enough to make myself the wide-leg shorts design in this pattern pack (A) and what can I say, Summer is coming and I wanted to treat myself. 🙂
This one went smoothly as well. I even had enough left over to make the sash meant for the pants because I wanted to use up as much of the fabric as I could to reduce waste and why not have a matching sash for your shorts if you’re able to? One thing I will add is that the pleating method for this design is the opposite of the tapered pants; this time the pleats are made BEFORE turning the waistband under so it has less of a paper bag effect. Still looks great, just letting you know ahead of time. 🙂
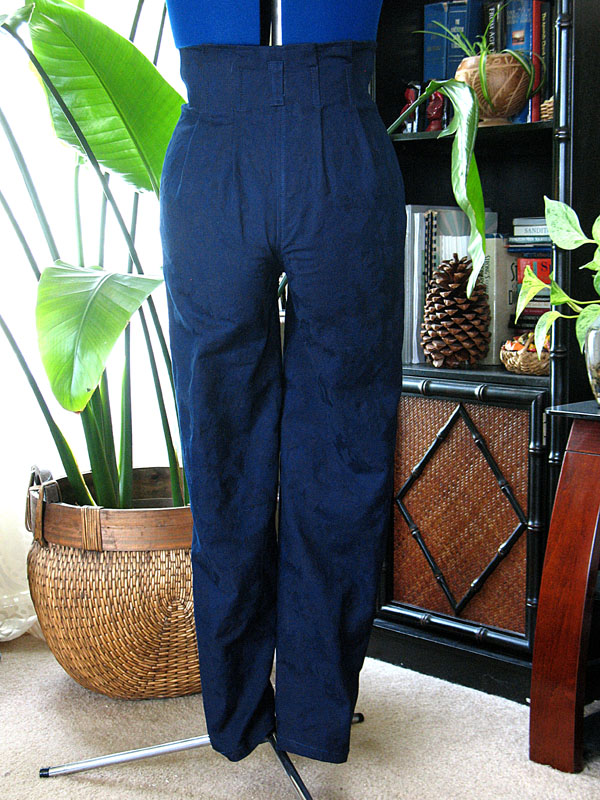
Now that I’ve sewed this pattern pack 3 times, I now had the confidence to make my friend’s navy blue, tapered ankle-length pants. Here is the end result:
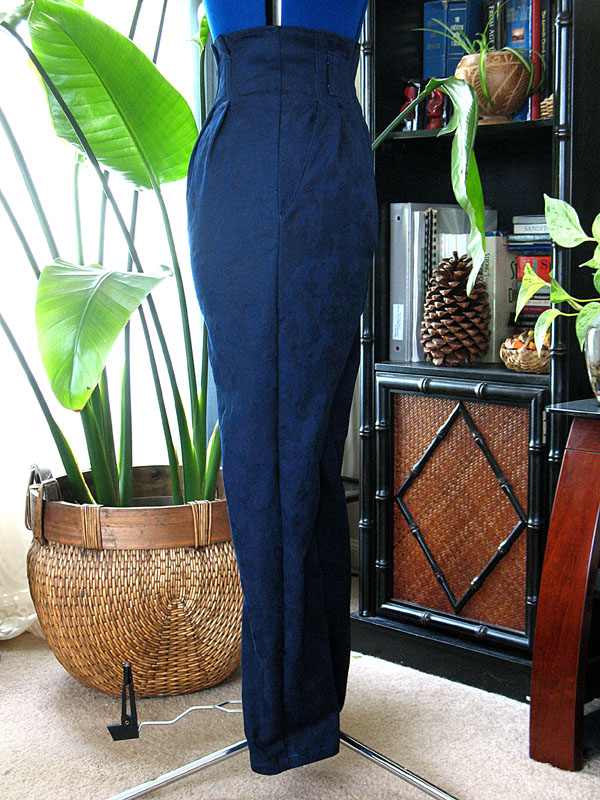
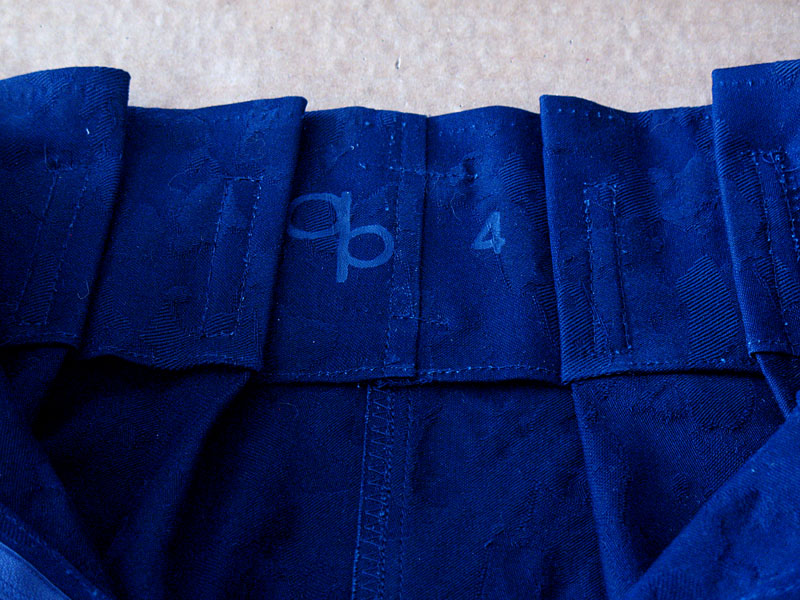
Check out my stamp of approval up there, lol.
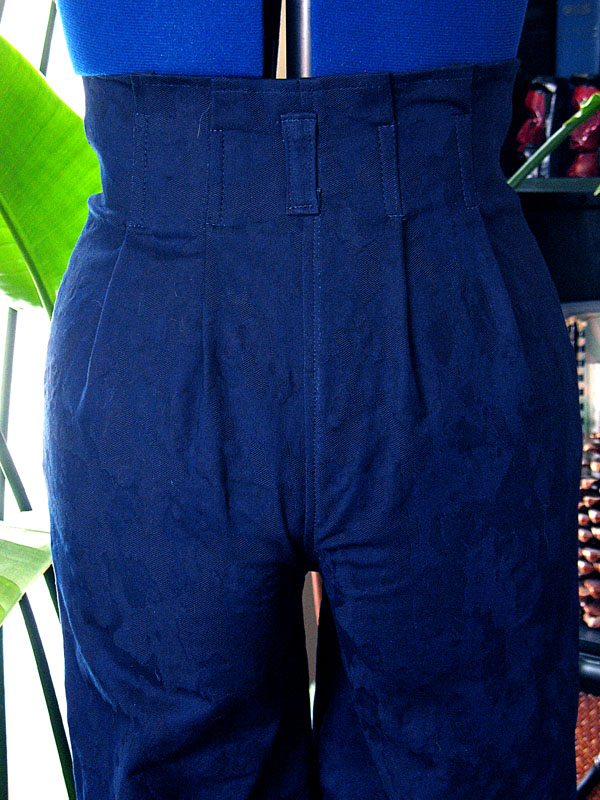
Overall I and my friend were happy how these pants turned out. They fit her just right and the construction worked out pretty well. One thing I must say is that I got confused where to position the front right & left pieces while making it and ended up sewing them on the wrong sides.
Readers, I freaked the Hell out thinking I ruined these pants and I would have to start over. But after taking a breath, I realized that the front left & right pieces were the same shape but just with different markings on the zipper flap for constructing the covered zipper placket. All I needed to do was switch the markings and continue on as if this horrible moment never happened.
So just to let all of you know when you’re putting the pants together per the instructions, the front left piece goes on the LEFT and the front right piece goes on the RIGHT.
LEARN FROM MY MISTAKES, Part 2. 🙂
For this project I used a combination of tailor-tacking and these metallic permanent markers I was inspired to buy for making the necessary marks to put these pants together. The pleats in particular needed to be marked through tailor-tacking so I could see where to fold & sew without using anything that would streak the fabric like chalk would. Inside I used the metallic markers gingerly so I could see them without being too intrusive and that actually worked out well too. Sometimes I need a mark that doesn’t rub off easily like chalk does and sticks around after much wrangling during the construction process without showing on the outside. I’ll definitely use these metallic permanent markers again for any middle-heavyweight projects like denim in the future.
So this McCall’s pants pattern gets a thumbs up for me. I like how simple the instructions are to sew these pants/shorts together and it has all the sizes in one pack so you only have to buy one of those.
Until my next post, Happy Sewing everyone! 🙂
Do you have this pattern for sale size 10
No, I own this pattern. Check on Amazon, Ebay or Etsy for this pattern design if Simplicity.com no longer sells it, :).