Hello Sewers!
For this latest Pattern Probe post, I decided to do something slightly different and make a pattern from scratch by using a tutorial I found on YouTube.
I love buying commercial patterns from the usual folk (Simplicity, Burda, McCall’s, Butterick, Vogue, etc.) because they’ve been doing a great job keeping track of the latest fashion trends and they’re essentially doing all the work for me when making the patterns for the garments. All I have to do is cut the pieces out and sew it together per the instructions, and as a home sewer slowly improving herself every day I couldn’t ask for more.
But lately I am, lol…
Throughout my deep fan dive into all things fashion, I began to wistfully fantasize about coming up with my own designs and MAYBE selling them myself, just like the designers I’ve come to know and love. I even looked into using my commercial patterns and making clothes from that to sell, but the general consensus is that those patterns are tailor-made for home sewing and aren’t suitable for commercial efforts. Basically I can’t take that commercial pattern to a manufacturer to produce because they require different things from garment patterns.
So this meant that I will need to learn the ins-and-outs of pattern-making if I am interested in creating custom looks to sell. I recently purchased a book on this topic, ‘Patternmaking for Fashion Design’ by Helen Joseph Armstrong, that came highly recommended for beginners like me. Perhaps I’ll document my learning process from this book on this blog in the near future, but for now I turned to YouTube for any interesting tutorials to help me and I found one.
This video came up in my YouTube feed randomly due to my sewing help searches and the thumbnail showing the finished skirt looked cute so I clicked to watch. I immediately liked the host, Karla Roble, and her step-by-step instructions on making this cute ballerina wrap skirt.
CLICK HERE TO CHECK OUT HER CHANNEL.
I’m not familiar with the rules on embedding videos on blog posts so I’d rather be safe and link to her channel than sorry later. Plus, she looks like a recent YouTube vlogger so I’ll do my part and tell you guys to go straight to the source.
ANYWAY it was a happy coincidence finding this DIY video because A) I wanted to start learning how to make patterns from scratch and B) I realized after packing my cold weather clothes away that I don’t have a black skirt to wear during the warm weather months. Circle skirts are some of the simplest designs to make and are very flattering for all figures, so this was a great project to start with for beginners and novice home sewers alike.
My primary criteria for any DIY instruction is that the steps are clear and easy to follow. Karla Roble’s video did a great job explaining the math involved in sketching out the pattern, as well as the step-by-step instructions on sewing the skirt together. However, there were moments where the monologue gets sped up for some reason but I paused and rewind whenever I needed to and it was no big deal.
The only thing I would say is that it doesn’t go into detail the techniques necessary to sew the ballerina skirt together so if you don’t know much about sewing satin properly then you’ll need to search for supplementary videos discussing the perils of sewing satin right. Here are some videos I watched that were helpful to me:
How To: Rolled Hem Tutorial/Pin Hem
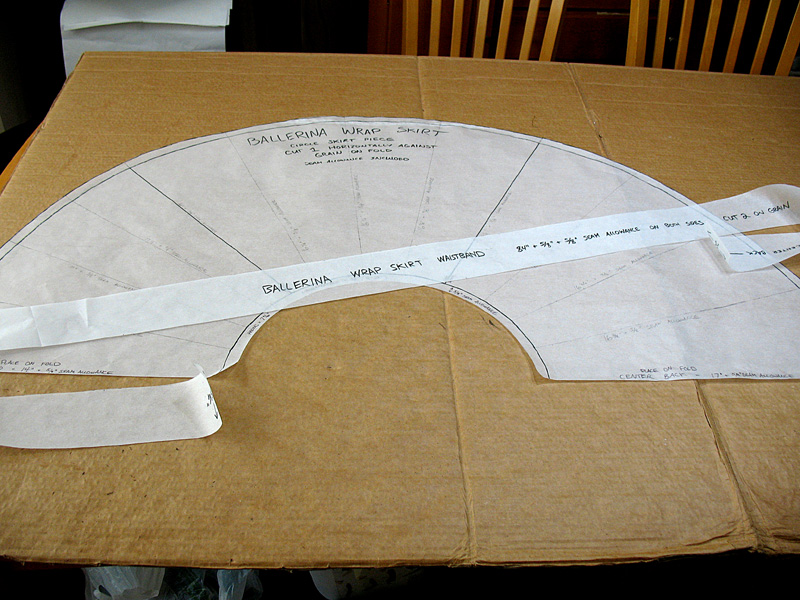
Alright so I was able to draw a decent pattern for this ballerina wrap skirt using the measurements I conjured for myself, thanks to my trusty clear ruler, measuring tape and compass (really good tools for this kind of thing if you can get them). However, throughout the process of tracing & cutting the pieces I realized that the skirt’s length was too long for this particular design and the waistband was too short for what I needed for this particular design.
Remember that the waistband needs to wrap around your waist one complete time on both ends before tying it on the side. My experience taught me that you can’t go wrong with at least 60″ left over for bow-tying so whatever waist measurement you end up with, adding 60″ on each end will give you enough to wrap & tie.
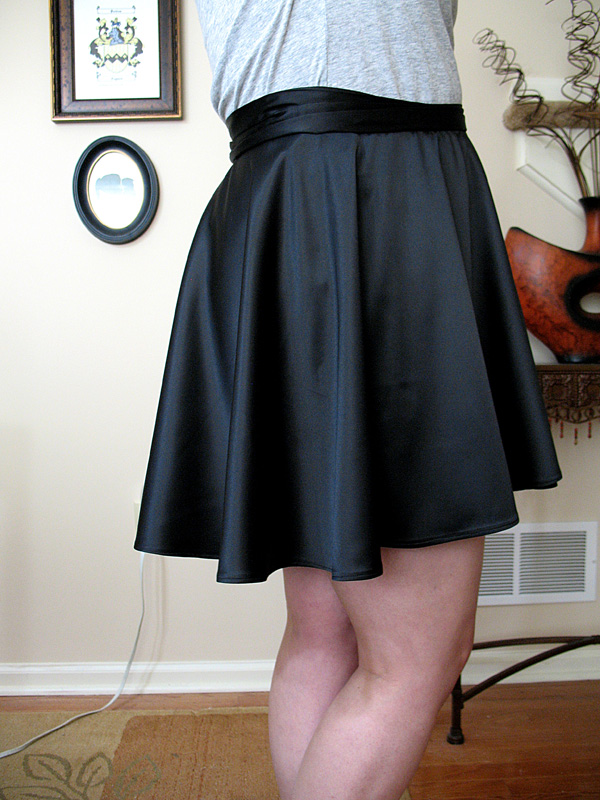
As for the skirt length, it’s always best to end up with too much rather than too little because you can always make it shorter later. Long wrap skirts still look nice but a ballerina skirt is supposed to be short and I found any length that reaches the bottom of your thigh works for the design while giving sufficient coverage to your derriere too.
Because of this, I had to buy extra fabric to re-cut the waistband pieces and deviate away from the video’s order on constructing the skirt. Karla has you finishing the skirt’s opening and hem with a rolled hem first then adding the waistband. I instead sewed the waistband first so that I could try on the skirt and figure out how much to take off the length before hemming.
This method for the waistband was new to me. Normally I don’t sew it separately before attaching it to the waistband, but Karla’s way was better in the long run to avoid any stitch lines on the tails. It’s just more aesthetically pleasing, and if you make notches on your skirt marking the center back, front and side you can pin the open waistband to your skirt and mark on it where to stop the stitching to slip the skirt in for attachment later.
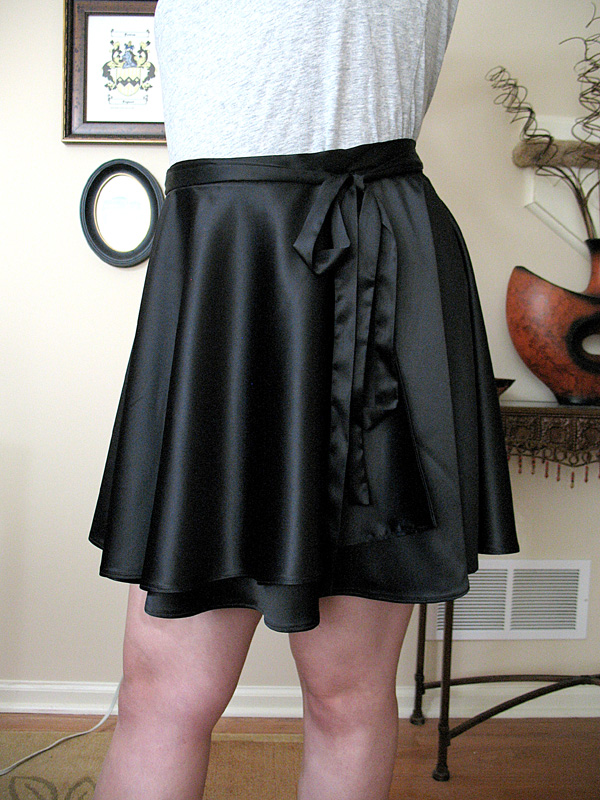
Okay, now I’m ready to show off the fruits of my labor:
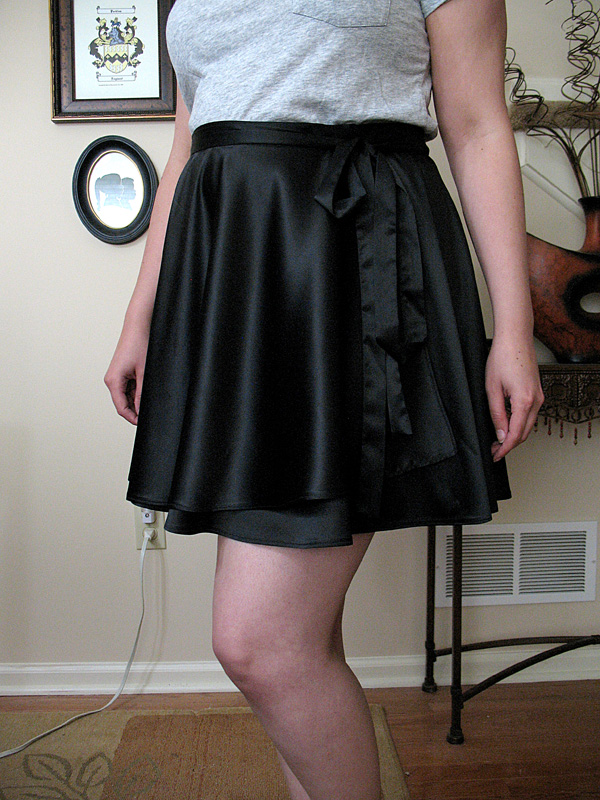
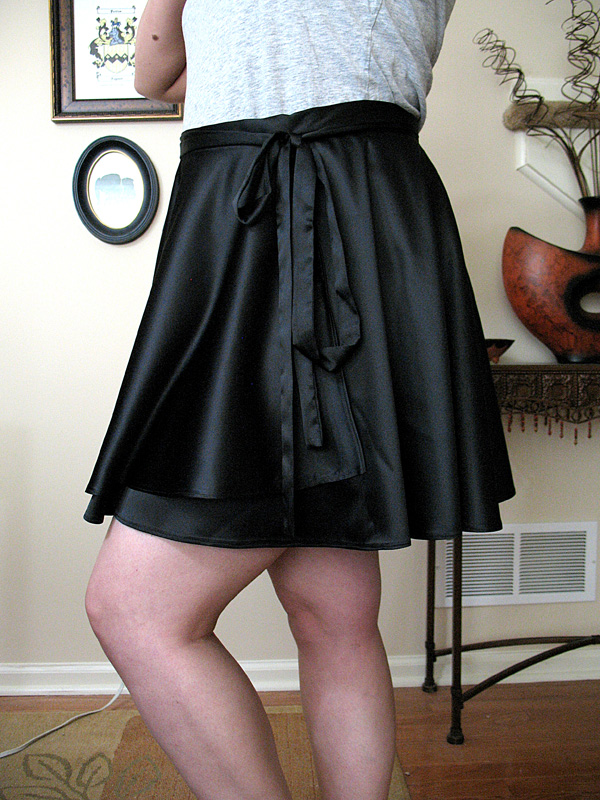
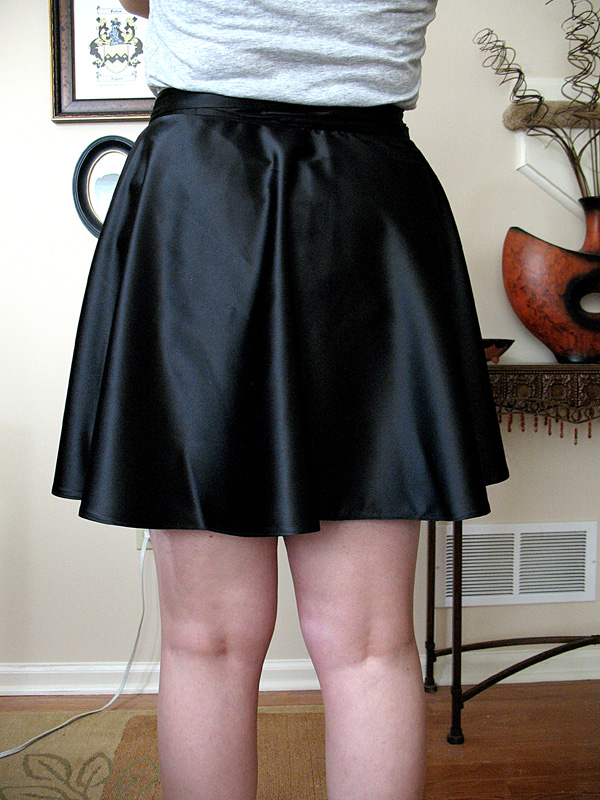

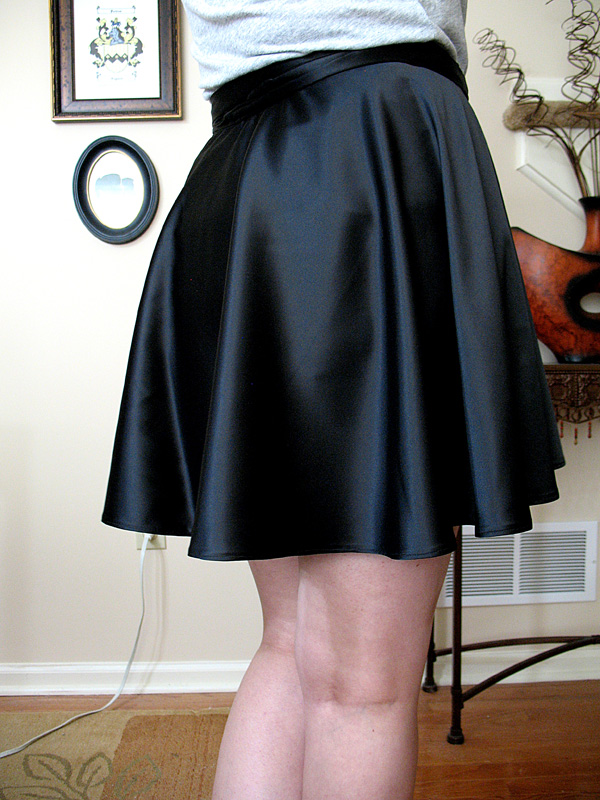

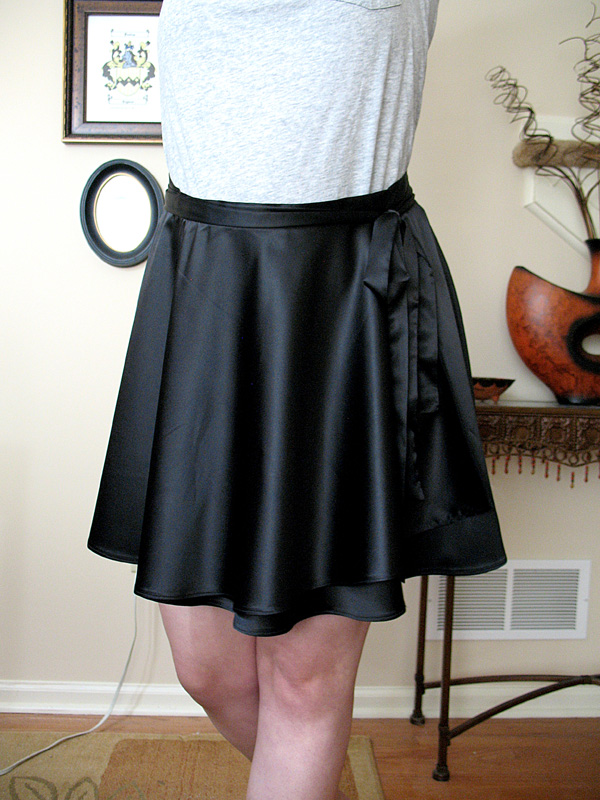
Long story short (LOL), I LOVE how this skirt turned out. The edits I made to my pattern worked out for the most part, the length is perfect and the waistband is long enough to wrap & tie. My only gripe at myself is that one tail ends up being longer than the other one I finished wrapping the waistband around one complete time. It could be that I tied it on the side rather than the front, but as long as I can tie the darn thing closed I can live with the asymmetry.
This tutorial was worth the effort going through it and I would definitely make this skirt again in a bajillion different colors and prints if I could. That would be fun; making a skirt for every color in the spectrum…or maybe cut out sections and patch them together into one big rainbow striped skirt too. The possibilities are endless and I can’t wait to try it out in the future.
I may also like to try another one of Karla Roble’s DIY videos in the near future too.
Thanks for visiting and stay tuned!