
Time for another sewing project!
Actually this is not the first time I’ve used this pattern design. Initially I made Jumpsuit C, the one with the jogger pants bottom and hood, from black ponte fabric in the Large size. Boy that fabric was tough to sew with! Had to learn that one while doing it and my piece ended up being too big on me. I still wear it around the house from time to time though; it’s baggy but comfortable. However I vowed one day to try this pattern design again and get it right.
That day has come. 🙂
Recently I scored a 2 yard bundle of charcoal gray jersey knit that felt soft and light to the touch. I thought this fabric would be great for the Romper design (A) since it asks for 2 yards of knit fabric and it would make great lounge/sleepwear for the warmer months. This time I decided to make it in a Medium size to see if the fit is better on me.
Needless to say I succeeded with better but still imperfect results.

Once again I had to pick the trickiest fabric to work with. A lightweight 4-way stretch knit that was more sweater than jersey so it slides and slips into the machine when sewing. Basic seams may still be possible but hemming, zipper installation and buttonholes will be tough to do without some reinforcement.
- Pellon Print-Stitch-Dissolve Water Soluble Paper Stabilizer
- Pellon Stick-N-Tear Tear Away Embroidery Stabilizer
- Singer Temporary Basting Tape
- HeatNBond Soft Stretch Fusible Web Adhesive Ultra No Sew
Friends let me tell you to NEVER sew tricky fabric again without these items, especially when it comes to knits.
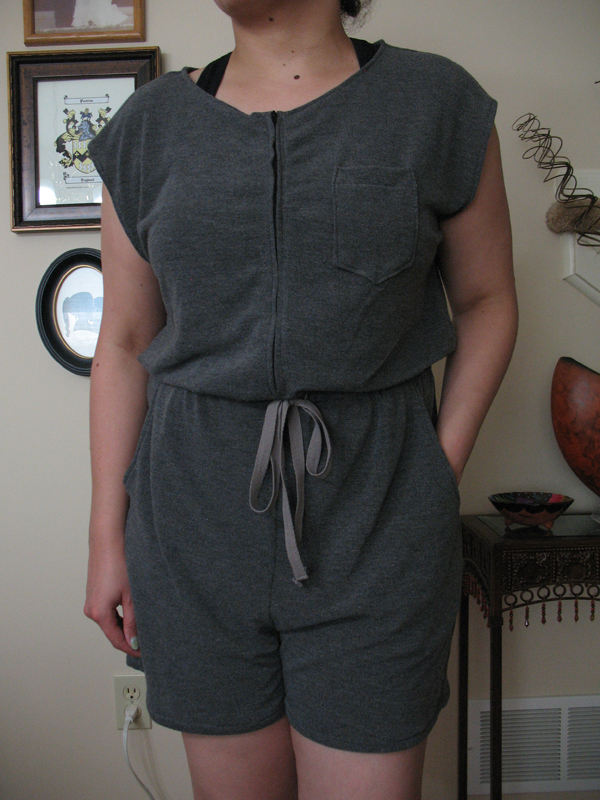
Buttonholes haven’t been my strong suit, but I was able to sew them in this tricky knit using both stabilizers above. Use the water soluble paper on the right side and the stick & tear one on the wrong side; the stick & tear’s fibers are tough to pick out of the seam while the water soluble one washes away.
The ultra no sew web adhesive helped me place a swatch of fabric over a hole my clumsy hands made while trimming a seam and I was SUPER grateful to have it on hand. Made the mending much easier in my humble opinion.
But the MVP has to be the basting tape. With super slippery fabric like this, all I did was cut a few pieces of tape and stuck them where I needed to before machine stitching and it will keep the fabric in place while doing so. Plus, it disintegrates in water so it’ll wash out in the laundry. Since I have an affinity for working with tricky fabrics I will be buying this stuff in bulk for sure, lol.
In this case I used the basting tape to hold the zipper in place while I machine stitched it to the bodice and I had better results this time than the first jumpsuit I made from this pattern. I also used it to place the patch pocket on the bodice as well. It made for smooth reinforcement whereas pins would have made it very bulky.
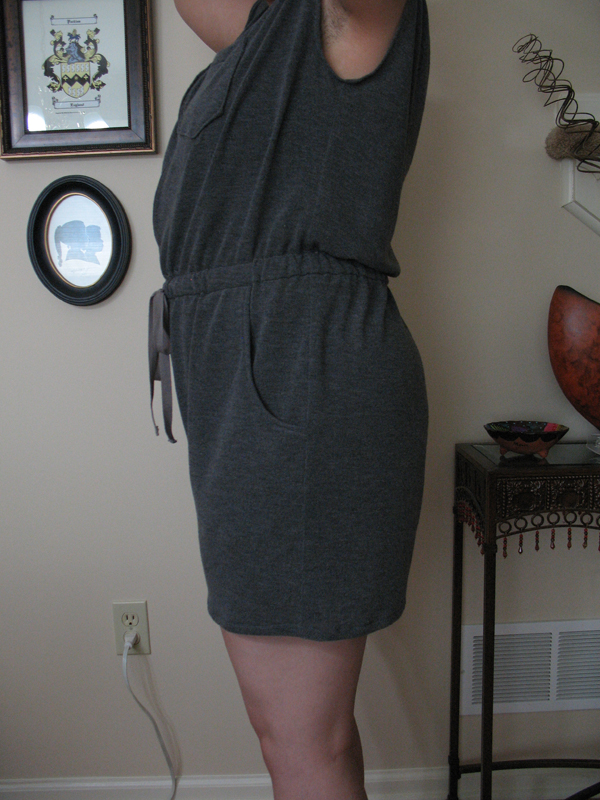
When it came to the elastic waistband I did deviate from the pattern guide for the medium size option (the length was too small) and cut the length according to my waist measurement plus 2 inches for overlap when stitching the ends together, just to make sure the romper fits where it needs to.
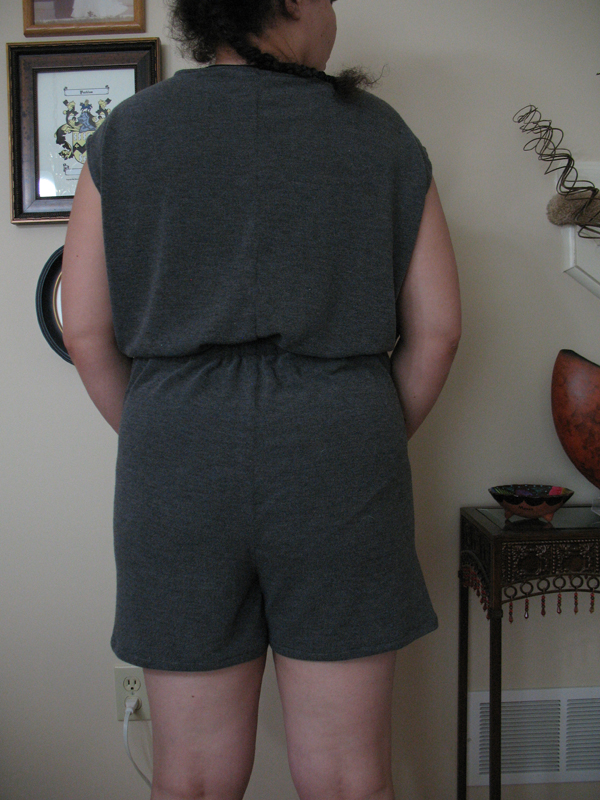
The fit of the medium-size romper is much improved over the previous large-size jumpsuit. Not baggy but still some room to move around. Excellent to know the next time I make something from this pattern. As for the fabric, it was tricky to sew but feels very comfortable on the skin and very breathable for warm days and nights. I’m glad I went through with the project and I wouldn’t mind making a few more of these rompers to hang out in on hot days.
I’ll put it on my to-do list. 🙂