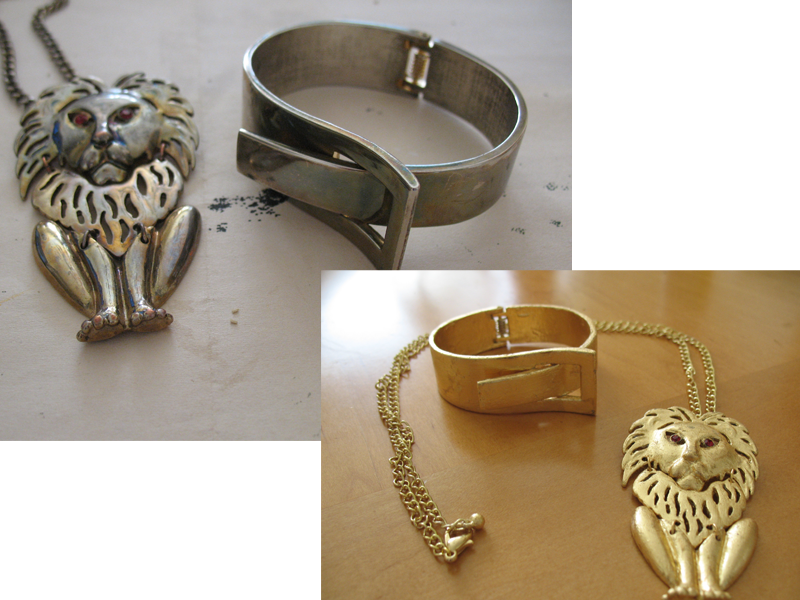
This expedition began with one of my beloved cuff bracelets and my Lion Pendant necklace tarnishing to an ugly state. Sure, they are just inexpensive costume jewelry, but I have genuine love for these pieces and I couldn’t bring myself to throw them away. On that note, I decided to look into restoration options and gilding seemed to be a cost-effective solution.
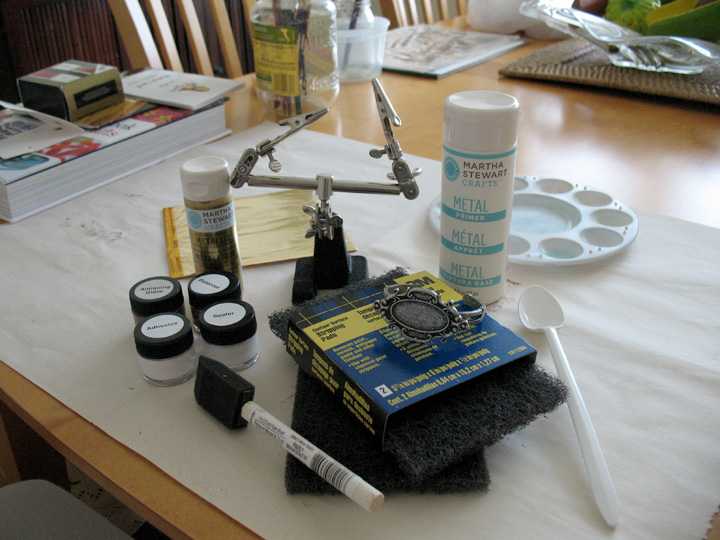
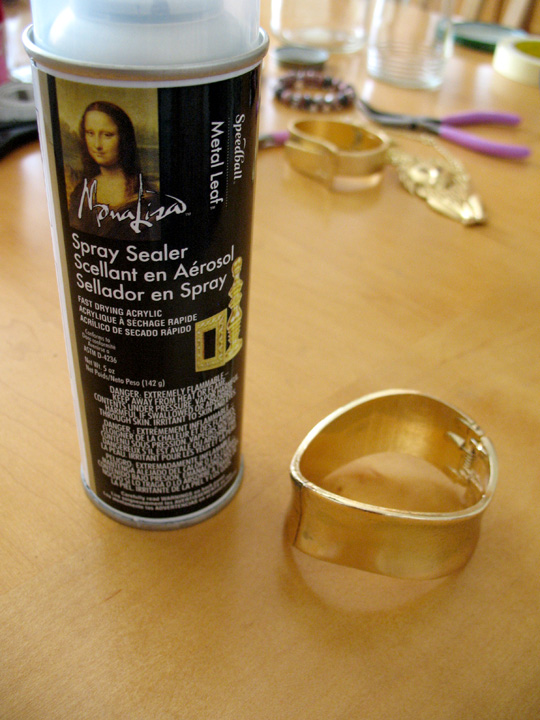
First, I needed to test this technique out before tackling my cuff, so I got a Mona Lisa Metal Leaf Starter kit at Michaels. This was a great buy because I got everything I need in small portions and it was the right amount for small projects like this. I also got some metal primer and metallic paint from Martha Stewart, some paint sponges, stripping pads, and a metal cuff bracelet to try this on.
Here is a gallery of the process I went through turning this cuff into a golden gilded piece:
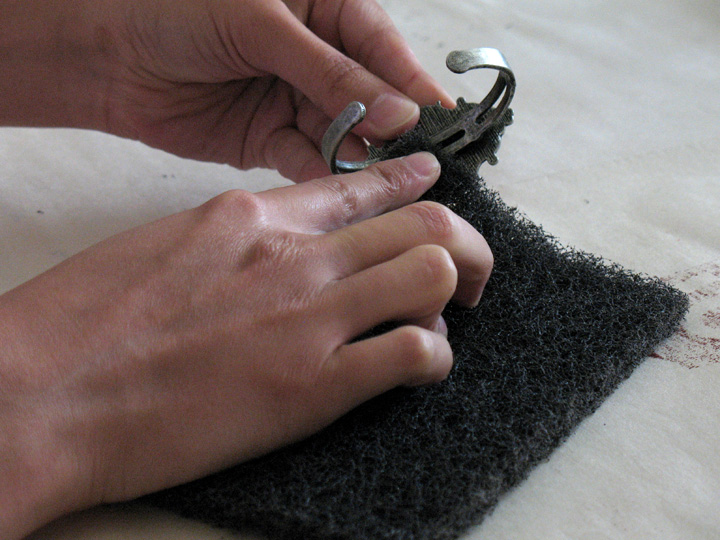
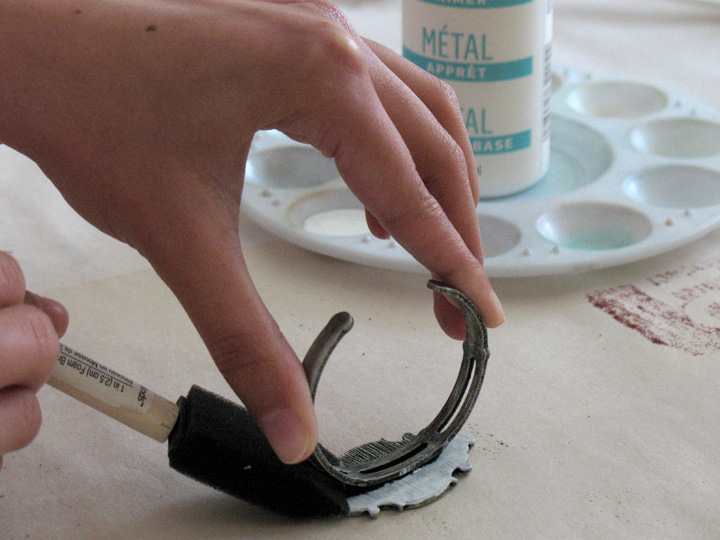
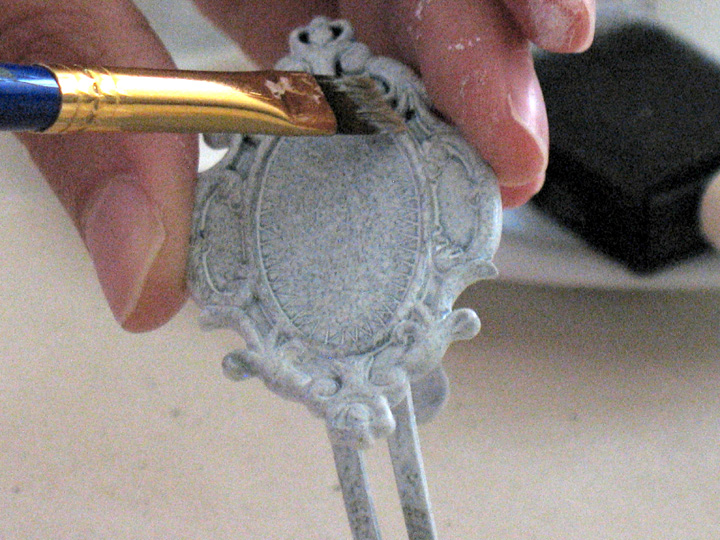
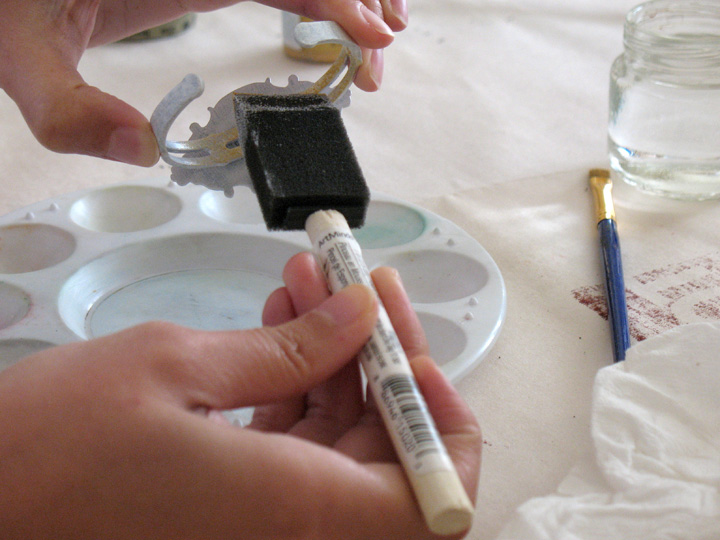
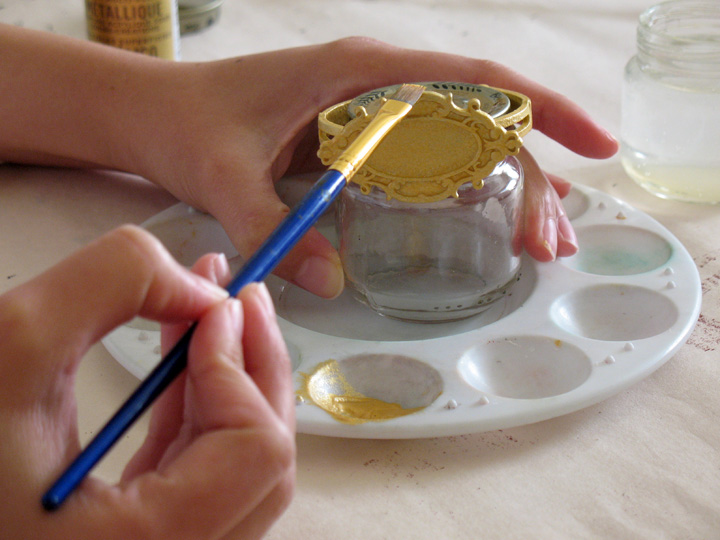
I wanted to paint the cuff first so that the gold leaf will camouflage better and there would be no dark metal peeking through underneath. First, I roughed up the surface to prepare it for painting. Then I coated the cuff in metal primer and after that the gold paint. It was slightly messy, but it’s worth it if you want a gold piece through and through. The metal primer helps the paint adhere to the surface and made chipping less likely.
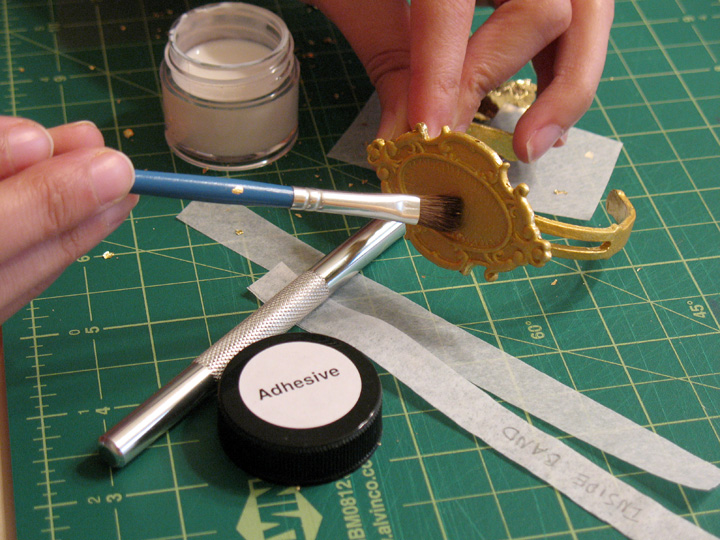
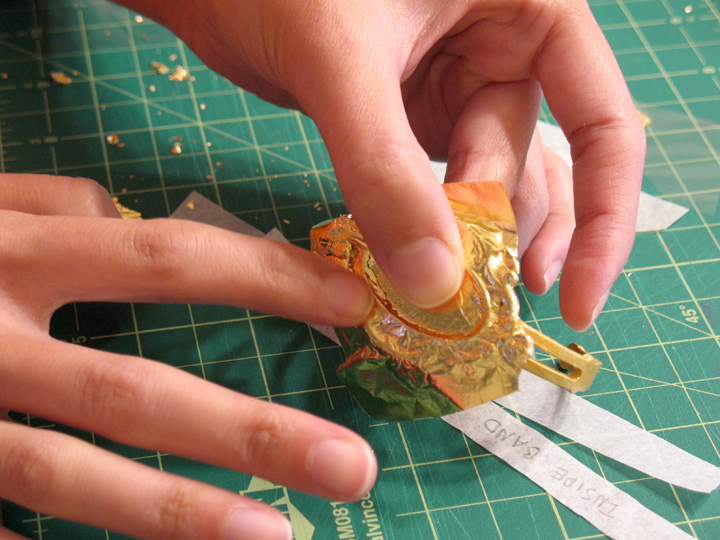
The gold leaf application was more messy. The leaf is very delicate and fragile, making it very easy to tear, stick all over the place and blow away if you breathe on it.. If you have the patience and the work space, this crafting technique is actually fun to do and fairly simple to figure out thanks to the simple directions that came with the kit.
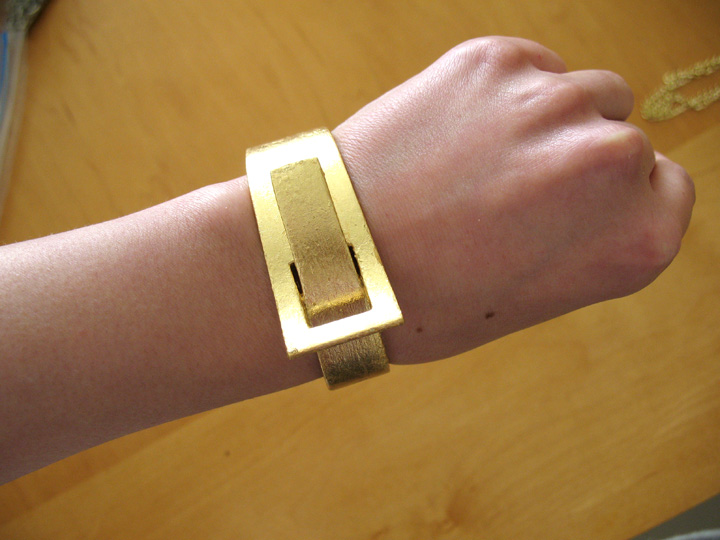
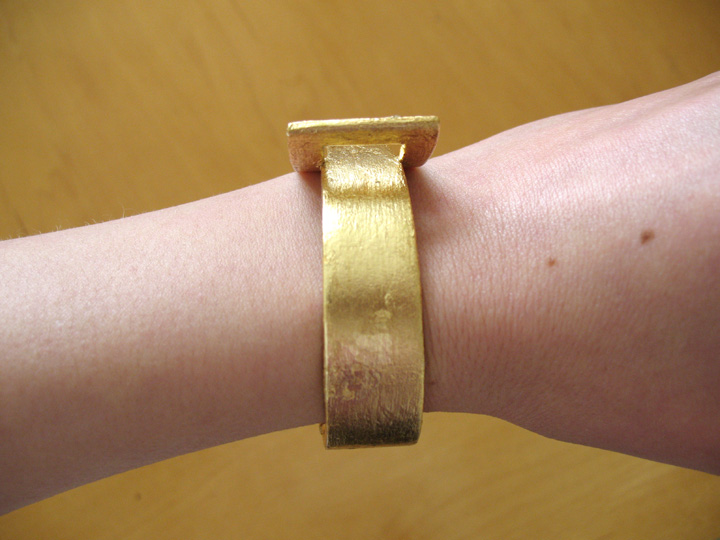
Here are the final results of my efforts:
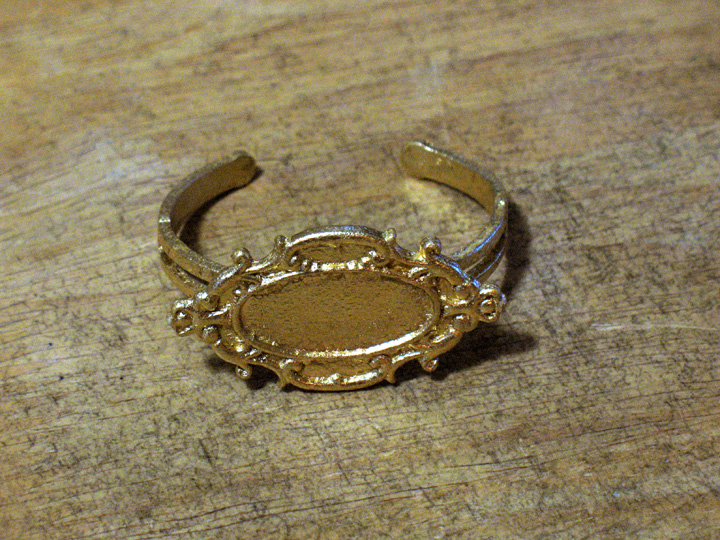
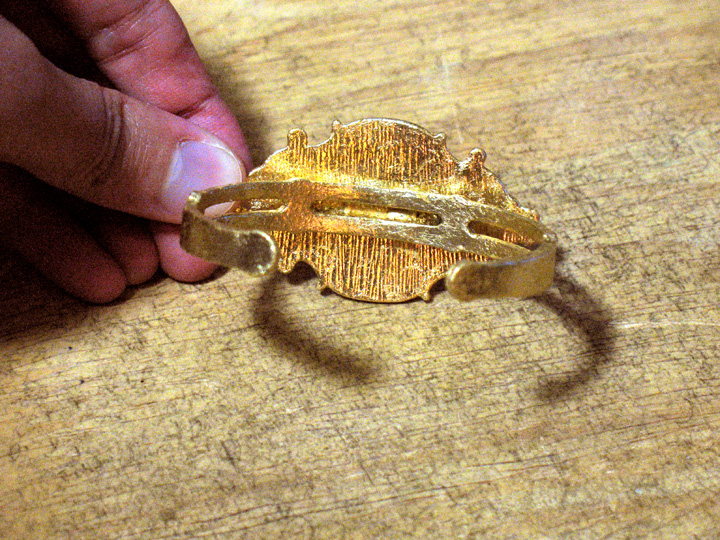
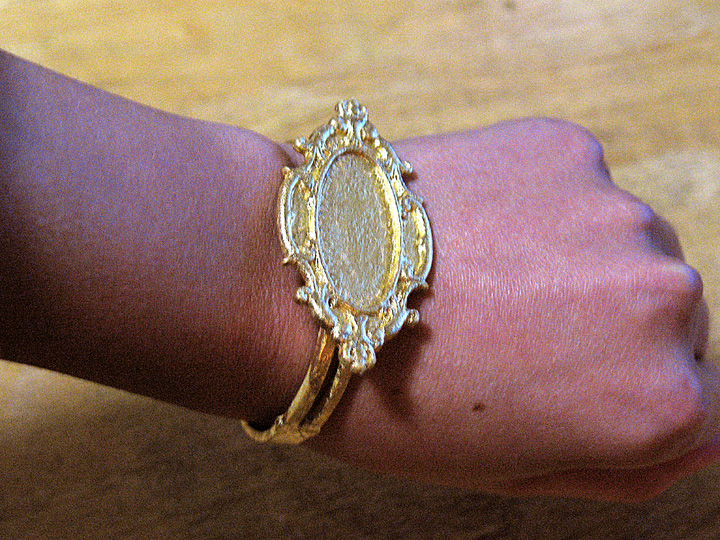

I think the gilding process was pretty successful. Of course, it doesn’t resemble gold metal, but there is an artistic quality to the finish that is nice. Particularly this cuff which looks turn-of-the-century, the gold leaf effect adds to the vintage aesthetic.
So, after I did this cuff, I decided to do the process on my two tarnished pieces of jewelry:
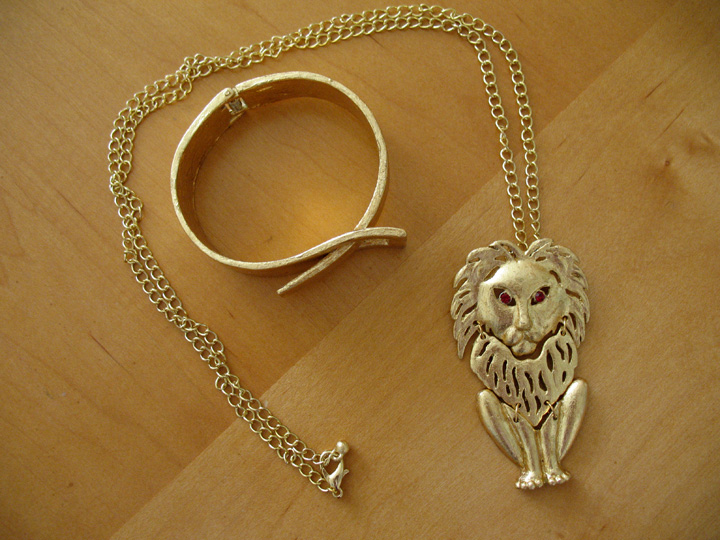
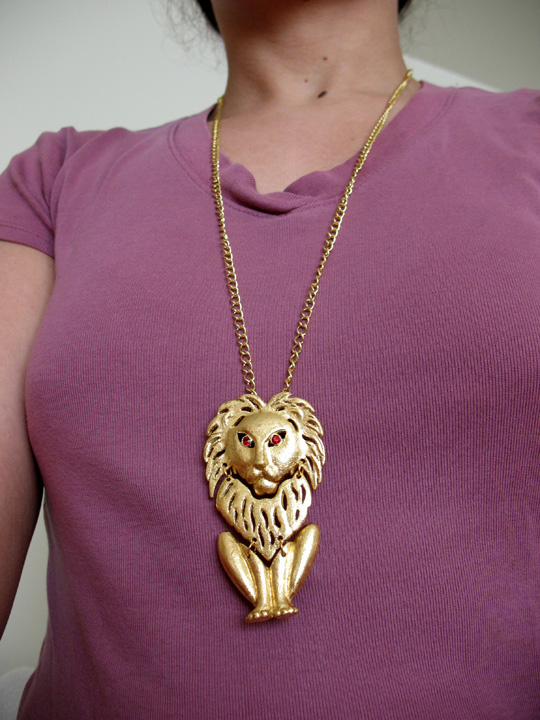

I would say that the pendant was more successful than the cuff. The pendant looks much better than it was, especially with the replacement chain, and it almost has a old-world antique look to it that I like.
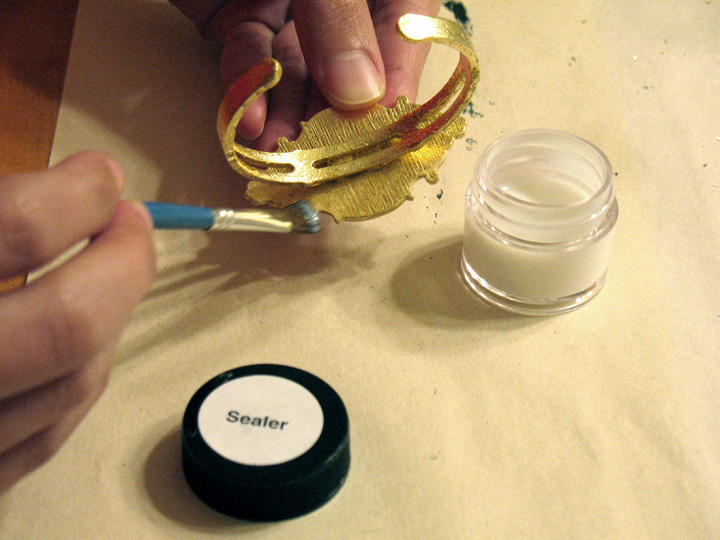
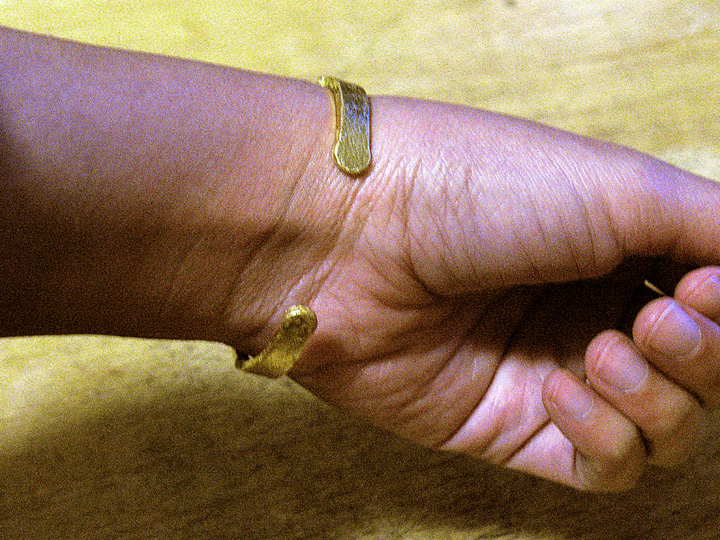
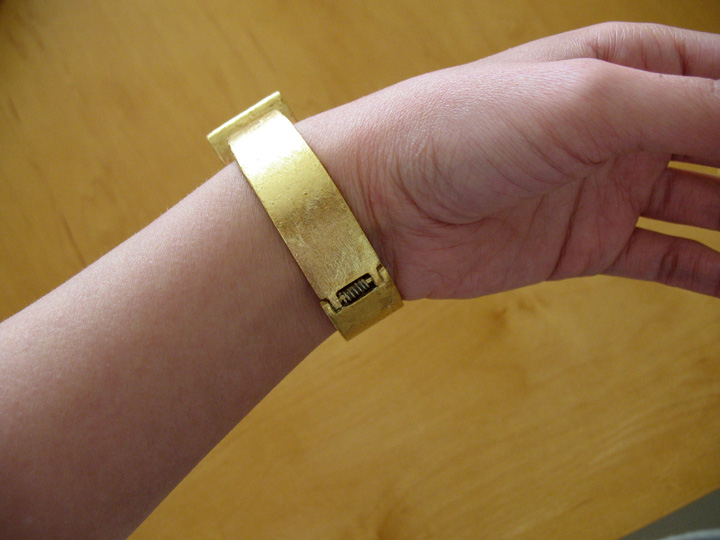
However, the cuff was hard to seal by hand and there was a sticky residue that made opening the cuff less smooth. Plus, the gold leaf started to tarnish and that combination wasn’t working for me at all. Fortunately, I happened upon a cuff that looks just like this one, but slightly thinner at Macy’s, so I was able to find a replacement to this cuff after all and just threw this one away.
Eventually I bought the Mona Lisa Metal Leaf sealer spray and used that on my pieces since it’s easier to get an even coat than painting on the sealer with a brush. I even started using it on regular metal jewelry to keep them from tarnishing too!
Roll over image for closer look
To conclude, I enjoy the gilding process a lot, even if it didn’t work out for one of my pieces and plating looks to be a more seamless process for restoring jewelry. In fact, I used this technique for another project which I will publish very soon. Stay tuned! 🙂